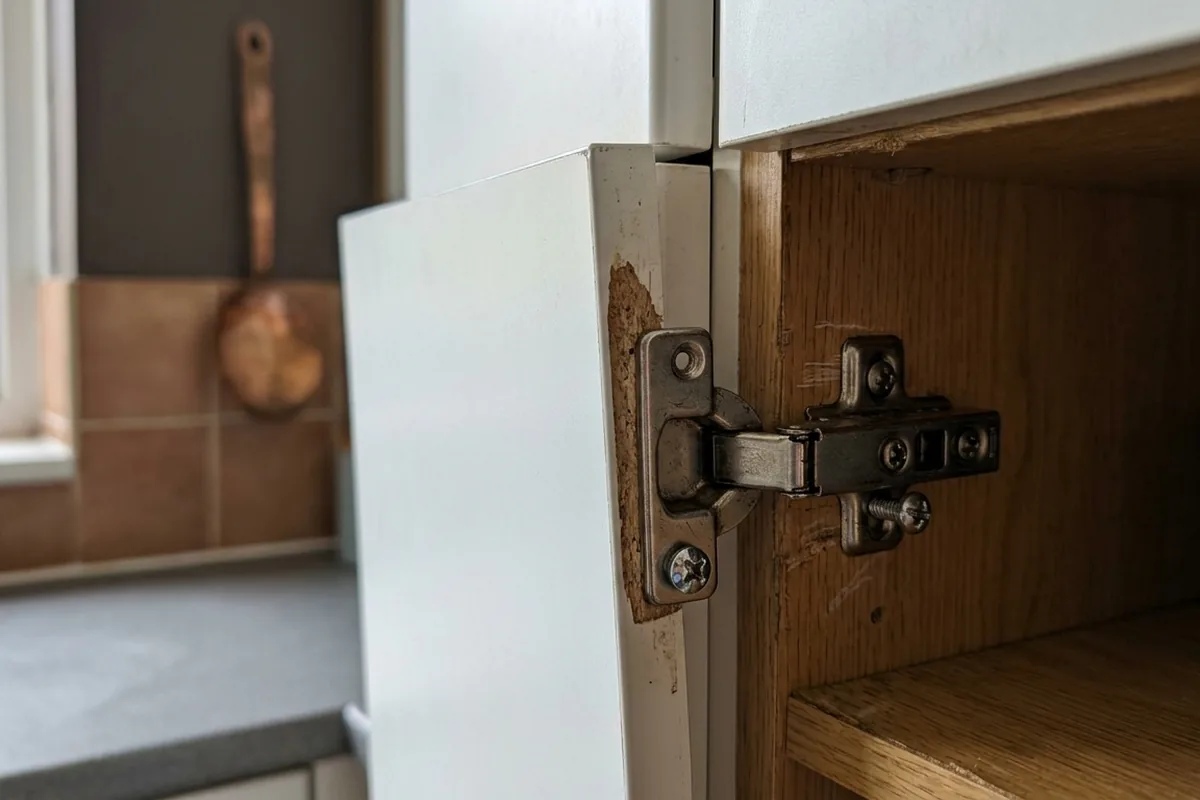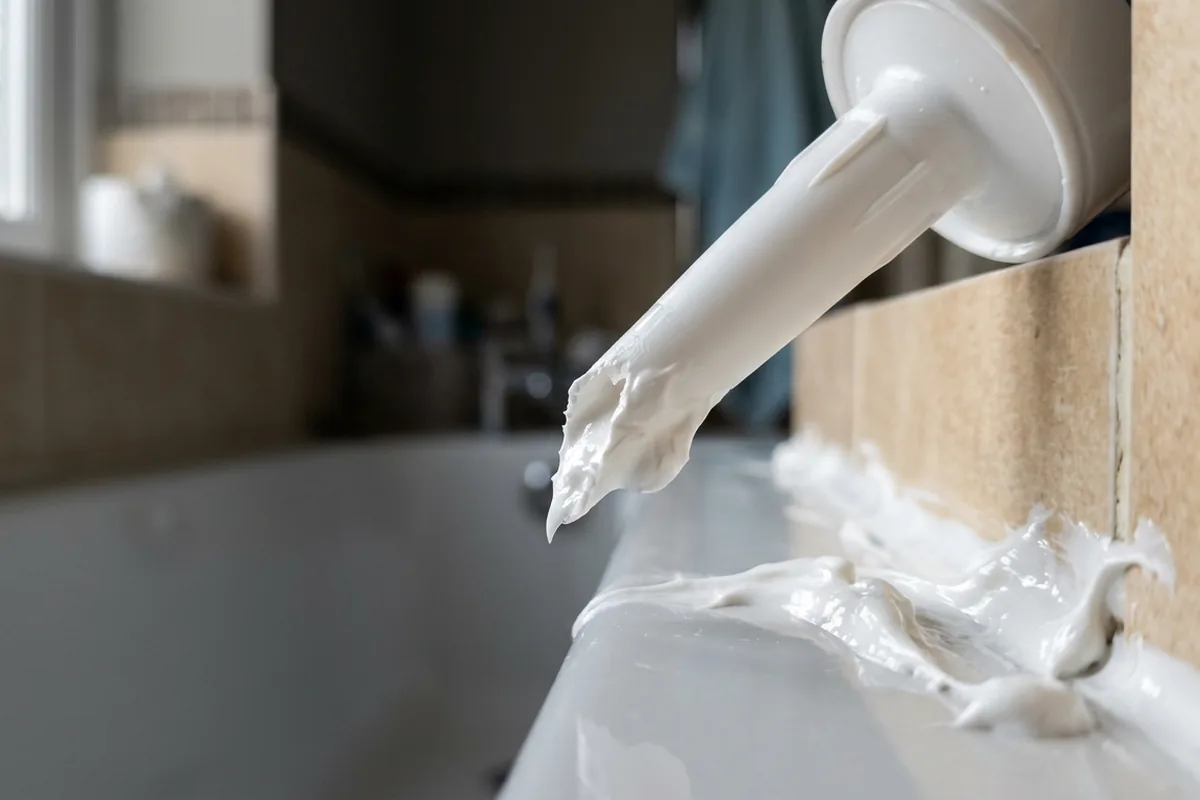
That wobbly, blobby silicone line along the edge of your bath or kitchen sink often starts going wrong before you even squeeze the trigger. The usual culprit is not your hand, the gun or the sealant itself, but how the nozzle has been cut. If you slice it too far down, at the wrong angle, or with a ragged edge, you force out a thick, uneven bead that you can’t control, so it smears all over the tiles and worktop.
The fast fix is simple: cut the nozzle smaller and cleaner than you think you need, at a shallow angle, then test it on cardboard before you go anywhere near the bath. A neat nozzle opening gives you a narrow, predictable bead that’s much easier to smooth with a wet finger or profiling tool.
The one nozzle mistake that ruins silicone before you start
The big mistake is cutting the nozzle too far down, leaving a wide, round hole. That oversized opening dumps out far more silicone than the joint needs, so it:
- piles up into ridges that are hard to smooth
- floods onto tiles, grout and the bath surface
- drags and snags when you move along the joint
On a typical UK bath or shower tray, the gap you’re filling is only a few millimetres. A wide hole in the nozzle can be 8–10 mm across, which is completely out of scale. By the time you realise, half the tube is on the edge of your bath and you’re chasing it with kitchen roll.
The second part of the same mistake is cutting straight across, instead of at a shallow angle. A flat-cut nozzle forces you to hold the gun upright, which makes the bead sit on top of the joint rather than nestling into it.
A good rule of thumb:
- Cut near the tip, not halfway down
- Aim for a 3–4 mm opening for most bathroom and kitchen joints
- Cut at about 45°, so the opening is oval, not round
This one change instantly gives you a cleaner line and far less mess to wipe off your tiles and worktop.
How to prepare the nozzle for a clean, controlled bead
Before you even think about cleaning the old mouldy sealant or masking off the bath, get the nozzle right. It takes two minutes and avoids a lot of swearing later.
Use a sharp knife or a proper sealant nozzle cutter, not blunt scissors. A ragged cut makes the bead ragged, and you’ll see every nick in the finished line.
1. Check the joint size first
Look at the gap along your bath, shower tray or sink. If it’s hairline, you need a very small opening. If it’s 3–4 mm, cut the nozzle so the hole is just slightly bigger than that.
2. Cut less than you think
Start by snipping just the very end of the nozzle at an angle. You can always cut a bit more off if the bead is too thin. You cannot put plastic back on once you’ve chopped it.
3. Angle the cut correctly
Hold the nozzle so it points away from you and slice at roughly 45°. When you run the gun, that angled face should sit flat along the joint, with the hole sitting right in the corner where bath meets tile or worktop meets wall.
4. Test on scrap before the bath
This is the step most people skip. Always test the bead on a bit of cardboard or an offcut of laminate. Adjust your trigger pressure and speed. If the bead is too fat, trim a tiny bit more off the nozzle. If it’s thin but neat, that’s usually perfect.
If the joint is unusually wide (for example, an old bath in a terraced house with a slightly sagging wall), you may need a slightly larger opening, but still build up in stages. Use two passes rather than one huge, uncontrollable bead.
Other small habits that keep silicone lines neat
Once the nozzle is right, a few simple habits make the difference between a professional-looking line and a smeary mess on your tiles and laminate flooring.
Keep the nozzle moving at a steady pace
Stopping and starting leaves blobs. Keep a gentle, constant pressure on the trigger and slide the nozzle along in one smooth run for each section, like along one side of the bath or one edge of a kitchen sink.
Let the nozzle do the guiding
With an angled cut, you can rest the flat face lightly against the tiles and bath edge. That contact helps guide your hand and keeps the bead sitting neatly in the corner, rather than wandering up the tile or onto the enamel.
Smooth immediately, not later
Silicone skins over quickly, especially in a warm bathroom. Have a small bowl of water with a drop of washing-up liquid ready, and either:
- a silicone profiling tool, or
- a gloved finger lightly dipped in the soapy water
Smooth the bead in one pass while it’s still glossy, wiping excess off your tool or glove onto kitchen roll as you go. If the bead is the right size from the nozzle, you’re just shaping it, not trying to remove half of it.
Know when to stop and redo
If you realise halfway along that the nozzle cut is still too big and the bead is out of control, it’s usually better to scrape off what you’ve just done, clean the area, adjust the nozzle or fit a new one, and start again. Fighting a bad bead usually ends in messier lines and more wasted sealant.
If you’re in a rented flat or you have expensive natural stone tiles, keep your scraping gentle and avoid metal tools that could scratch. In awkward situations or if the gap is very large or moves a lot, a professional may be worth the cost, but for most baths, sinks and shower trays this nozzle tweak is enough to get a neat job at home.