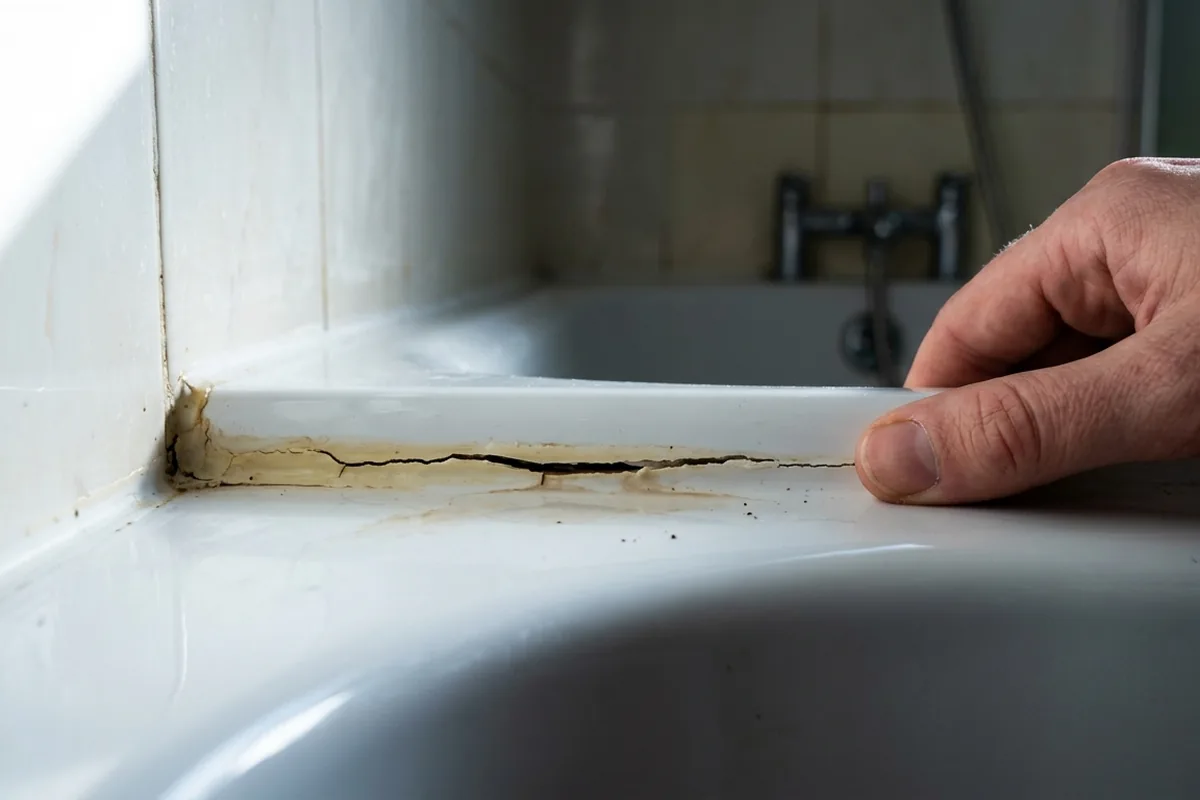
That hairline crack along the edge of your bath or shower tray can look trivial, especially if the bathroom still feels dry and tidy. But once silicone sealant splits, even slightly, water can creep behind it every single use. That can mean hidden leaks into the wall, swollen plasterboard, damp skirting boards in the room below and black mould you cannot quite scrub away. The key point: cracked sealant is a water route, not just an eyesore, so it usually needs fixing, not just cleaning.
What cracked bath sealant is really telling you
When the bead of silicone around your bath, shower tray or along the bottom of a shower screen cracks, pulls away or looks “gappy”, it usually means one of three things: movement, age or poor application.
Once that neat flexible barrier is broken, water no longer runs back into the tub or tray. Instead, it can:
- Track along the edge and soak into plasterboard, plywood or timber battens
- Sit behind tiles, leading to loose tiles and crumbling grout
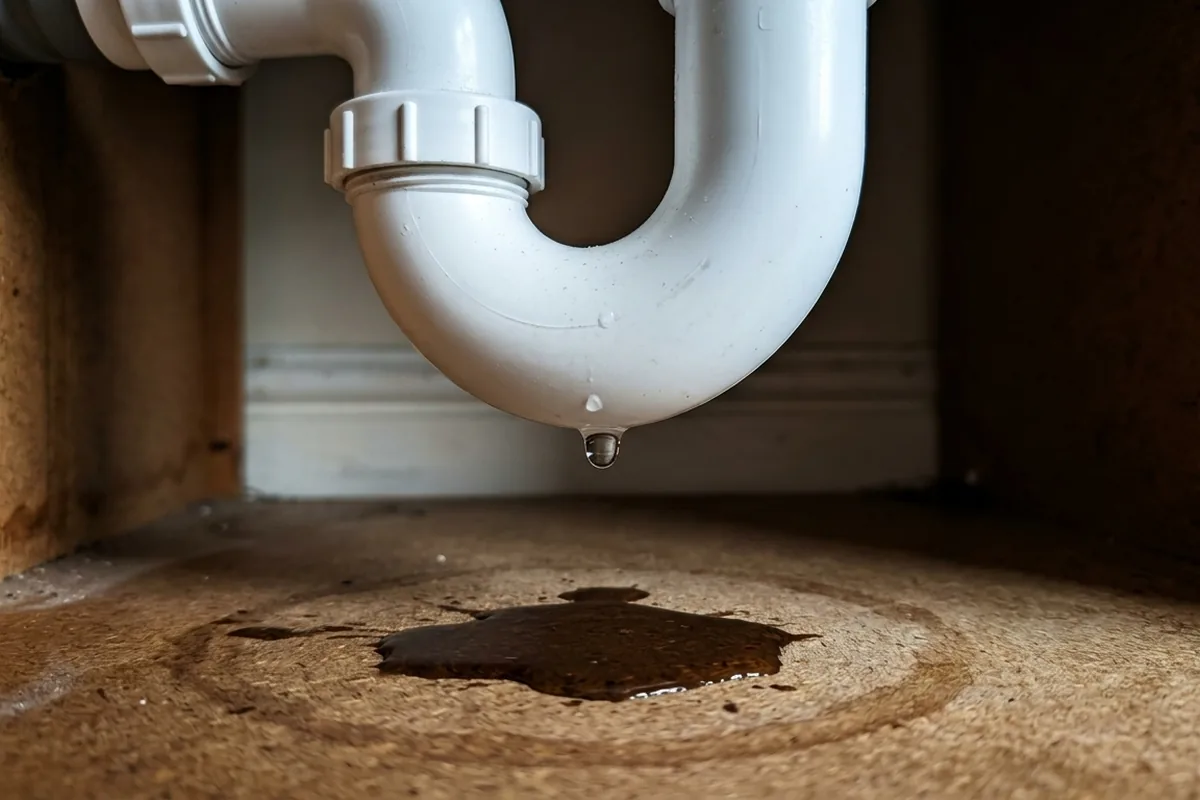
- Drip through to a ceiling below, causing brown stains and bubbling paint
Because this all happens out of sight, the bathroom itself often looks fine apart from a scruffy joint. That is why it is easy to dismiss as cosmetic.
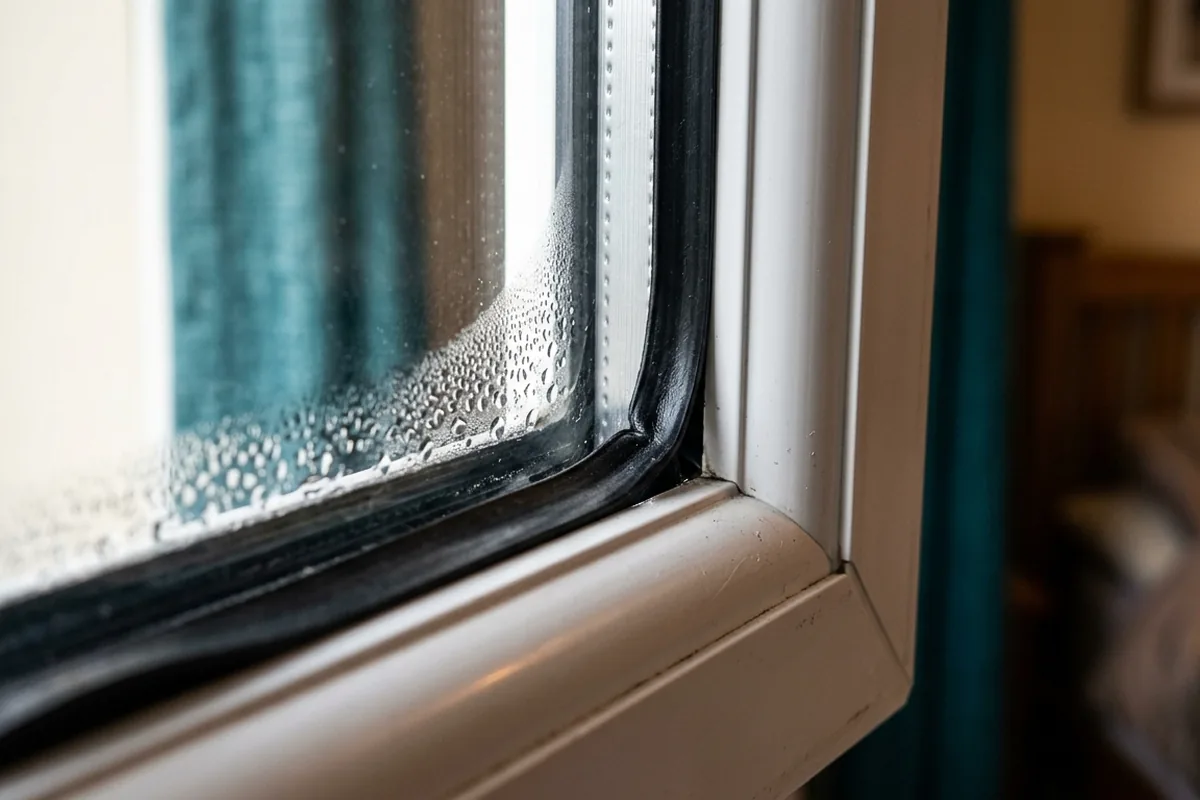
In a typical UK home, the first clue is often somewhere else: a musty smell in the airing cupboard below, a brown ring on a downstairs ceiling, or a patch of blown paint near a window board under the bathroom.
Cracked sealant is also a magnet for mould. The rough edges and tiny gaps trap soap scum and stay damp, so you get black mould specks that keep returning, even after a good scrub. Cleaning will not cure it if moisture is still getting behind the seal.
Simple checks before you blame the sealant
Before you rush to re-seal everything, it is worth checking that the sealant is really the main problem and not just a symptom of movement or a leak elsewhere.
Look for these common signs around a bath or shower:
| Sign at home | What it may mean | First check |
|---|---|---|
| Sealant cracked at corners | Movement where walls meet | Press gently on tiles and tray |
| Gap when you stand in bath | Bath flexing under weight | Fill bath and look for opening |
| Brown stain on ceiling below | Water escaping regularly | Run bath/shower and watch the patch |
| Persistent mouldy smell nearby | Trapped damp behind surfaces | Check under-bath panel or adjacent cupboard |
If the gap appears larger when the bath is full of water or when you stand in it, the bath is moving. In that case, simply redoing the seal the same way may fail again. You may need a thicker, more flexible bead or to look at how the bath is supported.
If tiles sound hollow when tapped or move under gentle pressure, water may already have damaged the backing. That is a point to pause and consider professional advice, especially if a large area feels loose.
Where there is a stain on the ceiling below, try this safe check: dry the area, then run the shower or bath for a few minutes while someone watches the ceiling. If fresh damp appears directly under the bath edge or shower tray, the sealant is a strong suspect.
How to deal with failed sealant safely
Once you are confident the cracked sealant is the likely source, the fix is usually to remove and replace it, not to smear more over the top. Over-sealing often traps moisture and peels quickly.
If you are tackling it yourself
You do not need to be highly technical, but you do need patience and some basics:
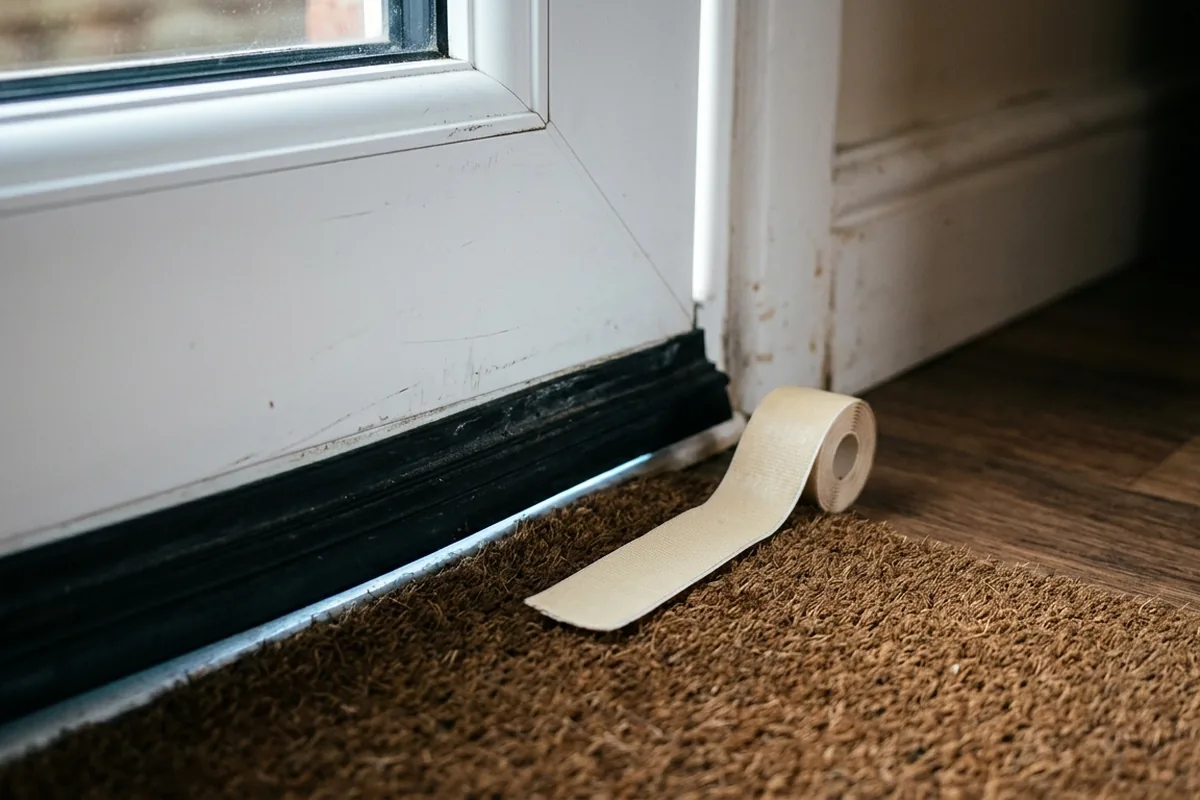
- Silicone remover or a plastic scraper
- Bathroom-grade mould-resistant silicone sealant
- Masking tape
- Gloves and decent ventilation
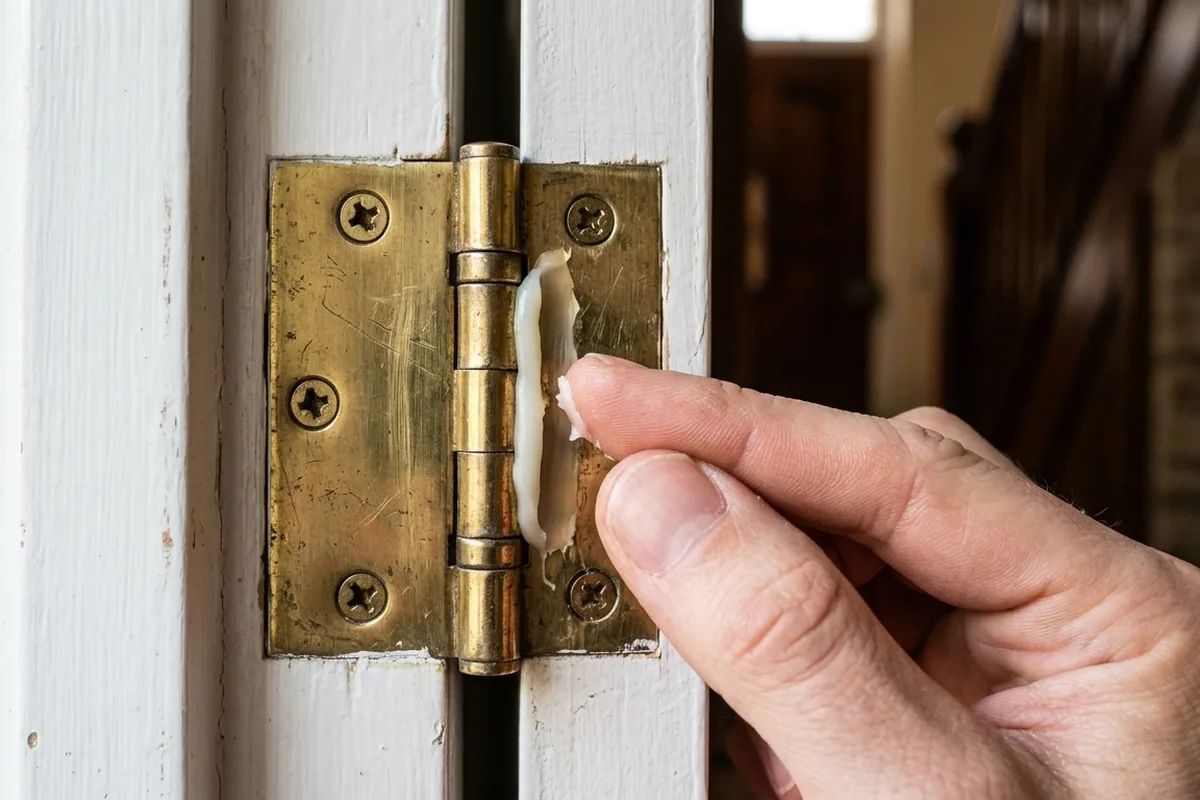
1. Remove the old silicone fully. Cut and peel away the old bead with a plastic scraper or a blunt knife used carefully. Avoid gouging tiles or the bath surface.
2. Use a silicone remover gel if needed, following the label. Wipe off residue with a microfibre cloth.
3. Dry the joint thoroughly. This matters: sealing over damp can trap moisture and encourage mould. Leave the area for several hours, ideally overnight, with the bathroom extractor fan on or a window open.
4. Mask above and below the joint for a neat line.
5. Apply a steady bead of new silicone, then smooth it with a wetted finger or profiling tool.
6. Leave it to cure as per the tube instructions before using the bath or shower, usually 24 hours.
Avoid using vinegar or harsh cleaners on fresh silicone for the first few days, as they can affect the surface. For ongoing cleaning, a mild bathroom cleaner and a soft cloth are usually enough.
When to step back
Stop and get a plumber or bathroom fitter involved if:
- The floor around the bath feels spongy
- Large sections of tiles are loose
- The ceiling below is sagging or crumbling
- You cannot isolate the leak source with simple checks
Those signs suggest the problem has gone beyond a simple re-seal and into structural or plumbing territory.
—
A neat, flexible bead of silicone around your bath or shower is part of the waterproofing, not just decoration. If it is cracked, gappy or constantly black with mould, treat it as a small leak and deal with it sooner rather than later. A careful afternoon’s work now is usually far easier than repairing a blown ceiling or rotten floor later on.