The first sign is usually subtle: the fridge feels less cold, milk spoils a bit faster, or you notice a faint puddle on the kitchen floor by the door. Before you start pricing up a new appliance, there’s one tiny check that can show whether the door seal is letting cold air leak out and, in many cases, can be improved without replacing the fridge. The quick version: close the door on a sheet of paper at different points around the seal. If you can pull it out easily with no resistance, that part of the seal is not gripping properly. Often, cleaning and gently reshaping the seal will restore the grip and stop the leak.
The simple paper test that shows if your fridge seal is leaking
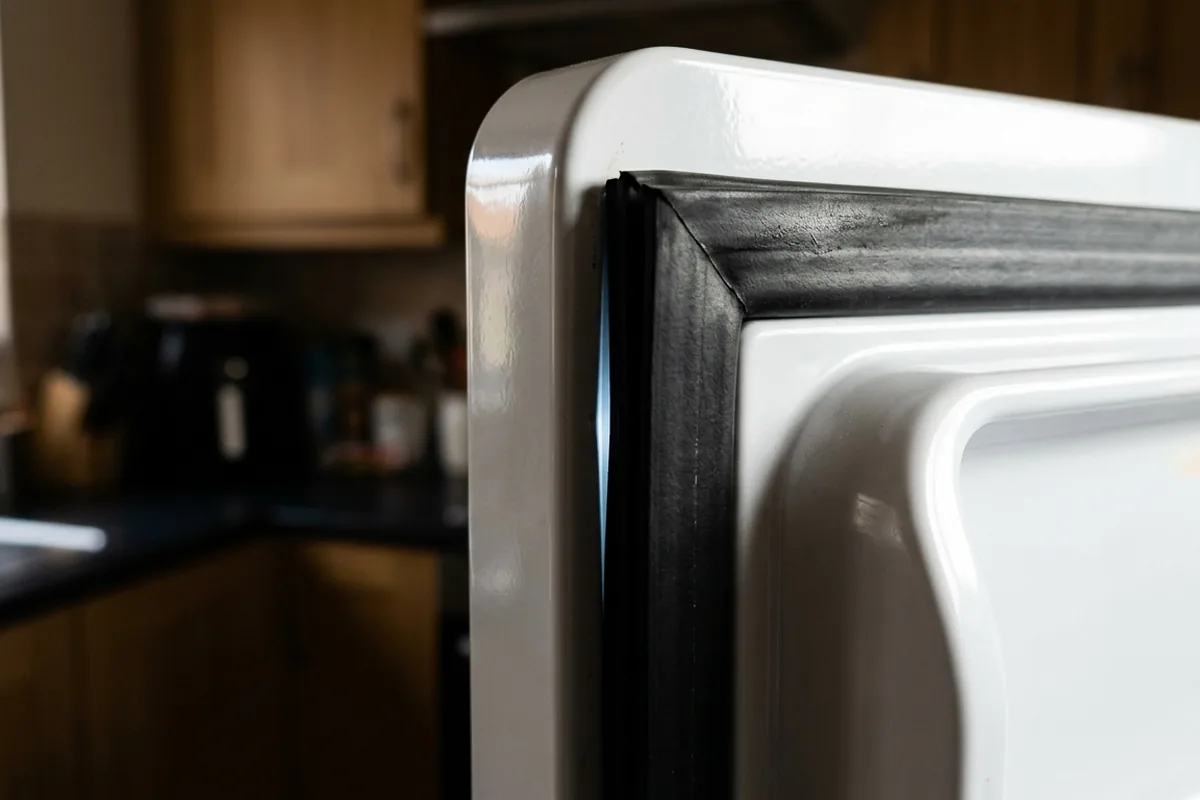
A fridge or freezer door relies on a soft rubber gasket to keep cold air in and warm kitchen air out. If that seal is dirty, twisted or slightly flattened, it can break the “vacuum” effect and your fridge has to work harder.
To check it, use this quick method:
1. Open the door and place a sheet of ordinary A4 paper so that half is inside the fridge and half is outside, crossing the seal.
2. Close the door fully on the paper.
3. Gently pull the paper. You should feel a clear tug of resistance.
4. Repeat this all the way round the door: top, bottom, hinge side and handle side.
Where the paper slides out with almost no resistance, that’s where cold air is most likely leaking. If only a few spots are loose, the seal may be salvageable.
If the paper is loose all the way round, or the door won’t stay closed unless you push it hard, the seal is probably past saving and you’re into replacement territory rather than a small tweak.
What to try before paying for a new seal
If the paper test shows weak spots, it’s worth trying some low‑risk fixes. These won’t repair a split or missing seal, but they often help when the seal is just dirty, stiff or slightly misshapen.
1. Deep-clean the seal folds
Grease, crumbs and dried milk can hold the rubber away from the cabinet.
- Mix warm water with a drop of washing-up liquid.
- Use a soft cloth or an old toothbrush to clean along the entire length of the seal, especially in the folds where it meets the white fridge body.
- Wipe dry with a microfibre cloth so no water is trapped.
Avoid harsh abrasives and bleach on the seal itself, as they can harden or crack the rubber over time.
2. Check for something stopping the door closing
On busy family fridges, the problem is often inside:
- Tall bottles or jars nudging the door.
- Overfilled salad drawers pushing forwards.
- Door shelves packed so tightly they press on the cabinet.
Close the door slowly and watch from the side: if the door bounces back even slightly, rearrange the contents and try the paper test again.
3. Gently warm and reshape a flattened seal
If the seal looks squashed or bowed outwards in one area, a bit of warmth can sometimes help it relax back into shape.
- Unplug the fridge if you’re going to have the door open for a while.
- Use a hairdryer on a low heat setting, held at least a hand’s width away from the seal.
- Warm the stubborn section for 20–30 seconds, moving constantly so you don’t overheat one spot.
- While it is warm and more flexible, gently pull or press the seal towards the cabinet so it sits flat.
- Let it cool in that position, then repeat the paper test.
Do not use a heat gun, boiling water or very hot settings: too much heat can warp plastic trims or damage the seal.
4. Make sure the fridge is level
If a fridge in a terraced house kitchen or rented flat is slightly leaning forward, the door may not seal properly.
- Look at the gap between the door and cabinet. If the top gap is wider than the bottom, the appliance may be tilted.
- Adjust the front feet (usually by twisting them) so the fridge leans very slightly back. This helps the door close firmly and improves the seal.
If, after cleaning, reshaping and levelling, the paper still pulls out easily in several places, the rubber has likely lost its flexibility and needs replacing.
When the seal trick won’t be enough – and what to do next
The paper test and small adjustments are ideal for catching problems early, but there are clear limits.
This small check will not fix:
- Torn or cracked seals where you can see gaps or missing chunks.
- Seals that have gone hard and brittle.
- Doors with damaged hinges so the top or bottom corner visibly sags.
- Heavy ice build-up in a freezer pushing the seal away from the cabinet.
In these cases, the paper test is still useful because it confirms that the seal is the issue, rather than a thermostat or compressor fault. You then have three sensible options:
- Replace just the seal: Many modern fridges have push‑in or screw‑on gaskets you can buy as a spare part. It’s often cheaper than a new appliance, but only attempt it if you’re comfortable matching the exact model and following the manufacturer’s instructions.
- Ask a local appliance engineer: Worth it if the fridge is otherwise in good condition and not very old.
- Plan for replacement: If the fridge is already struggling, noisy and over 10–12 years old, a failing seal may be a sign it’s nearing the end of its life.
After you’ve done the paper test and any tweaks, keep an eye on real‑world signs over the next few days: food staying fresh, no constant condensation on the inside walls, and the motor not running loudly all the time. If those improve, your small seal check has done its job and you’ve likely stopped cold air leaking without replacing the appliance.