The giveaway is usually this: you paint a tired-looking fence on a dry weekend, it looks great for a few months, then boards start to cup, green algae spreads faster than before and you spot soft, dark patches near the posts. The mistake is almost always the same: sealing damp timber with the wrong coating so any moisture in the wood or from the ground is trapped behind a film-forming paint.
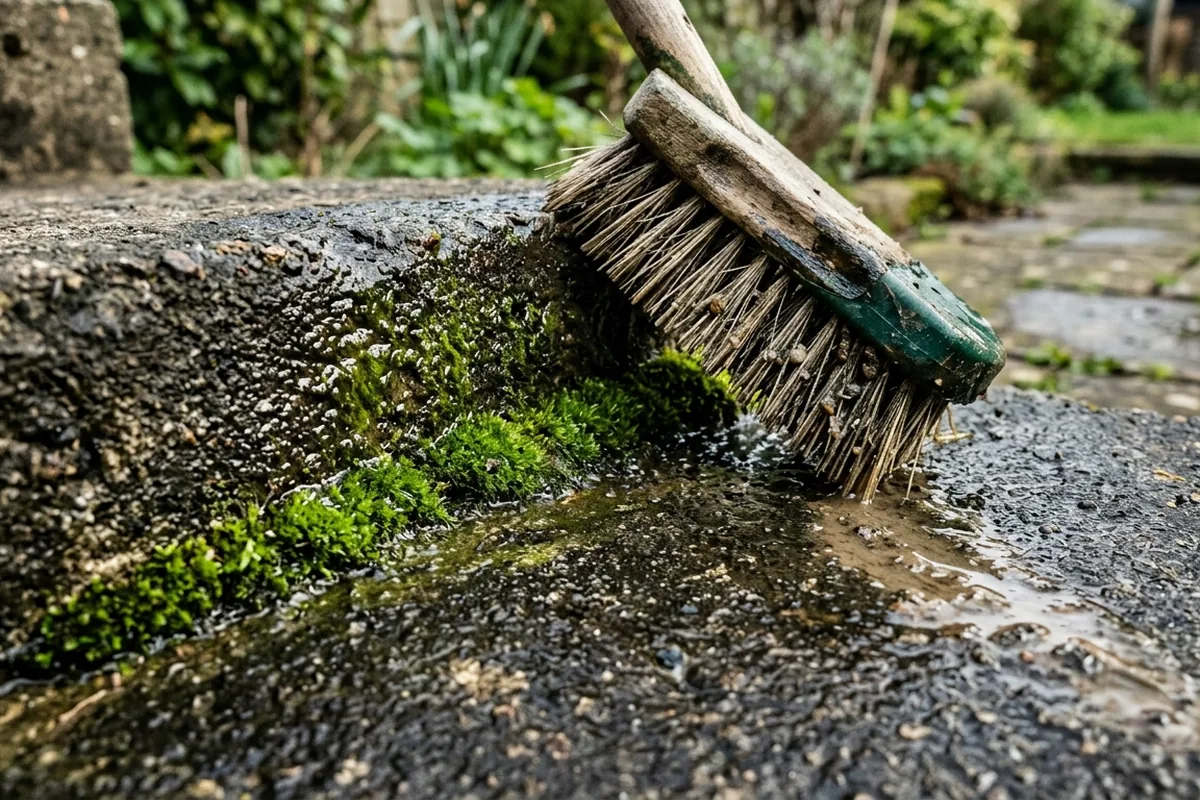
If your fence is damp to the touch, has green growth, or the bottom of the boards sit in wet soil, a solid “plastic-looking” paint will usually make things worse. For most UK garden fences you want a breathable, penetrating stain or treatment, applied only when the wood is properly dry, not a thick exterior wall-style paint that forms an airtight skin.
The fence painting mistake that actually traps moisture
The core problem is using a non-breathable, film-forming paint on fence timber that can’t stay dry all round.
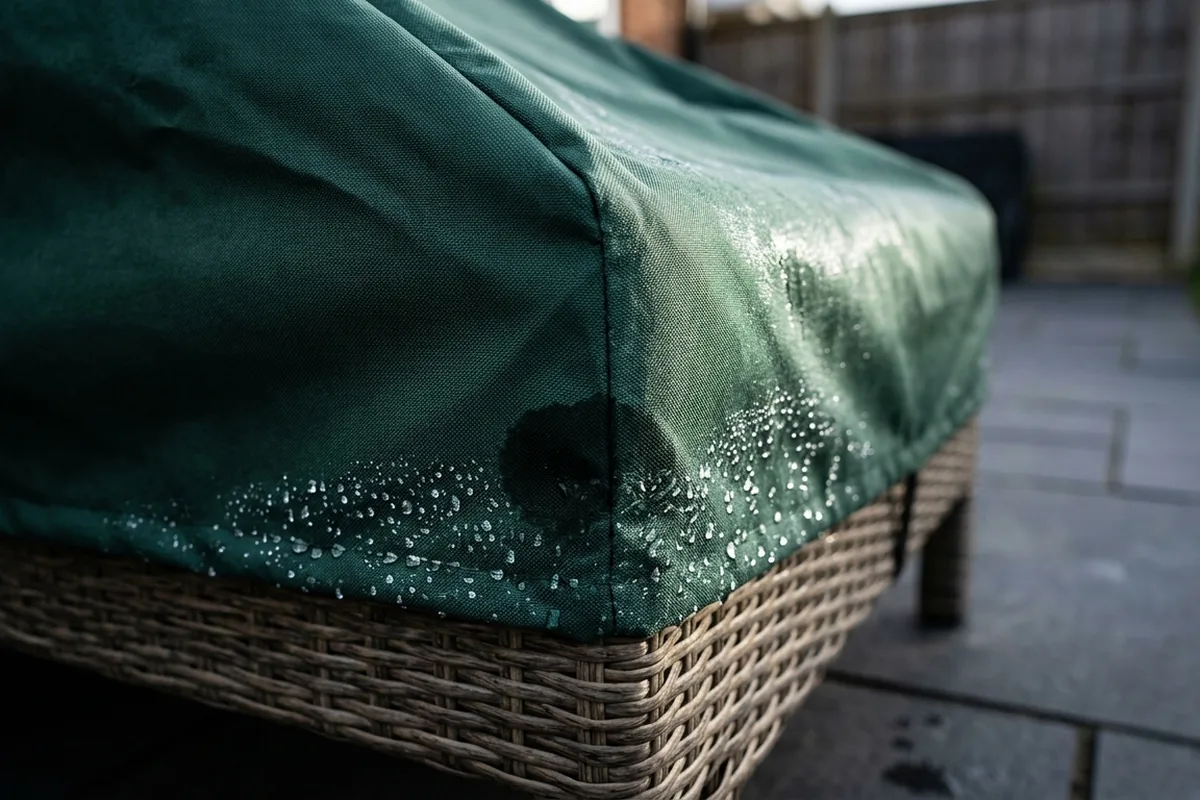
Garden fence boards in a British winter are constantly taking on moisture from rain, dew, wet soil and neighbouring plants. They need to be able to take in and release moisture through the surface. If you roll on a heavy, glossy or rubbery paint, you:
- Seal the outer face
- Leave the back and bottom edges exposed to wet soil and air
- Trap any existing moisture inside the board
Moisture then tries to escape where it still can: through nail holes, end grain and cracks. That is why you start seeing peeling, blistering paint, blackened knots and soft spots even though you “protected” the fence.
The mistake is worse if:
- You paint on a damp day or after recent rain
- The fence touches soil or gravel at the bottom
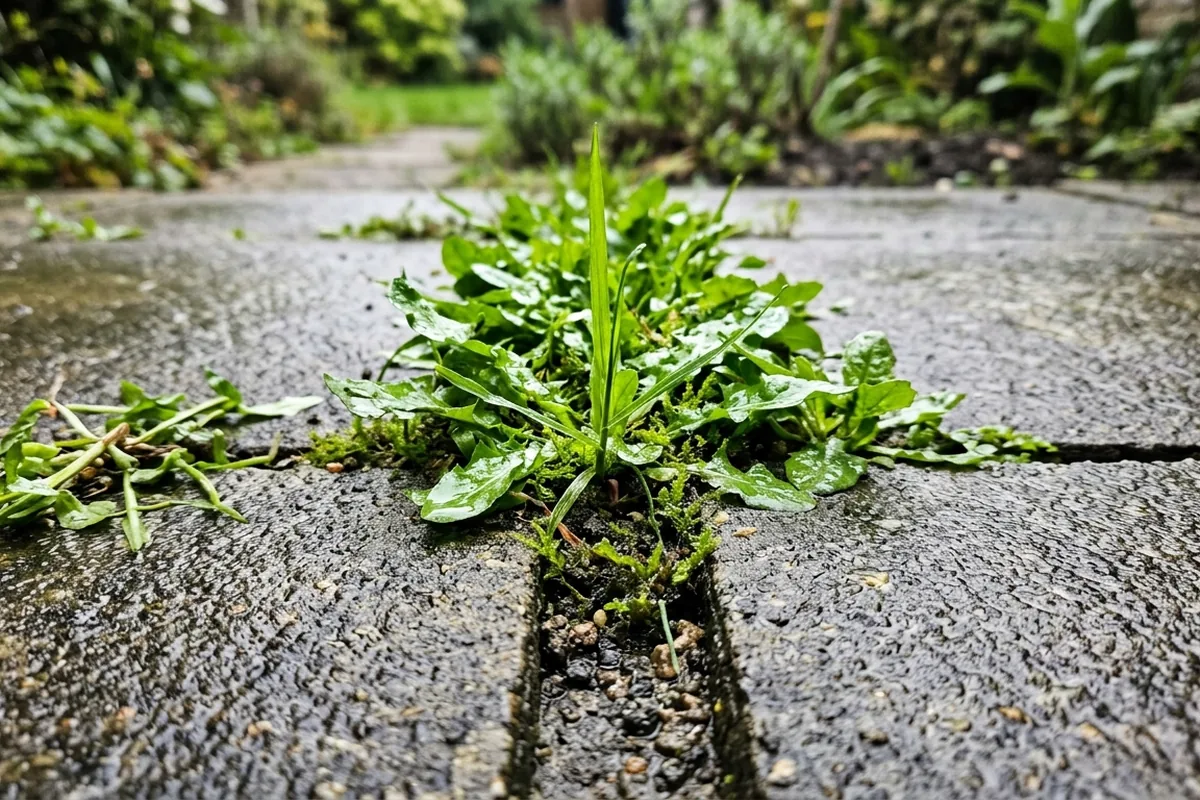
- Ivy or shrubs are tight against the boards, keeping them wet
- You only paint one side of a shared boundary fence
In those conditions, a non-breathable paint behaves almost like cling film around a wet sponge.
How to check your fence before painting anything
Before opening a tin, check whether your fence is actually ready and suitable for painting. A couple of simple tests in your garden can save you a rotten fence in a few years.
If the wood might still be damp
Run your hand over a few boards, especially near the bottom:
- If it feels cool and slightly clammy first thing, the wood is still holding moisture.
- Press a dry piece of kitchen roll firmly against the board. If it comes away marked or slightly damp, wait for a longer dry spell before painting.
Aim for at least 24–48 hours of dry, breezy weather beforehand. In shaded, north-facing gardens or along an alley between terraced houses, you may need longer.
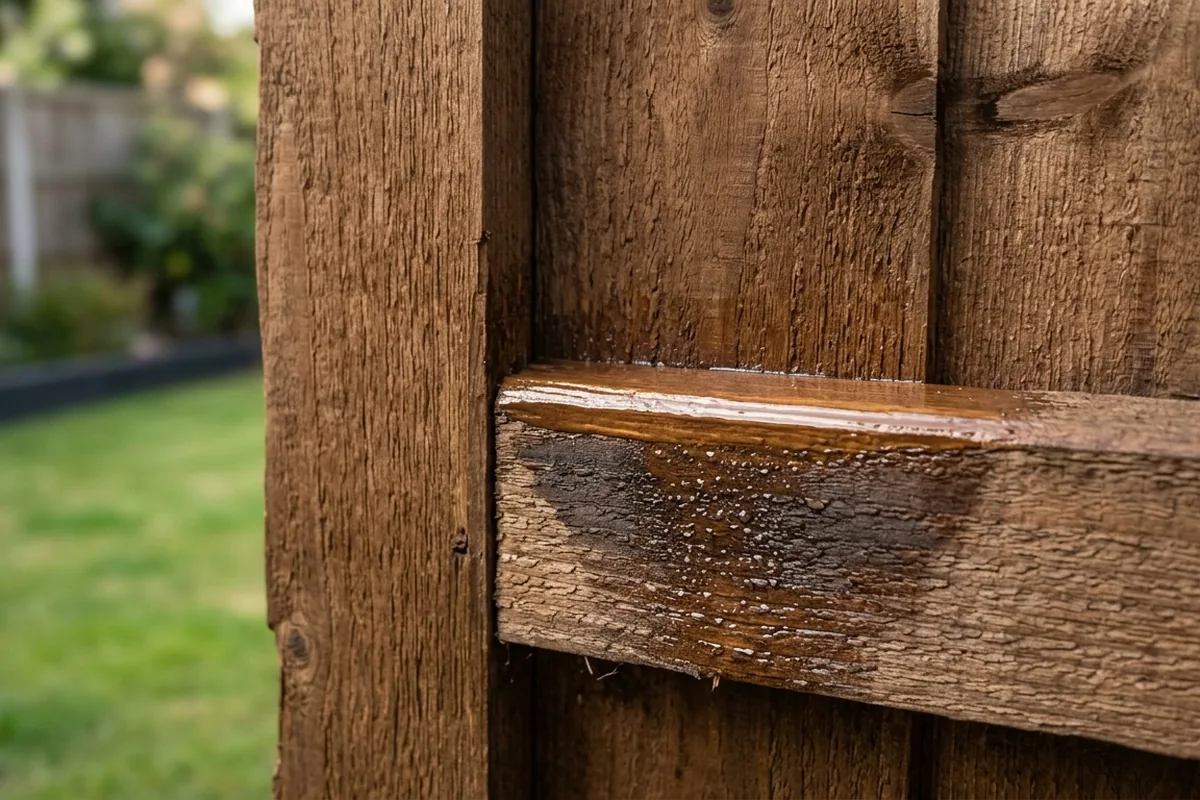
If the existing coating is already a film
If your fence has been painted before, look closely:
- If you see peeling sheets or flakes of colour, it is probably a film-forming paint.
- If the colour looks more like it has soaked in rather than sitting on top, it is more likely a stain or treatment.
Where there is an old film, you have two choices:
- Commit to the paint system: scrape and sand back loose areas, spot-prime bare patches and repaint with a similar breathable exterior wood paint, accepting that the timber’s breathability is already reduced.
- Or strip it back as far as is reasonably safe and return to a penetrating stain or treatment. This is more work and not always realistic on long runs of panels.
If boards are already soft or crumbling at the base, no paint or stain will fix that. Those sections may need replacing rather than coating.
What to use instead – and how to avoid trapping moisture next time
For most standard UK overlap or featheredge panels, a penetrating, water-repellent stain or fence treatment is safer than a thick paint, because it lets the wood breathe while still shedding rain.
A simple way to think about it:
| Finish type | Helps with | Risk of trapping moisture |
|---|---|---|
| Penetrating fence stain/treatment | Colour, water beading, UV resistance | Low if wood is dry |
| Microporous exterior wood paint | Stronger colour, more coverage | Medium if applied to damp timber |
| Thick, non-breathable masonry-style paint | Hiding defects, solid colour | High on garden fences |
On most fences, the sweet spot is a good-quality stain or “shed and fence” treatment that soaks in rather than forming a thick shell. Many from the big DIY chains in the UK specifically say “for rough sawn fence panels” and look almost matt once dry.
A few extra habits reduce moisture problems:
- Lift the timber off the soil: if possible, keep the bottom of the boards just above ground level or on a gravel strip so they are not sitting in puddles.
- Clear plants away: keep climbers, hedges and shrubs a couple of inches off the face of the fence to let air move.
- Paint both accessible sides: if you can reach both, you reduce the wet/dry imbalance across the board.
- Choose a dry, breezy day: not foggy, not straight after heavy rain, and not when frost is due.
If you really want a painted look, look for “breathable” or “microporous” exterior wood paints, follow the manufacturer’s prep instructions carefully and be especially strict about painting only when the timber is dry.
If, after doing all this, your fence still stays wet for days, smells musty or the bases keep going soft, the issue is likely more about constant ground moisture than paint choice. At that point it is usually better to tackle drainage or replace the worst panels rather than adding yet another coat.