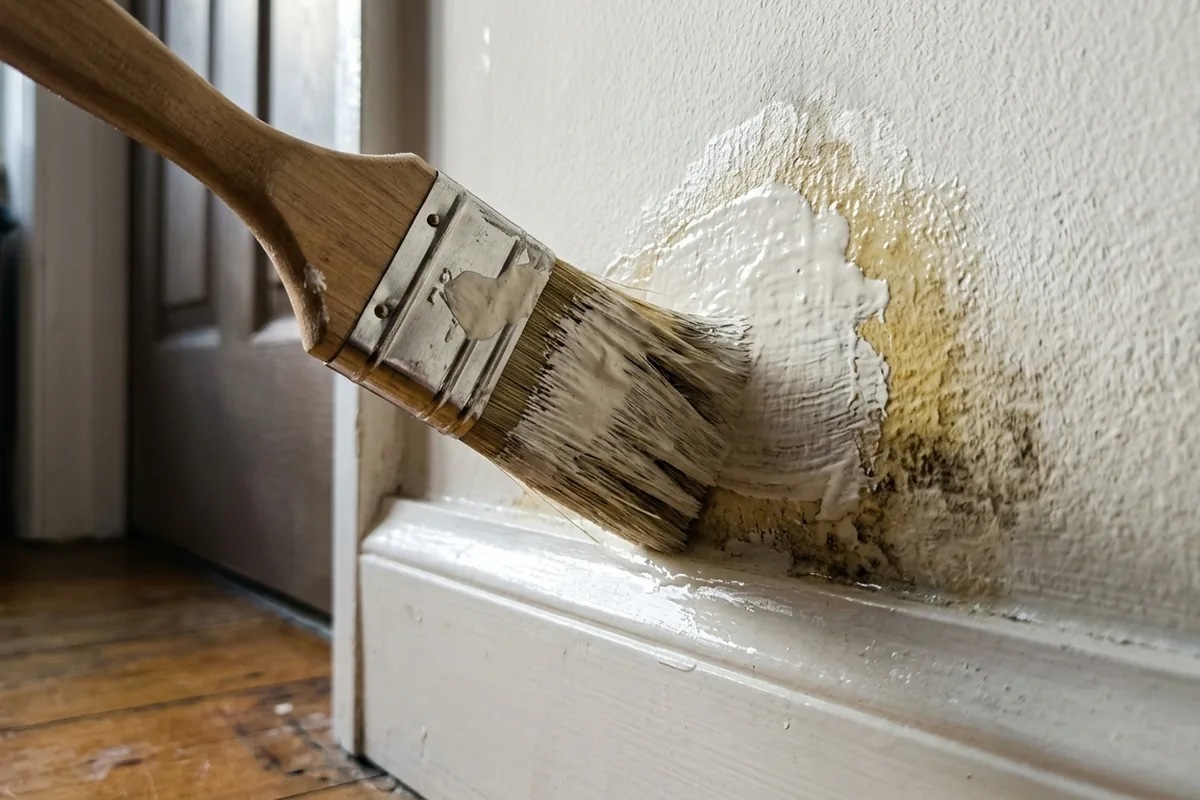
You scrub the damp patch, let it dry, roll on a fresh coat of emulsion and, for a week or two, the wall looks fine. Then the brown tide mark, yellow nicotine stain or old mould shadow slowly bleeds back through the paint. The mistake is simple: painting straight over damp or stained plaster with normal emulsion, instead of blocking the stain and dealing with the moisture first.
The quick fix is tempting, especially in a rented flat or a small bedroom where a patch by the window board looks cosmetic. But ordinary wall paint is slightly porous. If the wall is still damp, or the old water mark, smoke residue or mould staining hasn’t been sealed, the discolouration can migrate back through and show again, sometimes within days.
The painting mistake that makes damp stains reappear
When you paint a previously damp wall with standard emulsion, you are only hiding the symptom. Moisture and stain residues in the plaster are still active underneath. As the wall warms and cools, that moisture moves, carrying brown tannins, rust marks or old mould pigments into your new paint layer.
The most common mistake is:
- No stain-blocking or sealer, just “wash and paint”
Even if you’ve cleaned the surface, a wall that has been damp often has:
- Salts from rising or penetrating damp
- Tannins from wet timber above
- Soot or nicotine from an old fireplace or smoker
- Residual mould staining, even after the mould is killed
All of these can bleed through normal emulsion.
To stop stains coming back, you usually need two things in this order:
1. Deal with the moisture source as far as you reasonably can.
2. Use a proper stain-blocking primer (often solvent or shellac-based) before repainting.
Skipping either step is the classic “painted it three times and it still shows” problem.
How to repaint a previously damp wall so the stain stays gone
You do not have to do a full renovation, but you do need to be methodical. Work on a dry day with a window open if you can.
1. Check the damp is not active
Before you think about paint:
- Touch the wall: if it feels cold and clammy compared to others, it may still be damp.
- Look for crumbling plaster or fluffy white crystals (salts) on the surface. That suggests ongoing moisture, not just an old mark.
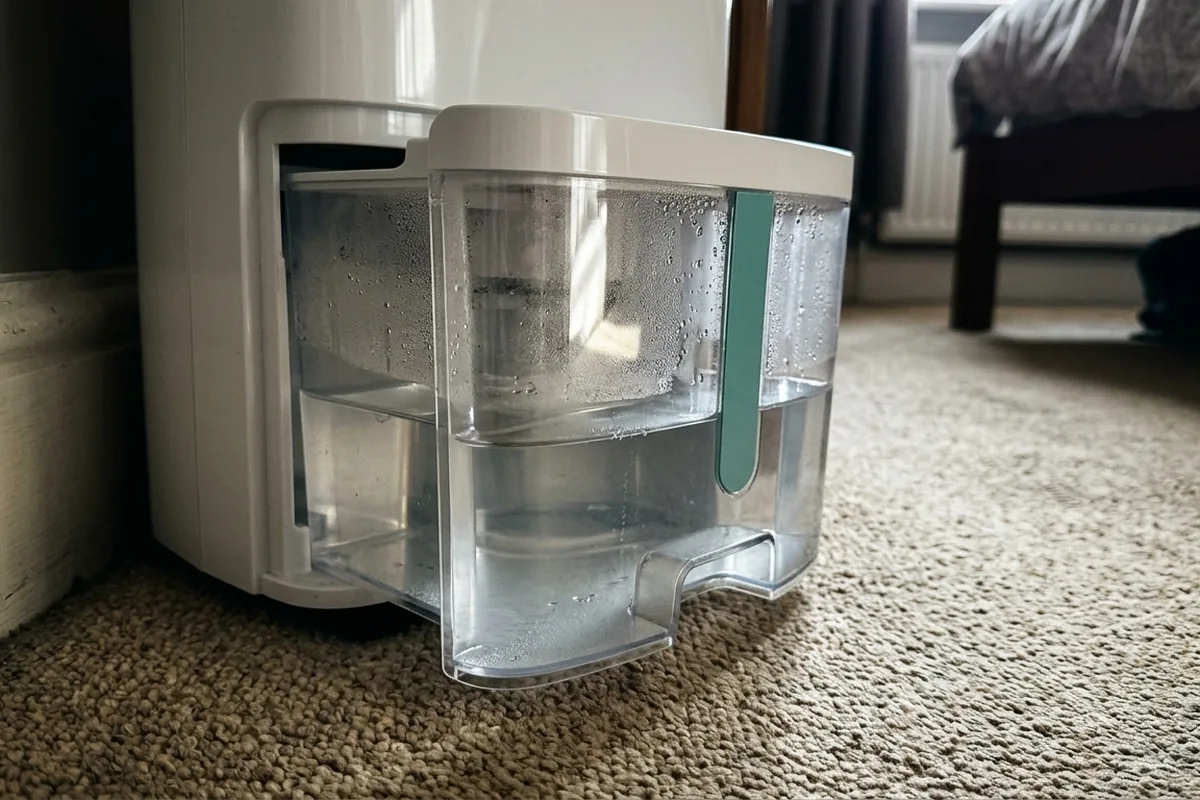
- In a bathroom or small box room, think about condensation: are bedroom windows streaming every morning, or is the bathroom extractor fan weak?
If the wall is obviously still wet, plaster is falling away, or there is extensive black mould, this goes beyond a paint job. Speak to your landlord, a surveyor or damp specialist rather than trapping the problem under more coats.
2. Clean and dry the surface properly
If the wall is dry to the touch and the issue is staining:
- Lightly wash the area with warm water and a small amount of washing-up liquid, using a microfibre cloth.
- For mould staining, use a dedicated mould remover or diluted household bleach on non‑porous areas, following the label, keeping the room ventilated and wearing gloves. Never mix bleach with vinegar or other cleaners.
- Rinse with clean water and let it dry fully. This may take a full day or more on a cold outside wall.
You are not trying to scrub the stain out of the plaster, only to remove surface grime and kill any remaining mould spores.
3. Seal the stain before emulsion
This is the step people skip.
Use a stain-blocking primer designed for water marks, nicotine and smoke. Many are solvent or shellac-based and specifically say “blocks stains” on the tin. Water-based primers can help but are sometimes less effective on heavy damp marks.
Typical approach:
- Stir the stain blocker well.
- Apply it just over the stained area first, slightly feathering the edges.
- For bad stains, add a second coat once the first is dry.
- Let it cure as per the instructions before you apply emulsion.
The primer forms a barrier so the stain cannot migrate into your new topcoat.
4. Repaint with normal emulsion
Once the primer is dry:
- Apply your chosen emulsion over the primed patch and blend out.
- Then repaint the whole wall if you can, so you avoid a visible “square”.
If the stain still shows through the primer, add another stain-block coat before more emulsion. Do not keep adding layers of ordinary paint hoping it will eventually win.
When a stain-blocking primer isn’t enough
Sometimes the returning stain is not the paint’s fault at all. It is the wall telling you the damp is still there.
Here are a few common situations and what they often point to:
| Sign at home | What it may mean | First check |
|---|---|---|
| Brown patch above skirting, ground floor | Possible rising or penetrating damp | Outside ground levels, leaking gutter or pipe |
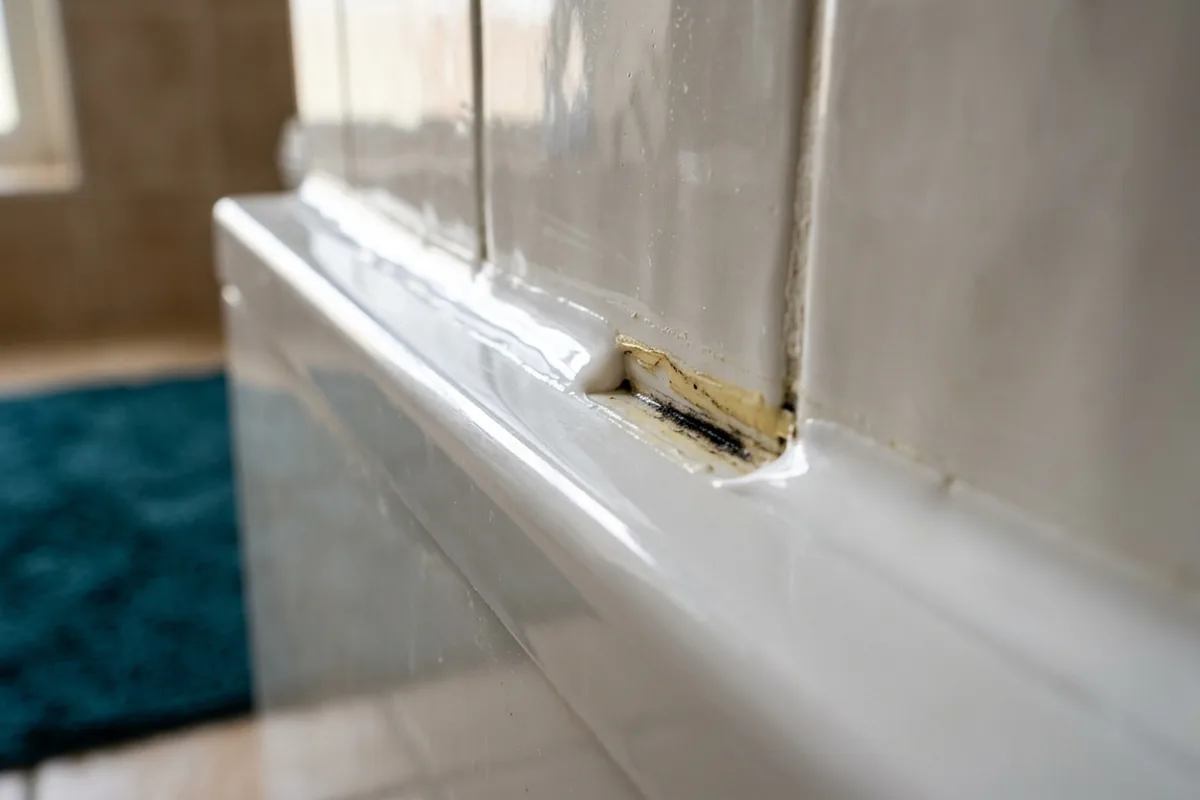
| Yellow tide mark under a window board | Leaking window, sill or condensation pooling | Sealant gaps, wet sill after rain or mornings |
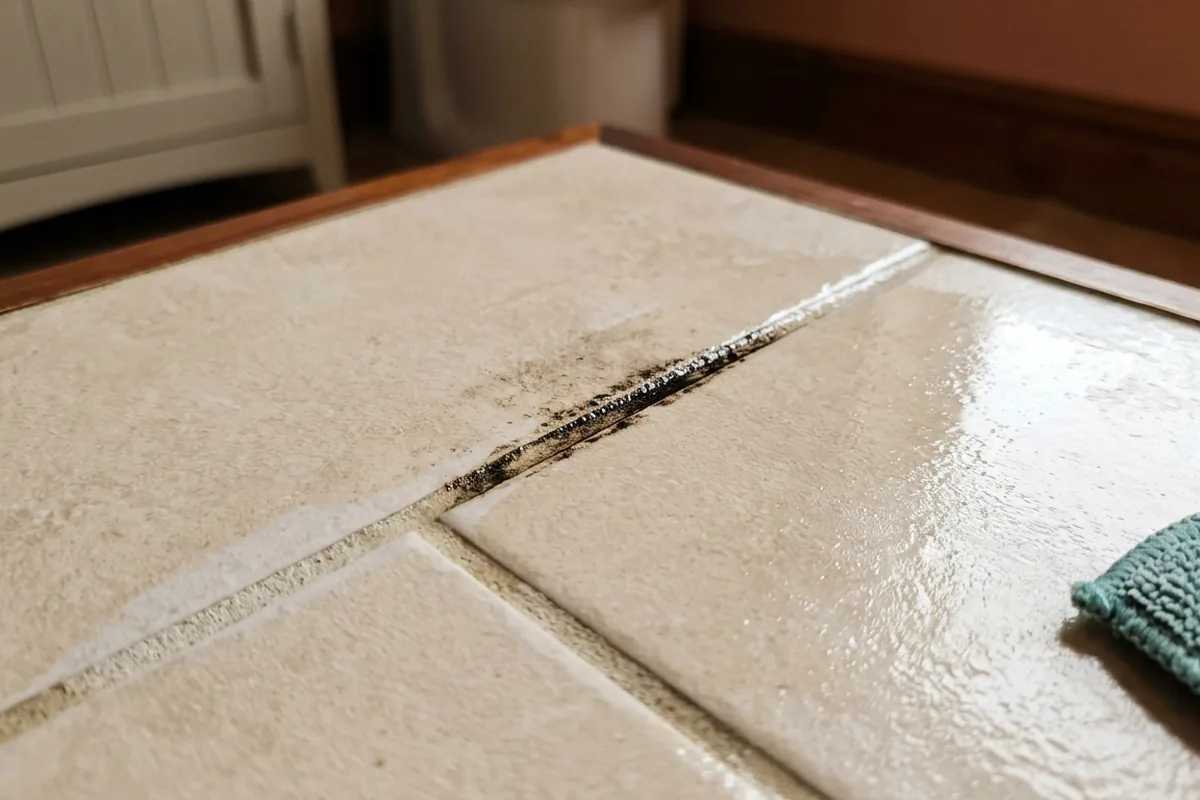
| Grey mould on cold outside wall | Condensation on a cold surface | Ventilation, furniture pushed tight to wall |
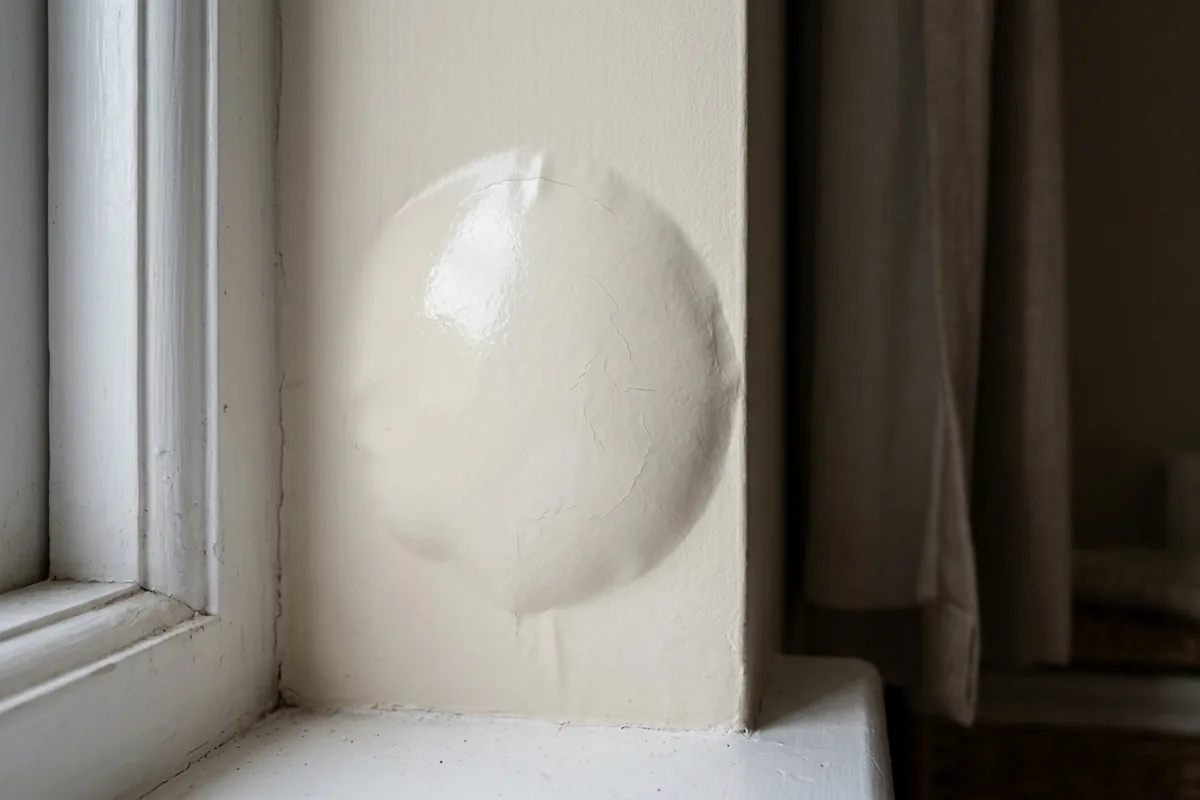
| Brown circle on ceiling below bathroom | Active plumbing leak | Dripping trap, loose tile grout, wet floor above |
If any of these patches grow, stay wet or feel soft, paint is the last thing you should be reaching for. You may need:
- A gutter or downpipe repair
- Better extractor fans or trickle vents
- Repointing or improved external render
- Plumbing repair above a stained ceiling
- Plaster replacement where salts are heavy
In those cases, painting is only sensible once the underlying issue has been addressed and the wall has had time to dry out properly, which can take weeks for deep damp.
If you are unsure whether it is just an old mark or a live problem, take photos a few weeks apart. If the patch grows or darkens, get advice before repainting again.
A good rule of thumb: if your new paint keeps discolouring in the same place, the wall is still trying to tell you something. Let it, fix the cause if you can, then seal and repaint once, properly, so you are not back to the same patch next winter.