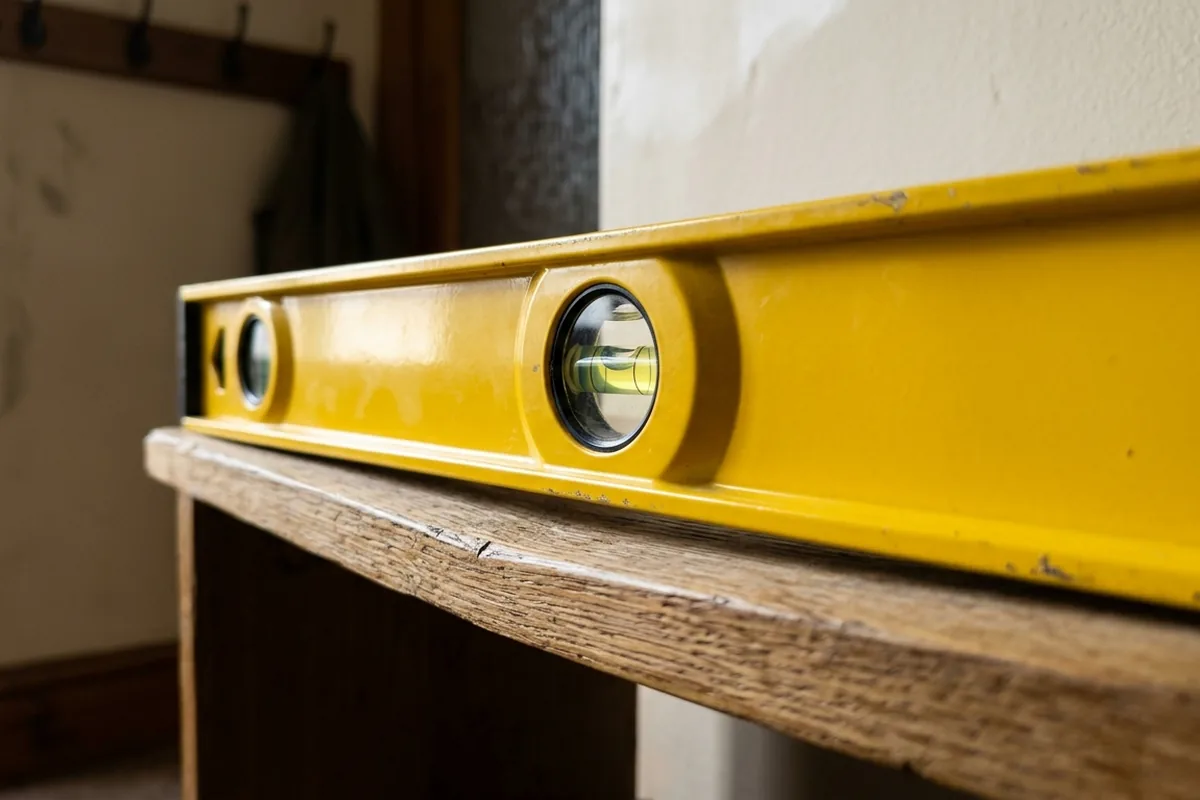
You can line the bubble up perfectly on your spirit level and still end up with wonky shelves, sloping worktops or a kitchen unit that never quite sits right. The usual culprit is not the level itself, but the surface you are placing it on. If that surface is soft, uneven, bowed or covered in debris, the level is reading the bumps and sag, not true level. The fastest fix is simple: put the spirit level on a known flat, firm reference (like a straight piece of timber or metal rule) and clean both surfaces before you trust the bubble.
Why the surface can ruin an accurate spirit level
A spirit level only measures the line it is sitting on. If that line is distorted, you get a distorted reading, even with an expensive level.
Common ways the surface throws the reading off:
- Soft or compressible surfaces
Carpet, underlay, vinyl, cork, thick paint or silicone can compress slightly under the weight of the level. One end sinks more than the other, so the bubble moves even though the structure underneath may be fine.
- Local bumps, blobs and debris
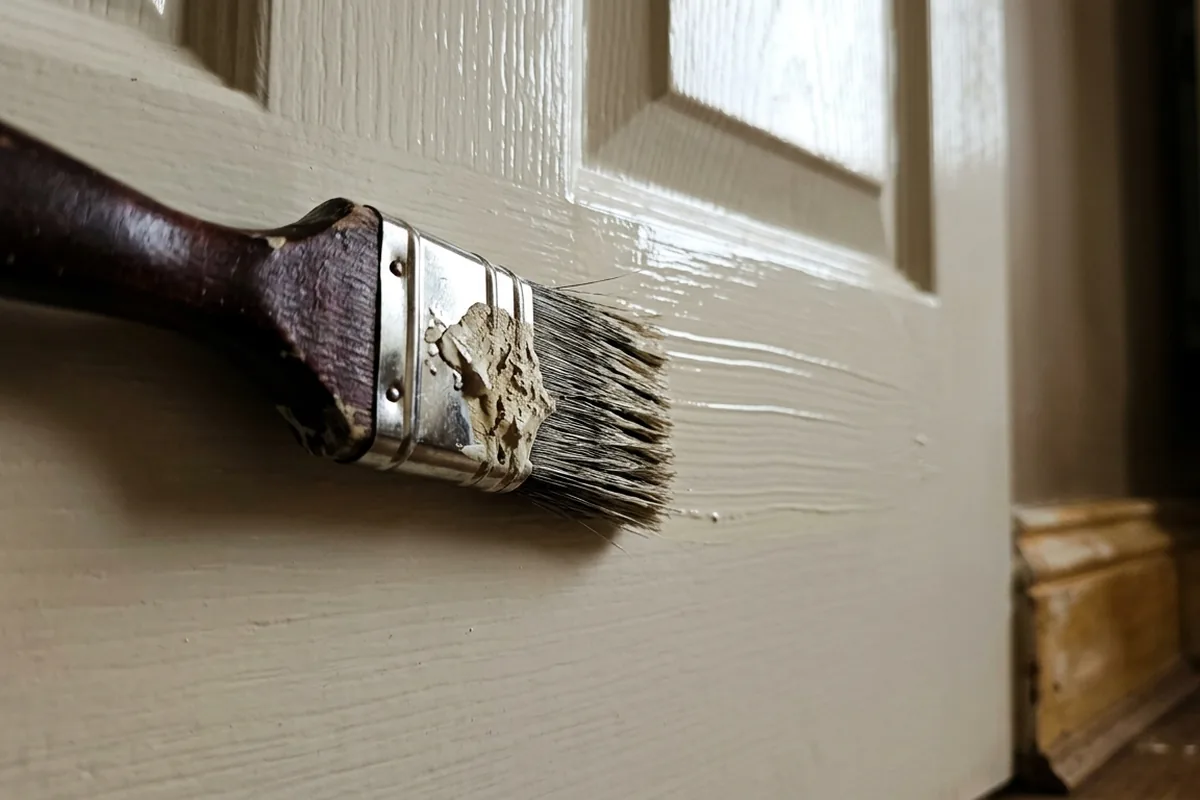
A dried drip of paint on a window board, a screw head, a bit of plaster or a grain of sand on a patio slab can lift one corner. The level “thinks” the whole span is tilted because it is perched on a high spot.
- Bowed or twisted materials
Old floorboards in a terraced house, a slightly cupped shelf, or a warped bit of timber from a DIY store often look straight by eye but are not. Put the level on that, and you are measuring the bow, not gravity.
- Flexible or thin sheets
Plasterboard ceilings, thin laminate worktops without enough support, or long kitchen unit panels can flex when you lean on them. The level moves with that flex, so the reading changes as you touch it.
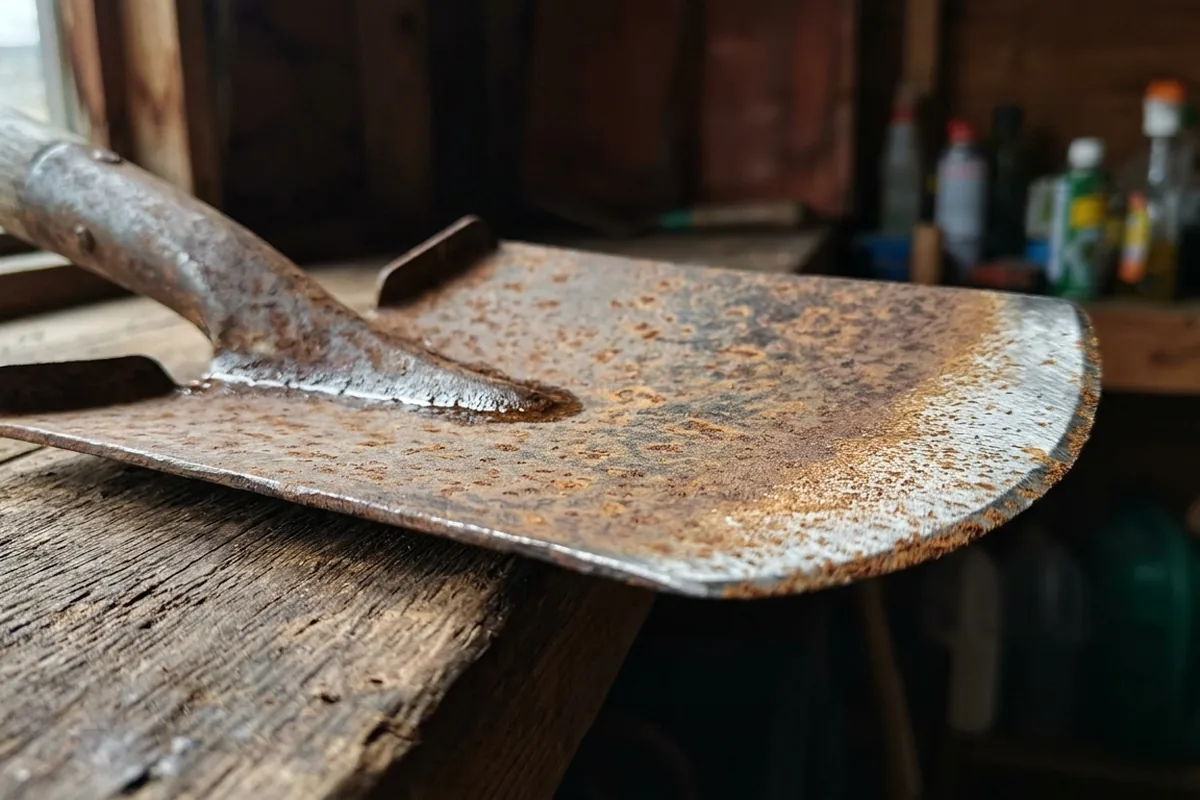
- Dirty or damaged level edges
If the level’s own edge is dinged, bent or caked in plaster, it no longer sits flat. It is effectively its own “wrong surface”.
The result is shelves that look straight when you are standing right in front of them, but the moment you step back or put a long straight edge on them, the error shows.
Where to place your level for reliable readings
To get a trustworthy reading, you want firm, clean, continuous contact along the length of the level, or along something you trust that the level is sitting on.
Better ways to support the level
- Use a straight batten or metal rule as a bridge
When checking a lumpy tiled wall or uneven patio slabs, rest a straight length of timber or aluminium across the high spots, then put the level on that. This averages out small bumps and dips.
- Avoid thick carpet and underlay
If you are checking whether a bookcase or wardrobe is upright in a carpeted bedroom, put the level directly on the furniture, not on the carpet. For floor level, pull the carpet back at the edge if possible, or use a firm board on top.
- Check the actual fixing points
For a wall shelf, place the level where the brackets or screws will go, not in the middle of a bowed plaster skim. That way you level the fixings, not a wavy surface.
- Use vertical faces, not just tops
When fitting kitchen units or a door frame, put the level on the side (vertically) as well as the top. Plaster can be thicker at the bottom or top of a wall, so a unit can be level on top but still lean out.
If your readings seem inconsistent, flip the level end-for-end on the same spot. If the bubble moves to the opposite side, something is off: either the level is out of calibration or the surface is not flat.
Quick checks to avoid bad readings from your spirit level
Before you blame the tool or drill any holes, a few small checks can save you filling and re-drilling later.
First, make sure both the level and surface are clean and sound. Then think about what you are actually measuring. This is where people often get caught out in UK homes with older plaster, bouncy floors and patched walls.
| Situation | Likely surface problem | Better way to use the level |
|---|---|---|
| Shelves over a freshly skimmed wall | Plaster not perfectly flat | Level off a straight batten fixed across the bracket positions |
| Checking a freestanding wardrobe on carpet | Carpet and underlay compress unevenly | Put the level on the wardrobe itself and pack under the feet |
| Aligning kitchen units on a wavy floor | Old floor not level or flat | Use a long straight edge and level, then adjust unit legs to that line |
| Marking a line on bumpy bathroom tiles | Grout lines and tile lips lift corners | Use a straight batten on the wall, level that, then mark along it |
| Checking patio fall for drainage | Individual slabs slightly proud or low | Bridge several slabs with a straight board and level |
A few extra pointers:
- Don’t press down hard on the level to “hold it still”. On flexible or thin materials, that can bend the surface and move the bubble.
- Avoid resting on fixings like screw heads, tile spacers or nail heads. They act like tiny legs.
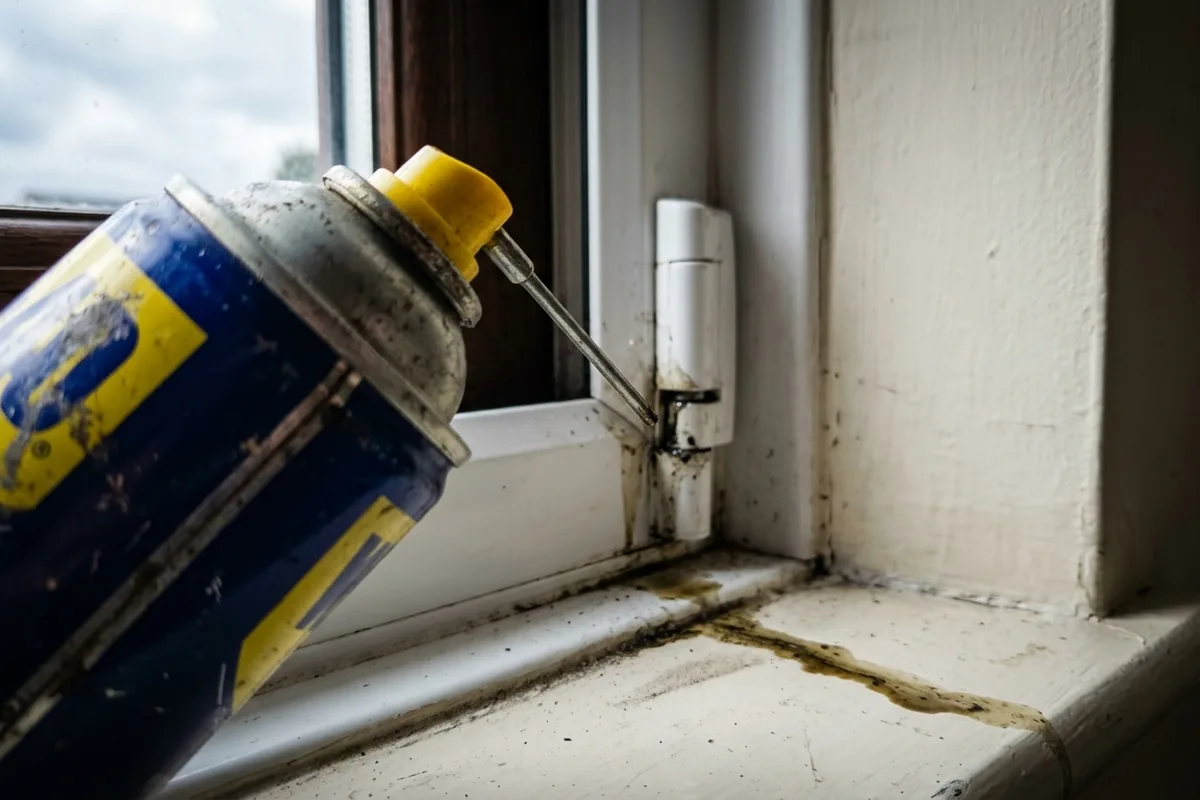
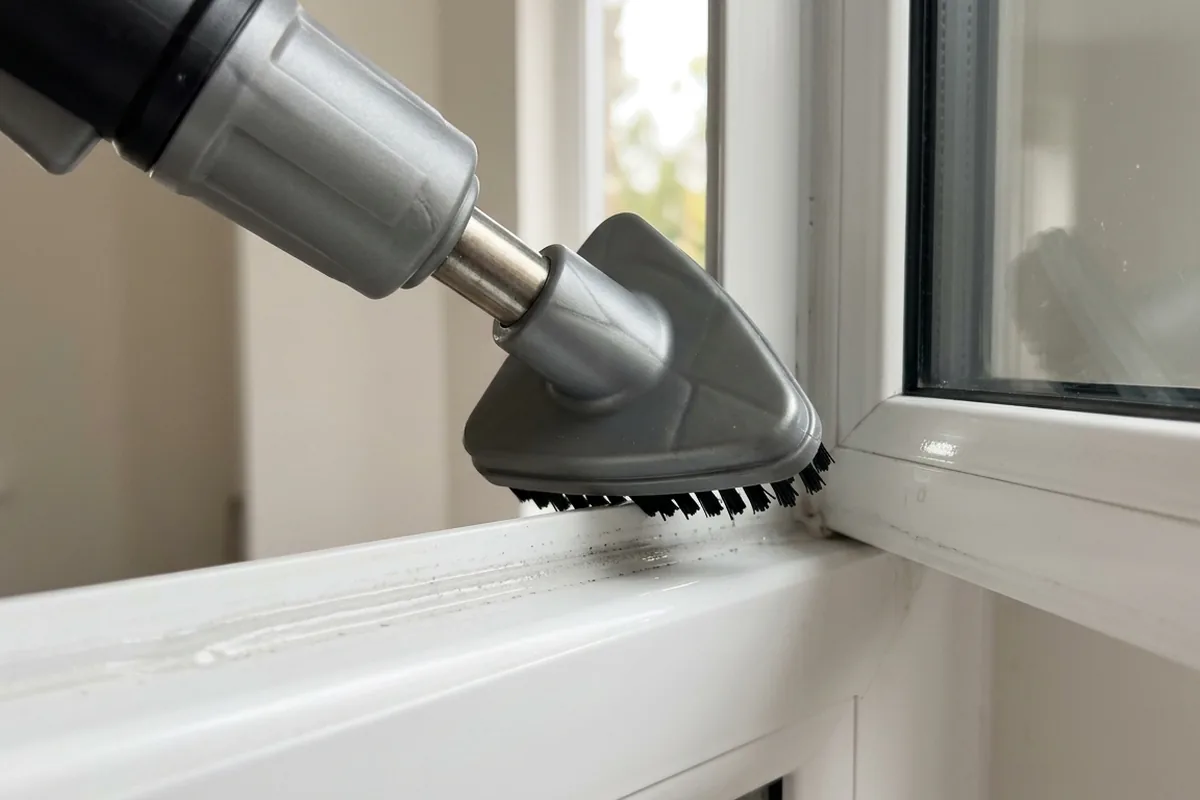
- On window boards with silicone sealant at the edges, keep the level away from the soft bead. Rest it on the firm central area instead.
- If you are levelling something long, like a run of kitchen units, use the longest level you sensibly can. Short levels exaggerate local bumps.
If you suspect the level itself is the problem, check it on a firm, known flat surface such as a solid worktop or a straight kitchen unit side panel: read it, flip it 180 degrees, and read again. If the bubble does not return to the same place, the level may need replacing.
Getting into the habit of asking “is this a good surface to measure from?” takes seconds, but it is often the difference between a job that looks “just off” forever and one that lines up cleanly first time. When something looks wrong even with a “perfect” bubble, assume the surface is lying to you before you assume gravity has moved.