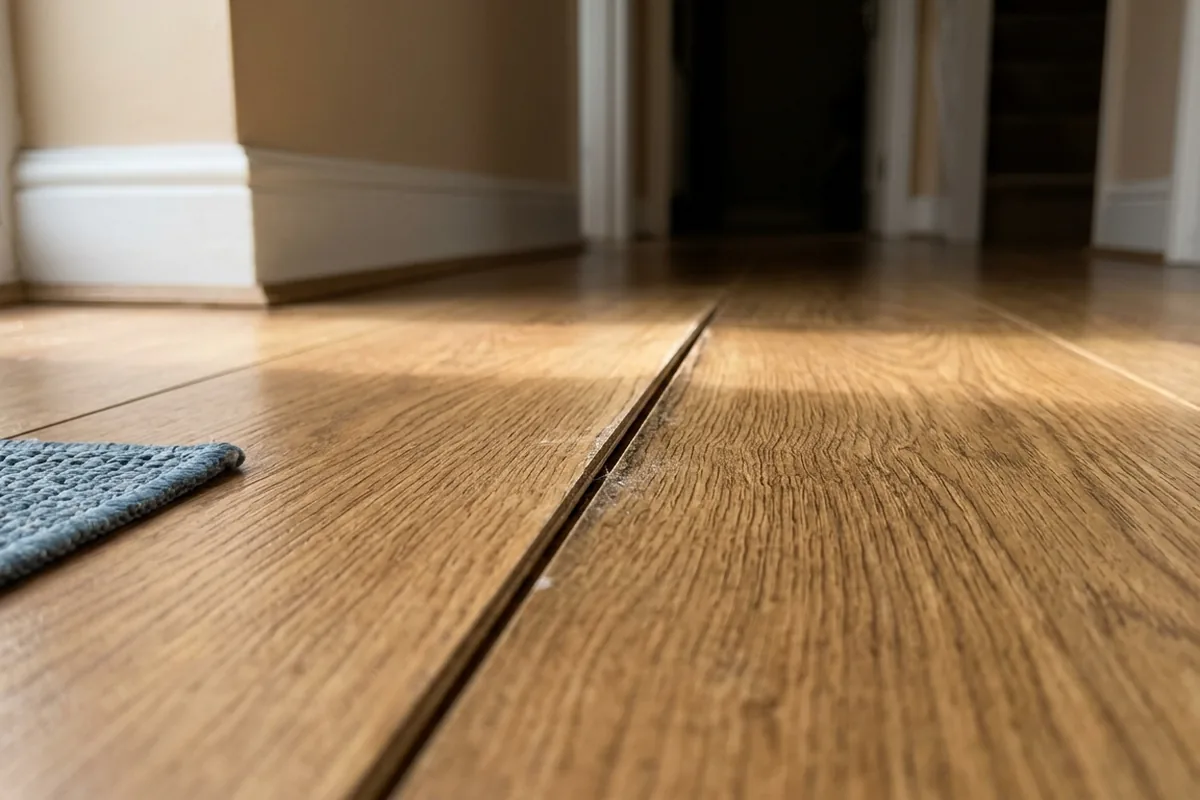
You lay the last board, stand back and the new laminate looks perfect. A couple of weeks later you notice thin dark lines between boards, especially in the middle of the room or along a sunny window. The big mistake that causes this in most UK homes is not leaving proper expansion gaps and movement space when you fit the floor.
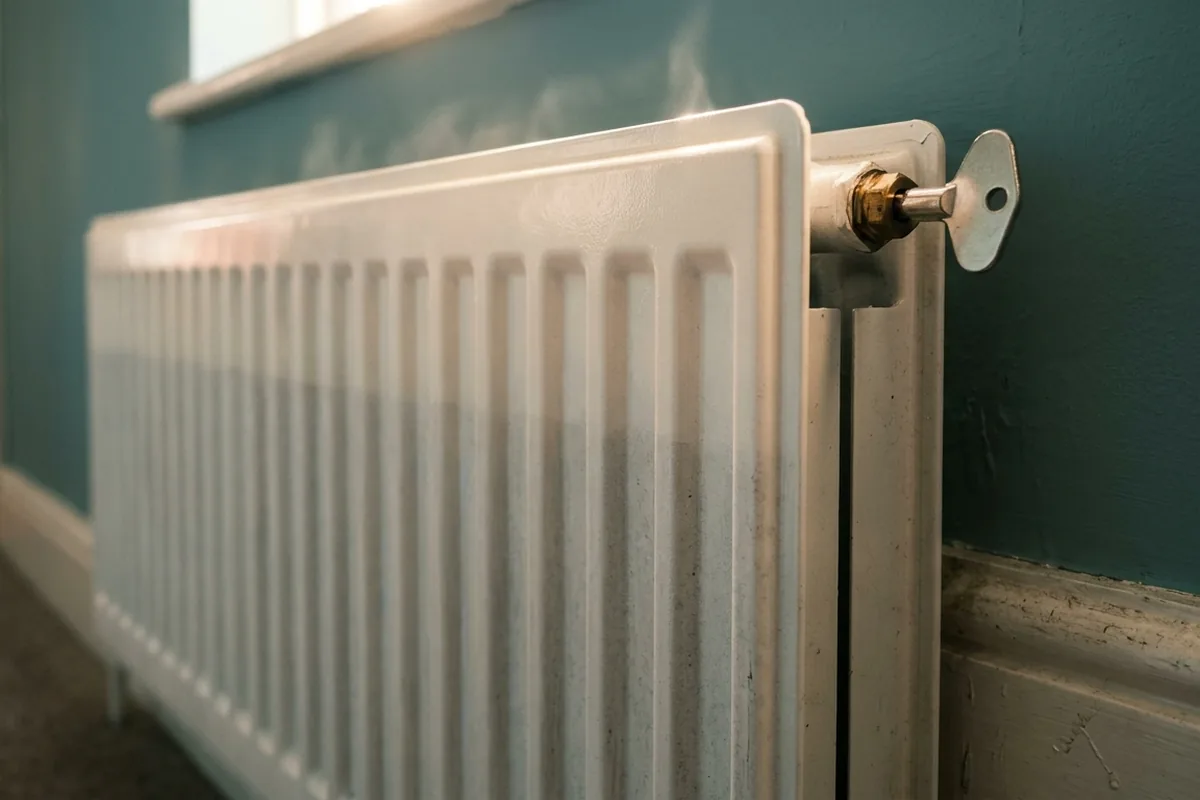
Laminate is basically compressed wood. It expands and contracts with temperature and humidity, particularly with central heating cycling on and off. If it cannot move at the edges, it quietly shifts and pulls apart in the middle, leaving those annoying gaps. No amount of filler or “pushing the boards back” will last if the floor still has nowhere to move.
The mistake that makes laminate open up
The core problem is usually that the floor has been fitted too tight: against skirting boards, door frames, radiator pipes or thresholds, with little or no expansion gap.
When the boards swell slightly, they push against these fixed points. Because the click joints are the weakest part, the pressure often shows up as:
- Gaps appearing after a few weeks, not on day one
- Boards slightly peaked or “tenting” in places
- Movement or creaking when you walk across the middle of the room
Most laminate manufacturers specify around 8–10 mm expansion gap all the way round the room, and around pipes and door frames. That gap is normally hidden by skirting boards or beading, so you never see it once finished.
Two other things often make the problem worse:
- No proper underlay, or the wrong type for a floating floor, so the boards don’t sit flat and can shift more easily
- Boards not acclimatised: fitting them straight from a cold van into a warm terraced house, so they change size after installation rather than before
If your gaps appeared after a few weeks, it is almost always a movement issue, not “bad laminate”.
Quick checks before you try to fix the gaps
Before you start pulling boards up, it helps to confirm what is actually going on.
Look for these signs around the room:
| Sign at home | What it may mean | First check |
|---|---|---|
| Boards tight under skirting | No expansion gap | Lift a bit of beading or check at a pipe |
| Gaps mainly in the centre | Floor has “bunched up” at edges | Run a finger along edges to feel for pressure |
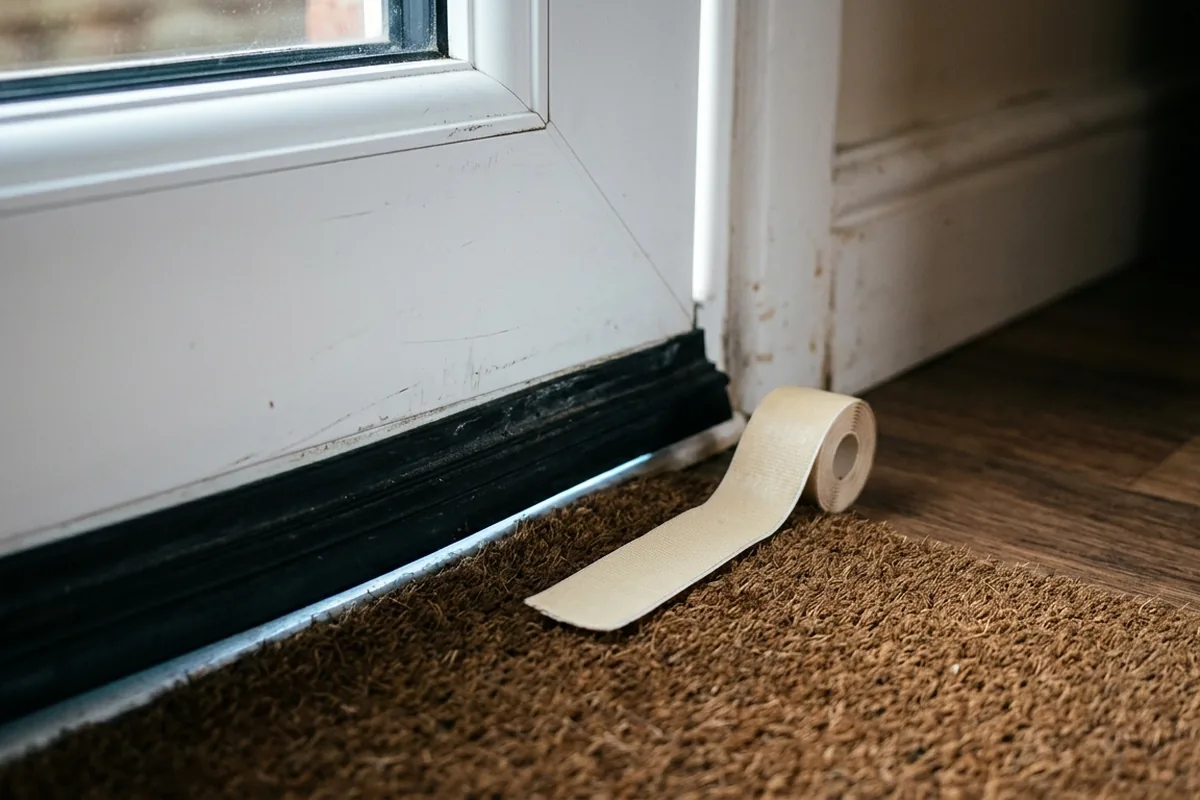
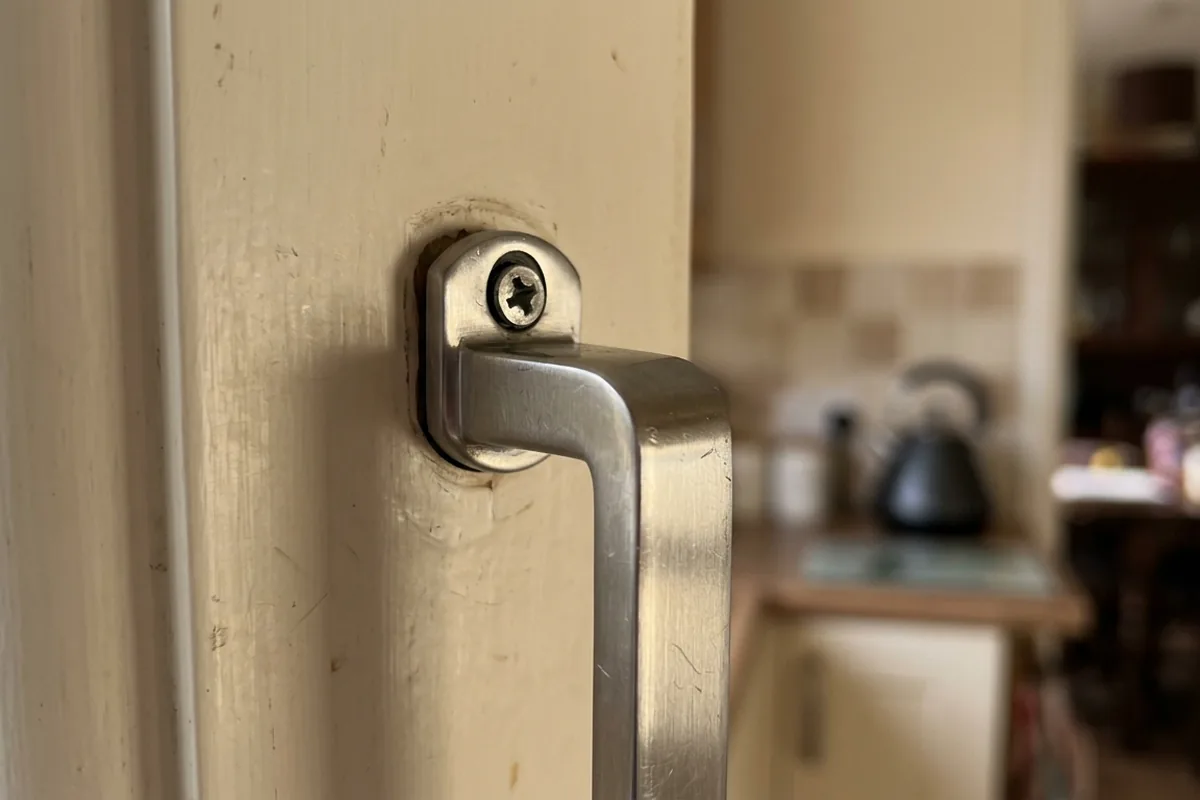
| Boards peaked near a doorway | Trims or frames pinching the floor | Check under door bar or at frame bases |
| Creaking in one area | Uneven subfloor or poor underlay | Press with your foot and feel for movement |
If you gently push a gapped board sideways with your heel and it slides then springs back, that is a sign the floor is still under tension and the edges are probably too tight.
If the gaps are tiny, the boards feel solid and the expansion gaps look OK, the issue may simply be natural seasonal movement in a centrally heated house. In that case, a cosmetic repair is often enough.
Safe ways to deal with existing gaps
How much you can realistically fix yourself depends on how the floor was put down and how bad the gaps are.
If the gaps are small and the floor is stable
For gaps of a millimetre or two where the boards do not move:
- Try a floor gap puller (a metal tool with a rubber face you tap with a hammer) to close a short run of gaps, then refit the beading to hold things in place.
- For very small, stubborn gaps, some people use a colour-matched laminate repair kit to disguise the line. This does not fix the cause, but can make it less visible in a lounge or hallway.
These only make sense if you have already checked that decent expansion gaps exist all round the room.
If the floor is pinched at the edges
Where you can see there is no gap at the skirting or around pipes, the priority is to free the floor so it can move:
- Carefully remove the beading or scotia and check behind it.
- If the laminate is hard against the wall, you can usually trim a few millimetres off the board edges using a multitool or handsaw, working with care so you do not cut the underlay or skirting.
- Around radiator pipes, use a pipe collar as a guide: if the laminate touches the pipe, enlarge the hole slightly so there is a visible gap that will be hidden by the collar.
Once the edges are relieved, some gaps in the middle may reduce over a few days as the tension eases. You can then use a gap puller to tidy what is left.
If you are not comfortable cutting near skirting boards or pipes, this is a sensible point to ask a flooring fitter rather than risk visible damage.
If the subfloor or underlay is the real issue
If certain areas feel spongy or hollow, especially over floorboards, the problem may be:
- Uneven or flexing subfloor
- Inappropriate or very cheap underlay
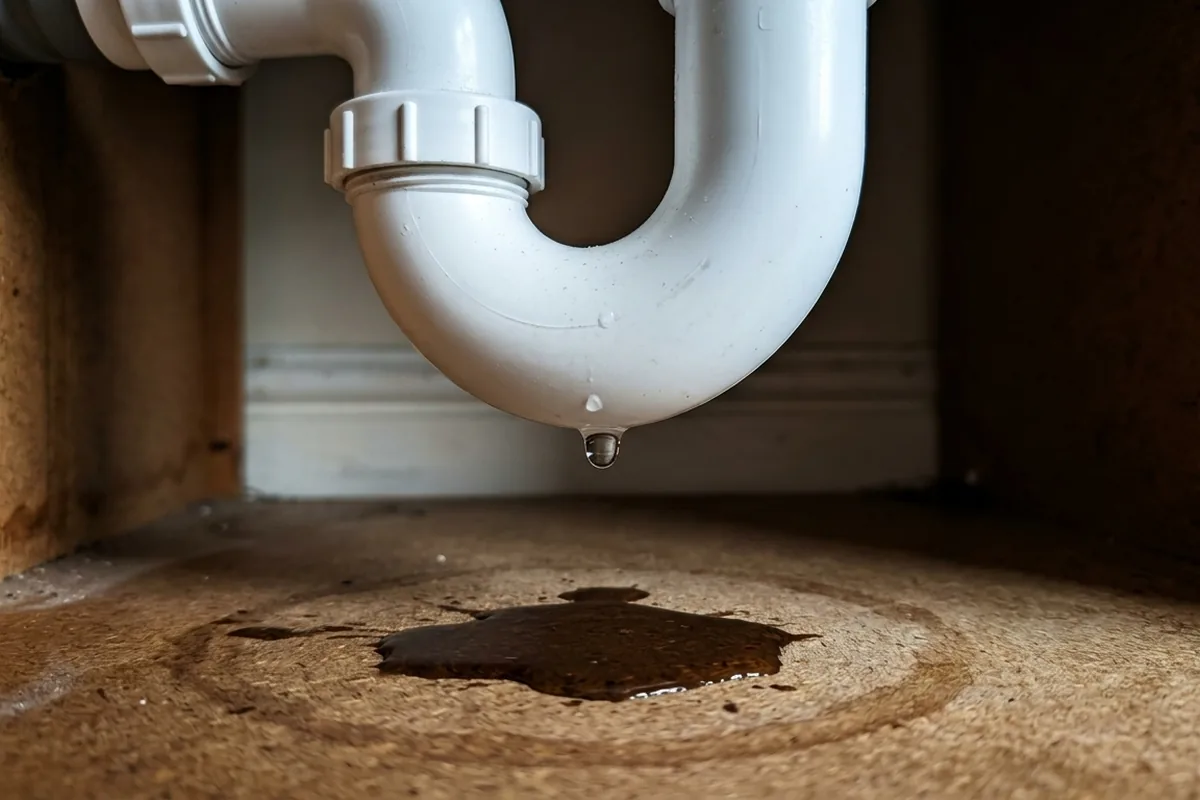
- Moisture issues from below in a ground-floor room
These are not quick fixes. You usually need to lift at least part of the floor, level the subfloor and refit with the right underlay. That is more of a weekend project than a quick tweak, and in a rented flat you should speak to the landlord before you touch it.
How to avoid gaps when fitting laminate next time
If you are planning new laminate in a bedroom, lounge or hallway, a few habits massively cut the risk of gaps appearing later:
- Acclimatise the packs flat in the room for at least 48 hours so they adjust to the temperature and humidity.
- Use proper underlay suited to your subfloor (for example, one type for concrete, another for existing floorboards).
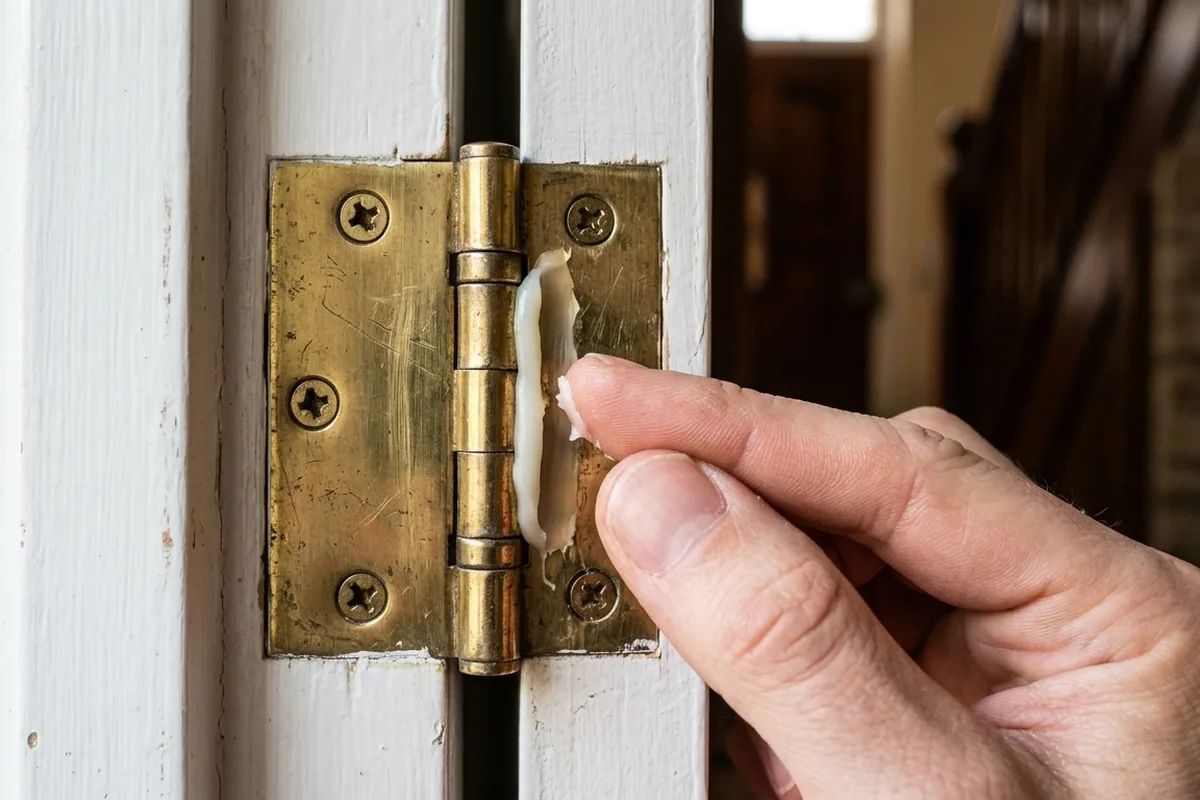
- Leave 8–10 mm expansion gap at every wall, pipe and fixed object, and make sure door trims and frames are undercut so the floor can slide beneath rather than butt against them.
- Check the subfloor is flat within the tolerance stated by the manufacturer; high spots can force joints open.
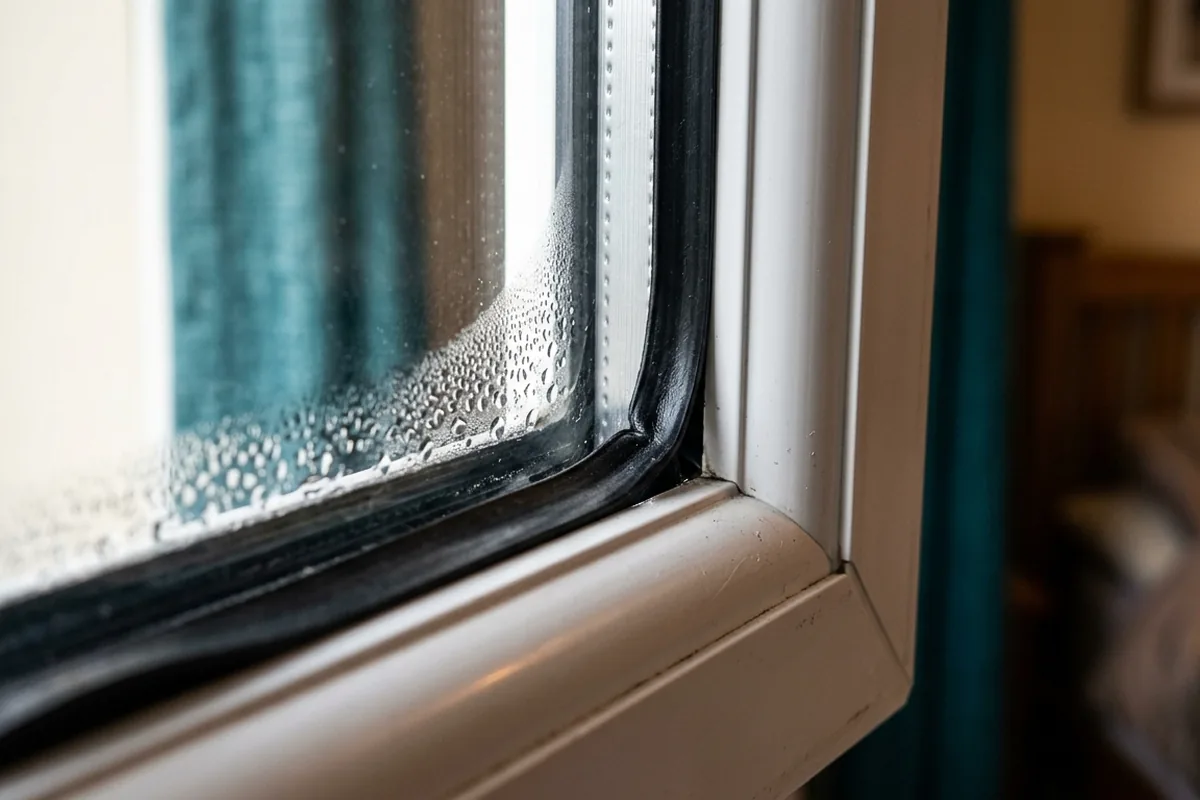
- Keep the room reasonably stable in temperature and humidity during and just after fitting, avoiding sudden blasts of heat or leaving windows wide open on a wet day.
If you are looking at an existing floor that has started to open up, start with the edges. If the laminate cannot breathe at the perimeter, any cosmetic fix in the middle will be temporary at best.