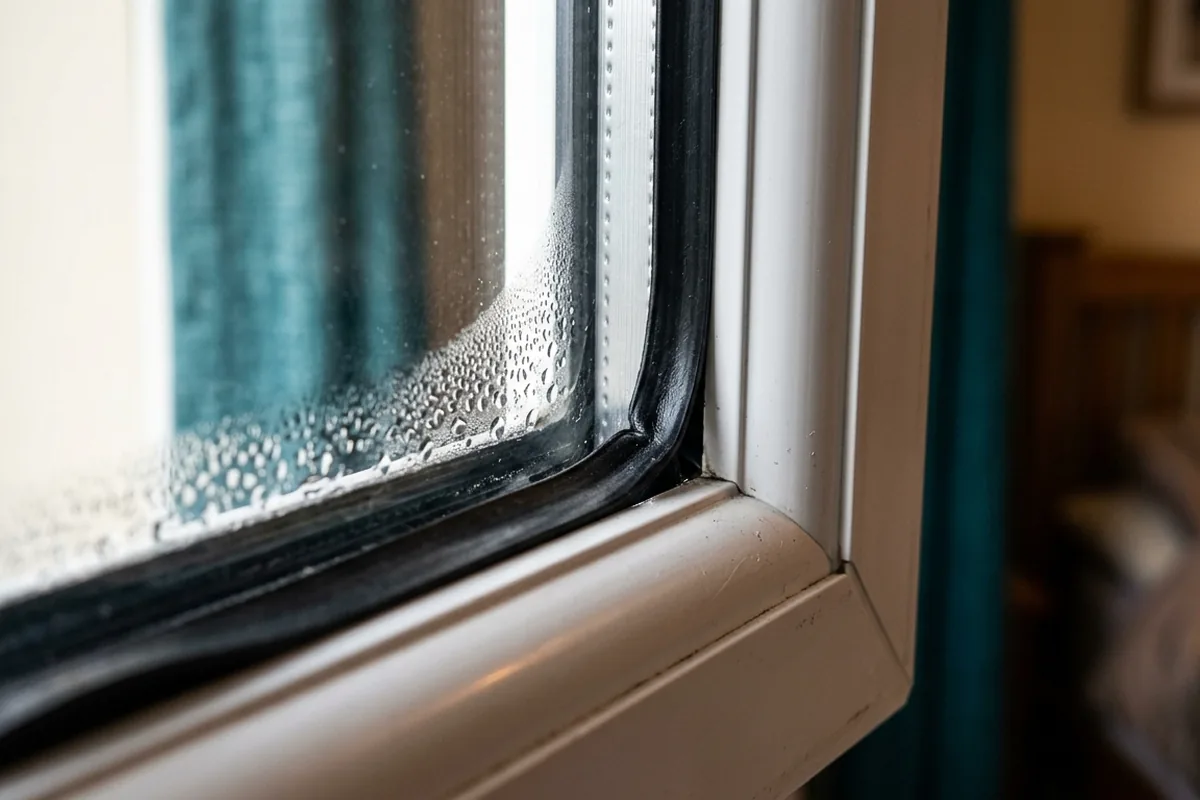
That thin white line around the edge of your bath is doing more work than it looks. When it cracks or pulls away, water can creep behind the tub, soak into plasterboard, stain the ceiling below and start hidden damp you will not spot for months. The fix is usually simple: cut out the failed silicone sealant completely, dry the area, then apply a fresh bead of bathroom-grade silicone with the bath supported and full of water so it does not move later.
The right way to repair a cracked bath seal
If the crack is more than a tiny hairline or the sealant is lifting, do not just smear more on top. New silicone will not bond properly to old, mouldy or loose material, and the leak will return.
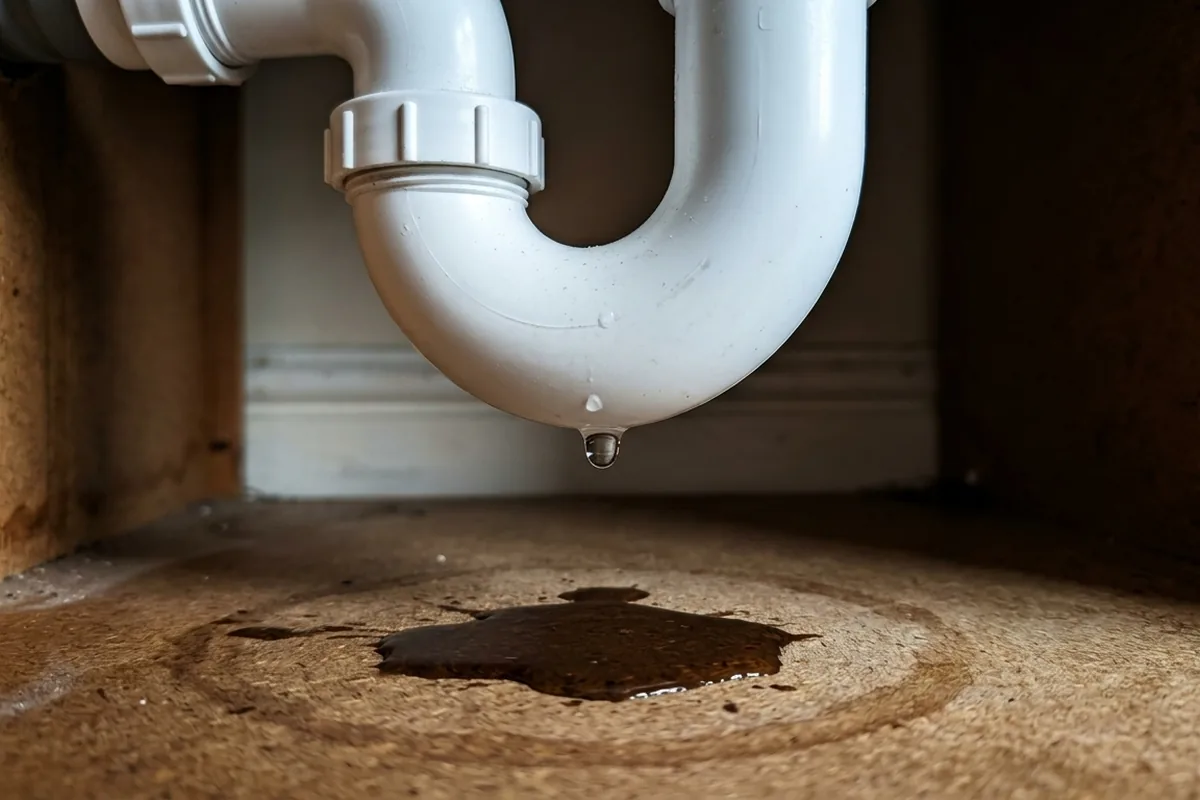
1. Check for signs of existing water damage
Look underneath if you can: in the ceiling below, under the bath panel or along nearby skirting boards. If you see sagging ceilings, soft plasterboard or widespread black mould, stop and speak to a plumber or builder. A simple reseal will not fix structural water damage.
2. Gather simple tools and materials
- Silicone sealant remover (gel type is easiest)
- Plastic or silicone scraper (avoid metal on enamel or acrylic baths)
- Utility knife with a sharp blade
- Methylated spirits or isopropyl alcohol
- Bathroom-grade mould-resistant silicone sealant
- Sealant gun (if using cartridge)
- Masking tape
- Microfibre cloths and kitchen roll
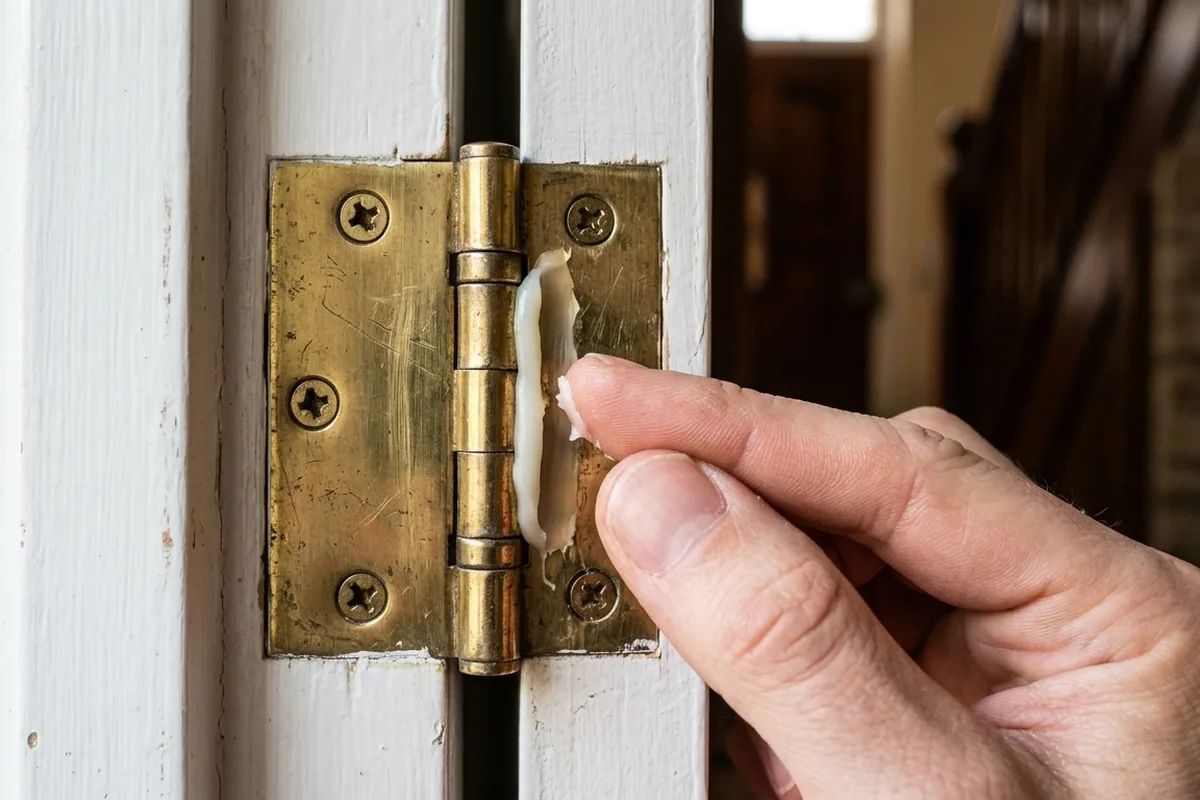
3. Remove all the old sealant
Run a knife carefully along the top and bottom edges of the old bead, then peel away what you can by hand. Use sealant remover to soften what is left and lift it with a plastic scraper. You want bare bath and bare tile with no shiny residue.
4. Clean and dry the joint
Scrub away soap scum and limescale with washing-up liquid and a non-scratch pad, rinse, then wipe with methylated spirits to remove grease. Let everything dry fully; use a fan heater or leave it overnight if the bathroom is cold. Silicone will not bond to damp surfaces.
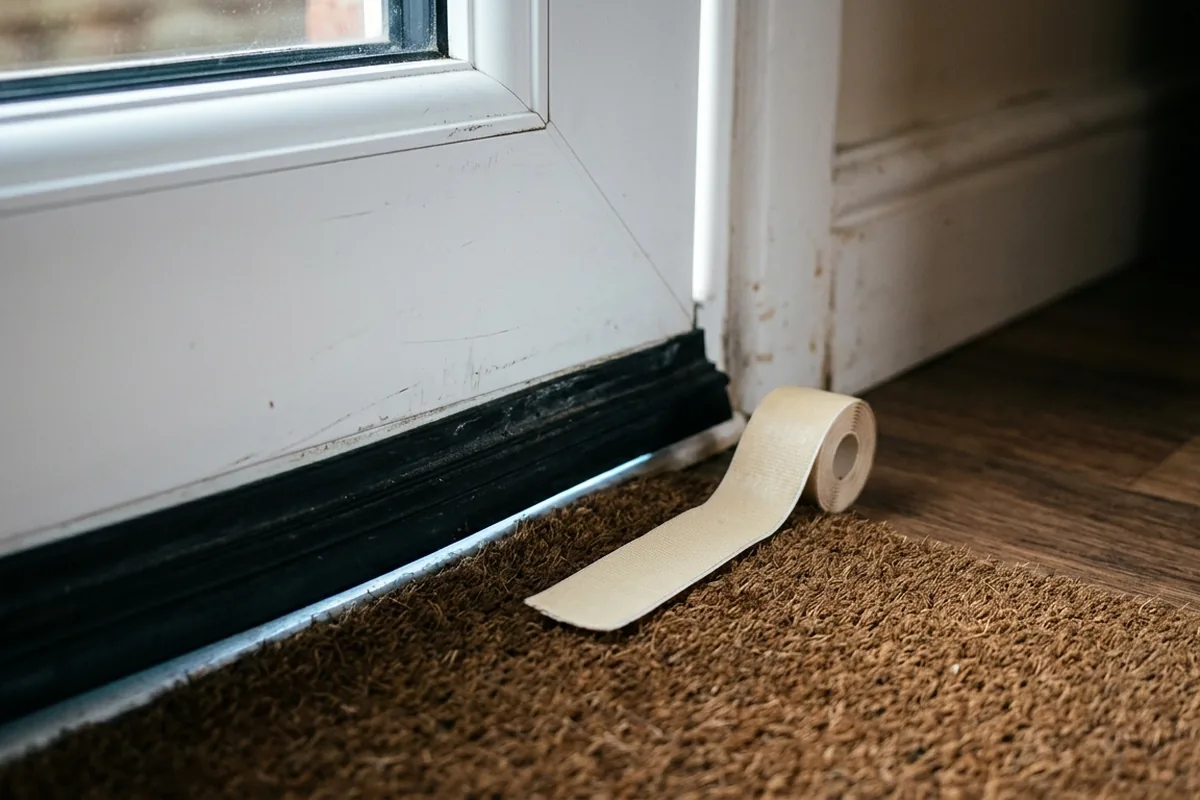
5. Fill and support the bath
Before resealing, fill the bath with cold water. This makes it drop to its “in-use” position so the new sealant is not stretched later. If the bath flexes a lot in a typical small UK bathroom, consider fitting a thin backing rod or foam strip in the gap so the sealant is not too thick.
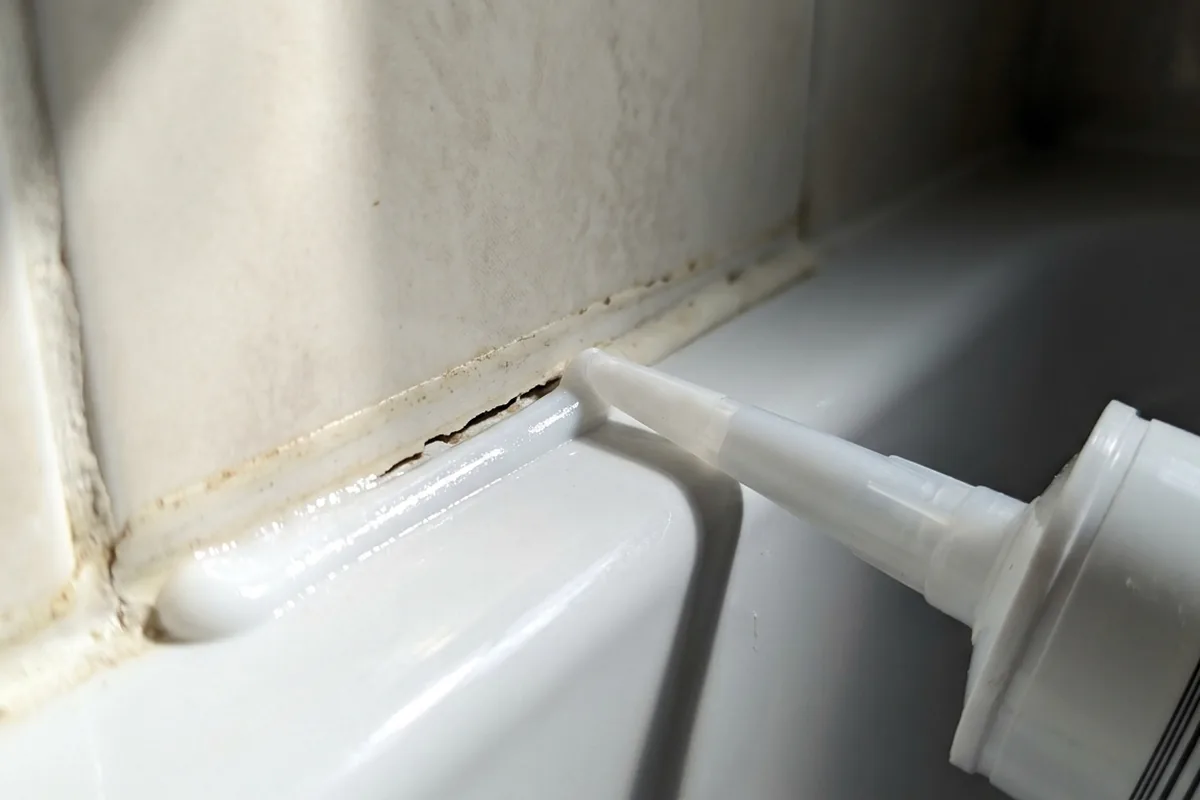
6. Apply the new sealant bead
Cut the nozzle at about a 45° angle, with a hole just big enough to fill the gap. Run a smooth, continuous bead along the joint. Keep steady pressure on the trigger, moving at a constant speed.
7. Tool it off neatly
Lightly wet your finger or a sealant tool with soapy water and smooth the bead in one pass, pushing it into the gap. Wipe excess onto kitchen roll. Remove any masking tape straight away, before a skin forms.
Leave the bath full and do not use the shower or bath for at least 24 hours, or as long as the tube states.
Checks to make before the next shower
Once the sealant has cured, you want to be sure water is not sneaking past anywhere else.
Look closely for:
- Gaps at corners where vertical and horizontal joints meet
- Tiny pinholes or thin patches where you have over-tooled the bead
- Movement: press gently on the bath edge; if it flexes a lot, the sealant may fail again
If you spot a pinhole or small gap, you can usually add a tiny touch of fresh silicone just to that spot, as long as the new bead is still very recent and clean. For anything bigger, it is better to cut back and redo that short section than build up a messy ridge.
Also check:
- Grout lines above the seal; cracked grout can let water in behind tiles
- The bath panel for damp patches or musty odours
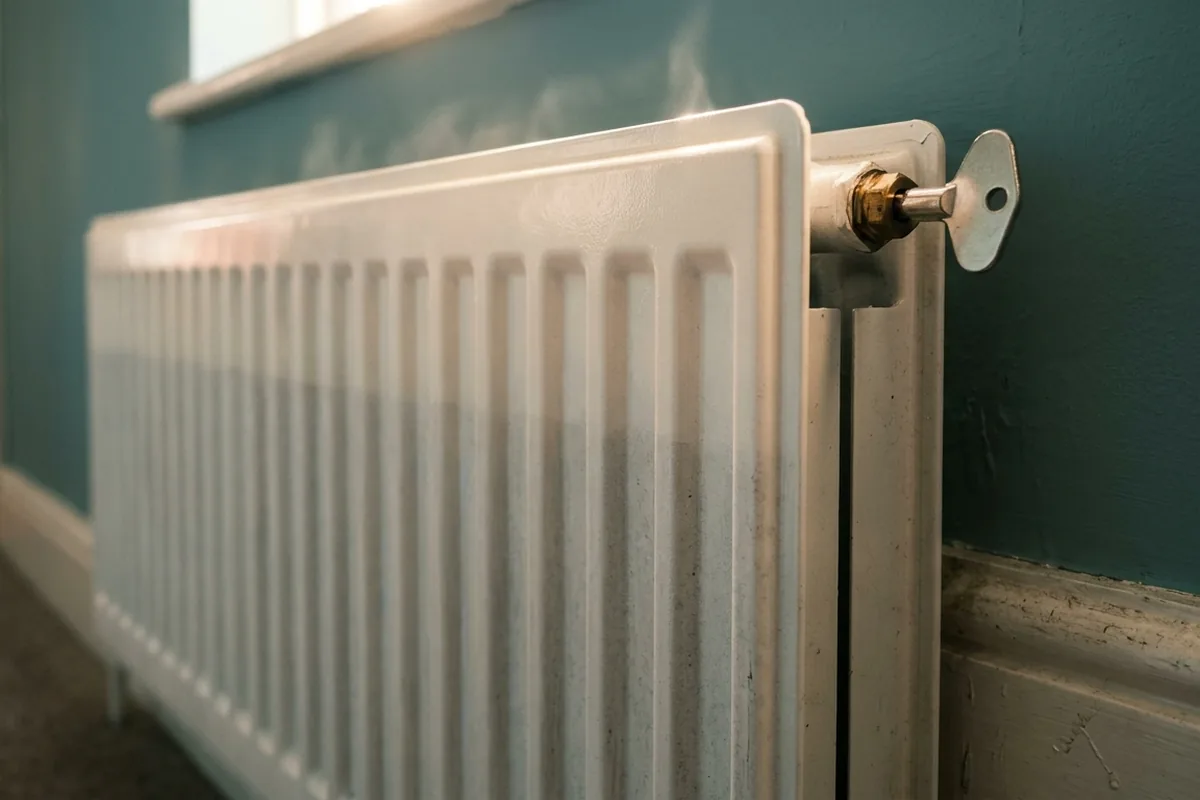
- The bathroom extractor fan is working properly so moisture does not sit on the seal and promote mould growth
If your bathroom is in a rented flat, it is worth taking a quick photo of the finished seal so you have a record if damp marks appear later.
When a simple reseal is not enough
Sometimes cracked sealant is a symptom of a bigger issue rather than the cause on its own.
Common limits to a DIY reseal include:
- Loose or moving bath
If the bath rocks when you lean on it or the frame is not stable, any new silicone will be stressed and crack. That needs the frame or feet adjusting before you bother resealing.
- Large gaps between bath and tiles
If you can see more than about 5–6 mm of gap, or the wall is badly out of square, you may need a backing rod or even a small trim strip. Trying to fill a deep void with a huge blob of silicone usually leads to sagging and poor adhesion.
- Severe black mould in the joint
Where mould has penetrated behind tiles or into plasterboard, it often comes back quickly. You can clean light surface mould with a mould spray (ventilate well and never mix with vinegar or other cleaners), but if the joint turns black again within weeks, there is likely ongoing moisture behind the seal and a deeper repair is needed.
- Water already in the structure
Persistent damp patches on the ceiling below, flaking paint on the wall next to the bath, or swollen skirting boards point to water that has already soaked in. In a typical terraced house or first-floor flat, that is the point to stop DIY and get a professional to check for hidden damage.
If your new sealant stays clean, feels firm to the touch and the edges around the bath remain dry after showers, you have probably caught the problem in time. If cracks reappear or damp marks grow, the issue is likely beyond the seal and needs a closer look before more water gets involved.