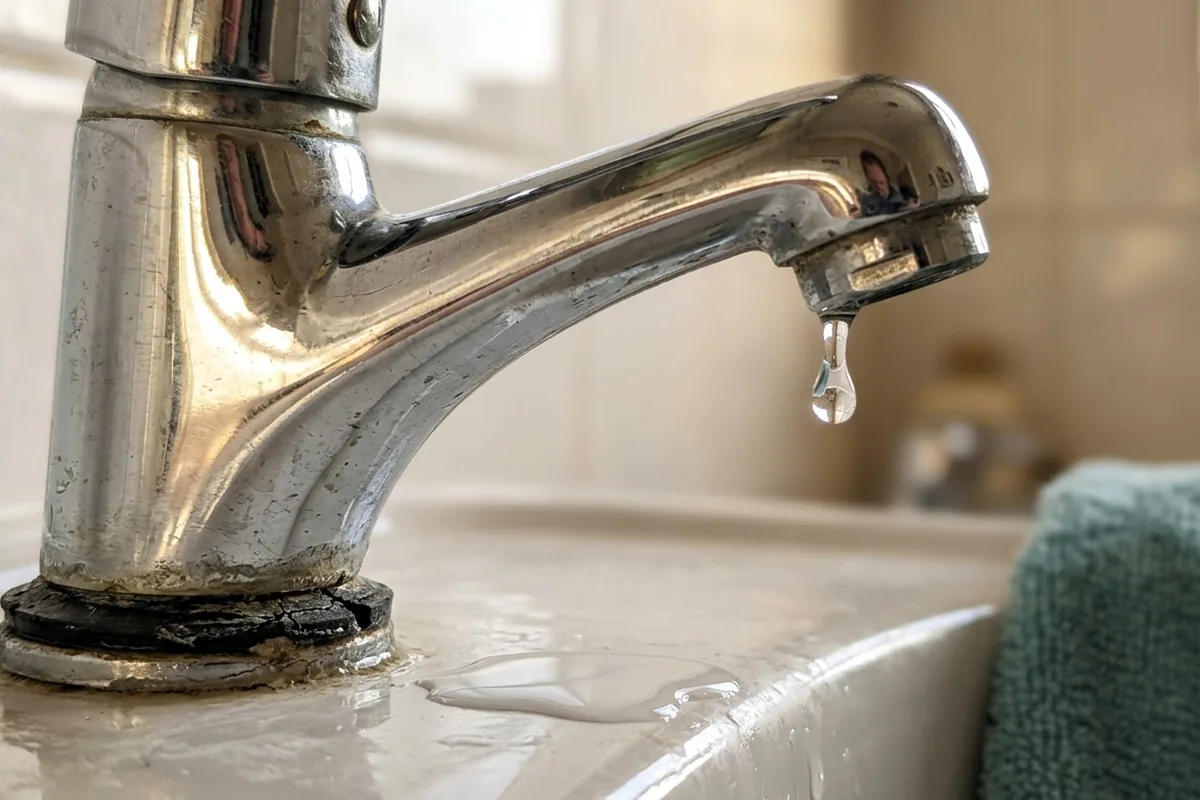
That steady drip at night from the bathroom or kitchen tap is more than just annoying. It wastes water and can stain your sink with limescale. In most UK homes a simple washer or cartridge swap will stop the leak, but only if you can safely turn the water off and the tap isn’t too corroded or seized. If the tap body is cracked, the handles are wobbling all over the place or you cannot isolate the water, the realistic answer is to stop, avoid forcing it and call a plumber or plan a full tap replacement instead.
How to fix a common leaking tap at home
Most household taps leak from either the spout (drip, drip) or around the handle when you turn it on. Both usually come down to worn internal parts.
Before you touch a tool, find and test the isolation valves. Look in the under-sink cupboard or nearby pipework for small slotted or lever valves. Turn them off (slot across the pipe; lever at 90°) and then open the tap to check the water stops. If it doesn’t, do not dismantle anything: you risk a flood.
If you can isolate the supply, the basic approach is:
1. Work out which type of tap you have.
2. Dismantle it gently.
3. Replace the worn part (washer or cartridge).
4. Reassemble and test.
If you have old-style pillar or mixer taps (separate hot/cold, twist handles)
These usually have a rubber washer on a spindle.
1. Turn off water and open the tap to release pressure.
2. Pop off the small cap on top of the handle (if there is one) and undo the screw underneath.
3. Lift off the handle. If it’s stuck, wiggle gently; do not lever hard against the basin.
4. Unscrew the tap “headgear” (the metal part under the handle) with an adjustable spanner, protecting the chrome with a cloth.
5. At the bottom you’ll see the washer, held with a small screw. Replace it with the same size from a tap washer kit.
6. Reassemble in reverse, turn water back on slowly and test.
If the tap still drips, the valve seat inside the tap body may be pitted. You can get a reseating tool, but that’s where many DIY jobs start to go wrong. At this point it’s often more sensible to replace the whole tap or get a plumber to reseat it.
If you have a modern single-lever mixer tap
These usually use a ceramic cartridge, not a loose washer.
1. Turn off the water and open the lever.
2. Remove the small hot/cold indicator or trim to access the grub screw, then slide off the handle.
3. Unscrew the decorative shroud and retaining nut to reveal the cartridge.
4. Lift the cartridge out and take it to somewhere like Screwfix or B&Q to match it, or order the exact part from the tap manufacturer.
5. Fit the new cartridge, making sure any locating lugs sit in their slots, then reassemble.
If the lever is very stiff, the body is heavily scaled or the retaining nut is rounded, do not force it. You can crack the tap or twist the pipework in the wall.
Quick checks before you blame the washer
A few simple checks can save you taking a tap apart for no reason.
Sometimes the “leak” is actually:
- Water running down from the spout because of heavy limescale and poor flow, not a worn washer.
- Splashing from a high-pressure kitchen mixer hitting the sink at the wrong angle.
- Condensation in a small bathroom dripping off a cold tap after a hot shower.
- A loose connection under the sink, not the tap mechanism itself.
If there’s a spray or dribble from the tip of the spout, unscrew the aerator (the small nozzle at the end) and soak it in white vinegar to clear limescale, then rinse well. Avoid getting vinegar on natural stone worktops and never mix it with bleach.
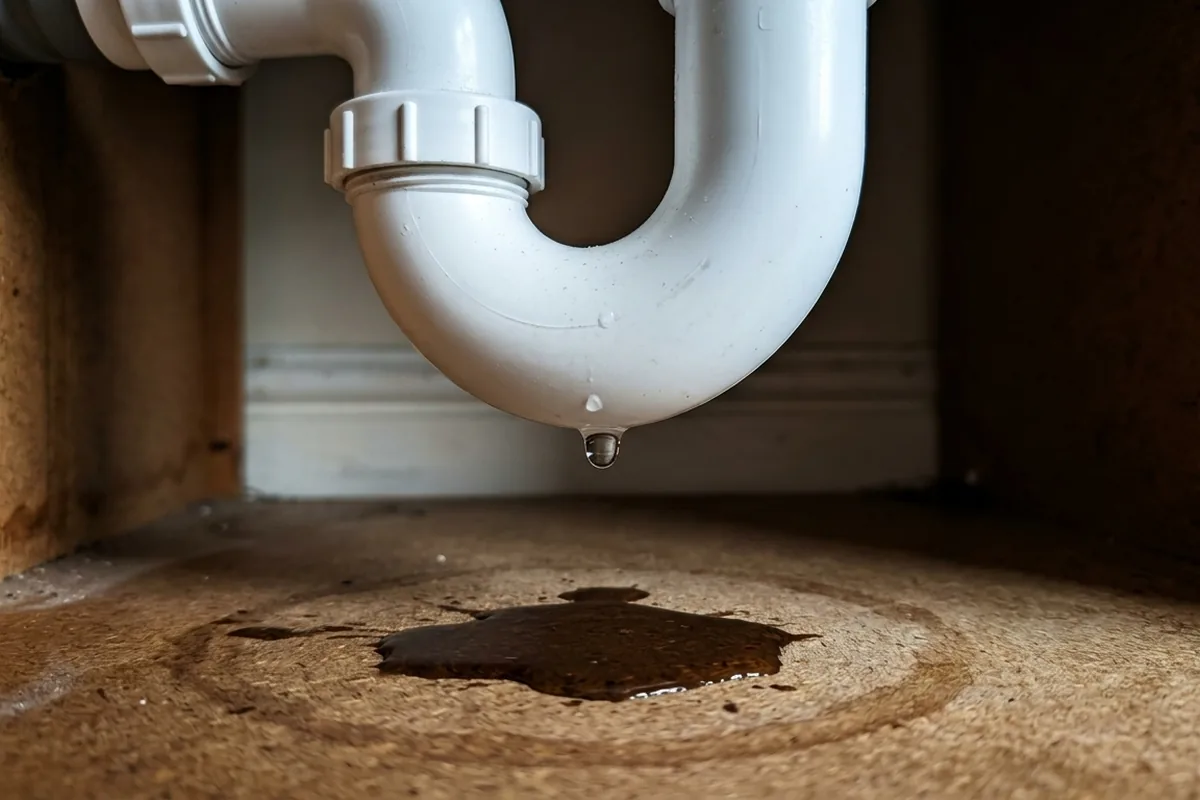
If the leak is under the sink, feel carefully around the flexible hoses, isolation valves and joints with a piece of dry kitchen roll rather than your bare hand. If water is coming from a compression joint or braided hose, that’s pipework, not a tap washer job, and is best left to someone confident with plumbing.
If water only appears when you use the tap and runs from around the base onto the worktop, the O-ring seals or the silicone sealant around the tap may have failed. Replacing O-rings means dismantling the tap body more deeply; resealing around the base is easier but will not stop a drip from the spout.
When to stop trying and call in help
A leaking tap feels like a small job, but there are clear points where DIY stops being sensible.
Use this as a guide:
| Situation | Try at home | Stop and get help |
|---|---|---|
| Drip from spout only | Washer or cartridge swap | Still drips after new parts |
| Water won’t turn off fully | Check isolation valves | No isolation or valve won’t close |
| Severely corroded or seized tap | Gentle attempt only | Any sign of twisting pipework |
| Leak under sink from pipe joints | Tighten by hand at most | Persistent drip or visible damage |
| Old tap in rented flat | Basic checks and photos | Report to landlord/agent |
You should also stop if:
- You can’t confidently identify your tap type or parts.
- The tap body is cracked or badly pitted with limescale.
- The basin or sink is delicate (old enamel, hairline cracks) and you’d have to lean on it with tools.
- Turning the tap head or nut makes the whole tap move against the worktop.
In those cases, forcing it can turn a £5 washer problem into a full tap and pipe replacement.
For many UK homes, especially with older taps in a terraced house bathroom or a cramped kitchen sink, the smartest move is to attempt only the easy, reversible steps: isolate water, check for obvious limescale, try a straightforward washer or cartridge change. If it fights back, leaks from more than one place or you feel out of your depth, the safest “repair” is to stop and let a professional take it from there.