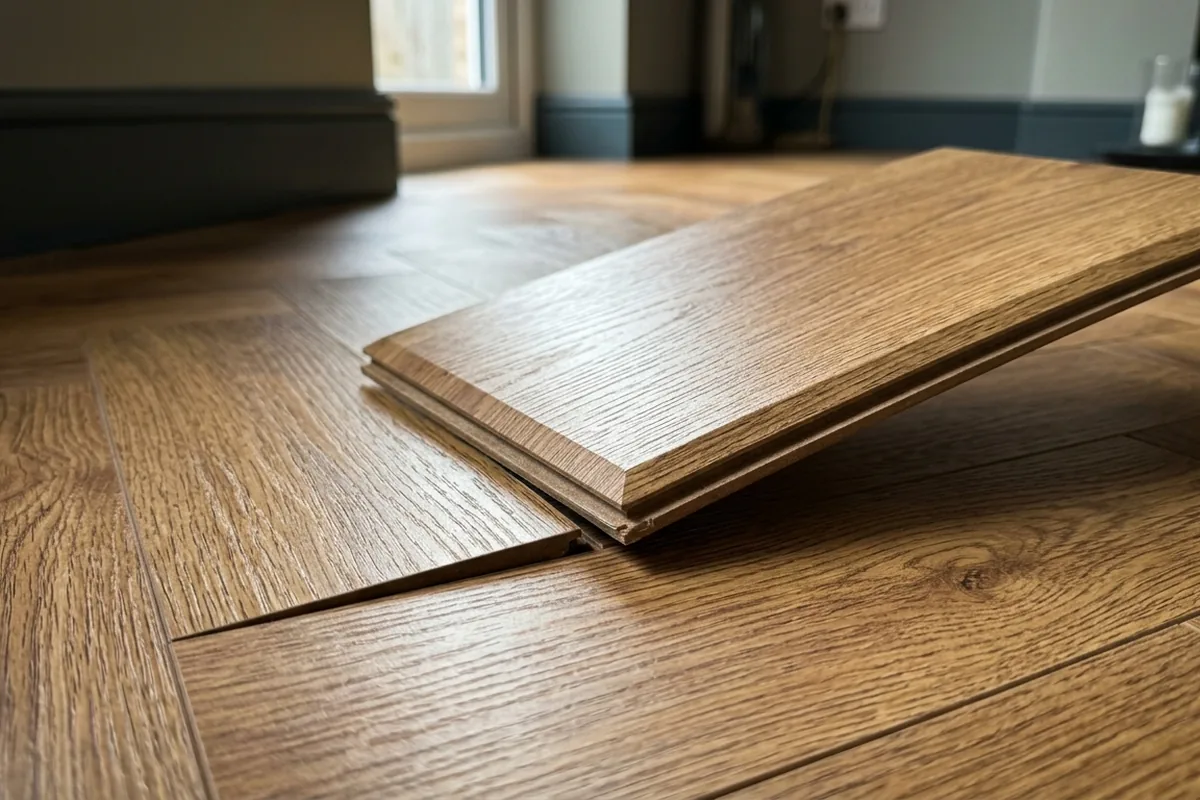
The first sign things are off is usually a “drift” in the pattern: one side of the room looks square and tidy, the other side has tiny wedges at the skirting board or boards that don’t quite meet. With herringbone laminate, the pattern is unforgiving: if your starting line is even a few millimetres out, the mistake grows with every row. The key is to set a dead‑straight centre line, start from it with a full “A + B” pair of boards, and only cut at the edges. If the first row is perfectly aligned, the pattern will stay true across the room.
Getting the pattern right from the very first row
Herringbone laminate is basically a repeating “V” pattern. If the first V is square to the room and correctly centred, the rest will follow. If it’s skewed, you’ll fight it all the way to the walls.
Start by checking the room and the packs:
- Acclimatise the boards in the room for at least 24–48 hours, flat and unopened.
- Check you have two board types if needed: many systems have “A” and “B” planks or arrows on the back. Do not mix these up.
- Inspect the subfloor: it must be dry, clean and level within the tolerance on the pack (often around 2–3 mm over 2 m).
Now establish your control line:
1. Measure the width of the room at several points and find the centre.
2. Snap a chalk line or mark a straight pencil line along the centre, parallel to the longest wall.
3. Dry‑lay a few “V”s along this line to see how the pattern will fall at doorways and against fireplaces or alcoves.
You’re aiming so that you don’t end up with a tiny sliver at a very visible skirting board or at French doors. If you do, adjust the line slightly and re‑check.
When you’re happy:
- Lay your first perfect herringbone “V” with its point exactly on the centre line.
- Lock in the next few pairs so you have a stable “spine” down the middle of the room.
- Only once this spine is solid do you start working outwards to each side.
This way, any small cuts are pushed to the less noticeable edges, not through the middle of the room.
Laying herringbone laminate step by step without drifting
Once the central spine is in, the job becomes about holding the pattern and protecting the click joints while you work across the room.
If you’re ready to start laying
Follow the manufacturer’s instructions first, then use these as practical checks:
1. Underlay and expansion gap
Lay the correct underlay for your subfloor (concrete vs floorboards) and leave the recommended expansion gap, usually 8–10 mm, around all walls, pipes and door frames. Use spacers against the skirting boards so the pattern cannot creep tight to the wall.
2. Build out in balanced rows
Work outwards from your central spine, adding one “zigzag” row at a time on each side rather than completing one whole half of the room first. This keeps the pattern visually balanced and makes it easier to spot if anything starts to wander.
3. Keep checking the angle
Every few rows, lay a straightedge or long spirit level along the “legs” of the herringbone. They should form clean straight lines. If you see a slight curve, you’ve probably forced a joint. Stop, unlock that area gently and reset it before going further.
4. Cutting the edges
When you reach the walls, you’ll have to cut boards to follow the 45° ends. Mark from the back of the board, allowing for the expansion gap. A fine‑tooth laminate saw or a mitre saw gives the cleanest edge. Always cut the off‑cut away from the click edge, not through it.
5. Doorways and thresholds
Plan these before you get too close. Often it’s neater if a full “V” is centred in a doorway rather than a cut piece. You may need to undercut the door lining with a small saw so the laminate can slide under and still keep its expansion gap.
If at any point joints start needing heavy tapping to close, something is misaligned. Herringbone laminate should click together with firm but not brutal pressure.
Common mistakes that ruin the pattern (and how to avoid them)
Most pattern problems show up in the same handful of ways. Spotting them early saves you having to pull half the floor back up.
| Problem | Likely cause | First fix to try |
|---|---|---|
| Pattern “fans” towards one wall | Centre line not square or ignored | Re‑set central spine, work evenly both sides |
| Tiny slivers at skirting boards | Started with awkward cuts, not full boards | Re‑plan layout so full A+B pair runs through main sightlines |
| Gaps that won’t close | Debris in click joint or forced angle | Clean joints, re‑lay that section, check subfloor flatness |
| Pattern suddenly “flips” direction | A and B boards swapped or rotated | Check board markings, correct and re‑lay affected area |
| Floor creaks or feels spongy | Uneven subfloor or wrong underlay | Stop and level subfloor before continuing |
A few extra points that often get missed in UK homes:
- Skirting boards vs beading: If you’re keeping existing skirting in a terraced house or flat, you’ll probably use scotia beading. Make sure the expansion gap is consistent so the beading line stays straight and doesn’t highlight any pattern drift.
- Radiator pipes: Drill a neat hole with a small expansion allowance and use pipe collars. Don’t notch boards heavily round pipes; it weakens the click and can twist the pattern.
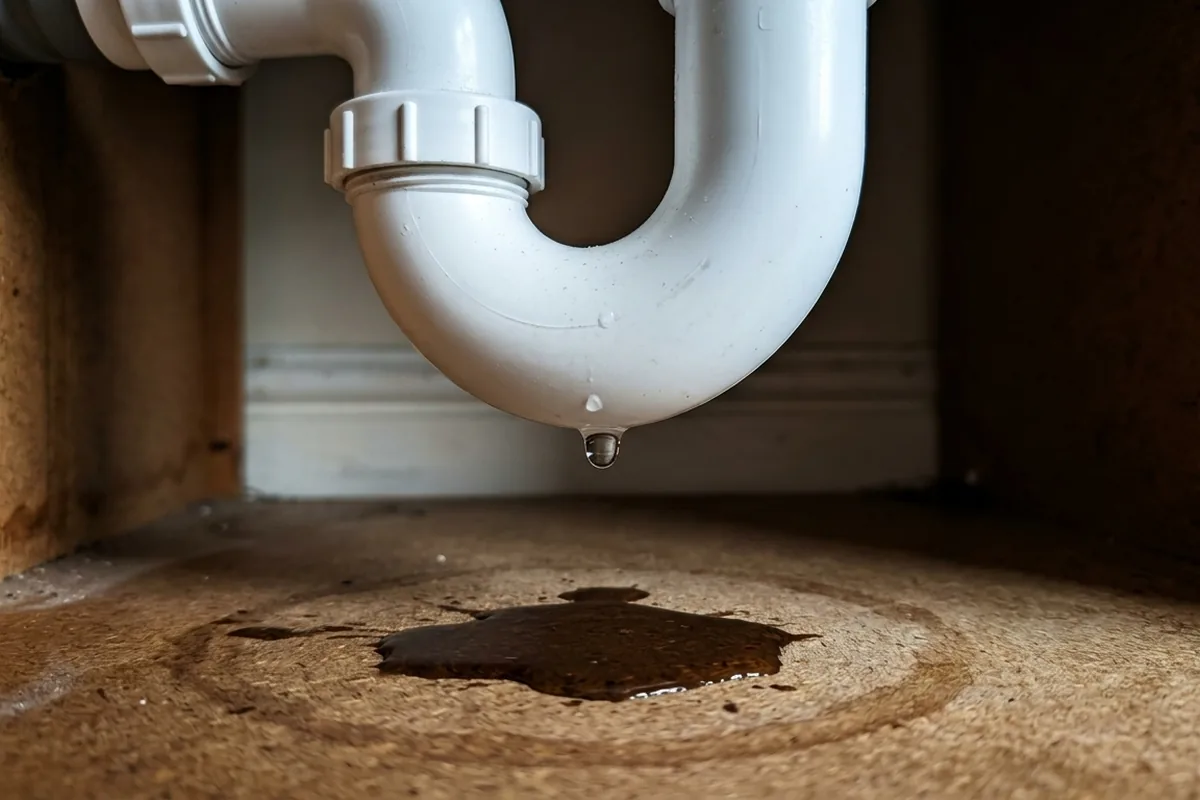
- Moisture and kitchens: Herringbone laminate in a kitchen or utility room needs good sealing at the edges. Use appropriate sealant where the floor meets a back door or under a sink area, but don’t block the expansion gap completely unless the manufacturer allows it.
If the room is very awkward, or you find the pattern repeatedly walking off line even after corrections, it can be worth pausing for the day. Coming back fresh and re‑checking that first spine row is often the difference between a floor you ignore and one you admire every time you walk into the room.