Crooked grout lines and lippy tiles are usually the first sign something’s gone wrong: the edges don’t line up, the trim looks wavy and the whole wall feels a bit “DIY gone wrong”. The key to neat wall tiles is a flat, marked-out wall, proper spacers and a straight reference line, not just being careful as you go. If the wall is badly uneven or out of plumb, you will never get perfect edges without either levelling it first or accepting some cuts to hide the worst of it.
Getting a straight layout so edges stay even
A neat tiling job is mostly won or lost before the first tile touches adhesive. Spend time on layout and you avoid odd slivers by the ceiling and uneven edges at the bath, worktop or window board.
First, check the wall. Hold a long straightedge or spirit level vertically and horizontally across the area. If you can rock it or see big gaps, the wall is bowed. Hairline dips can be taken up with adhesive; big hollows and bulges may need a skim of filler or plaster from a professional.
Then:
- Find your main “show” edge: usually the top of a splashback, the edge of a shower area, or round a window. This is where the eye goes, so you want full or decent-sized cut tiles here, not tiny slivers.
- Use a spirit level or laser to mark a perfectly level horizontal line for your first full row, often one tile up from the worktop or bath. Pack under that line temporarily with a straight batten screwed to the wall.
- Dry lay a row of tiles on the floor with spacers to see where cuts will land at each end. Adjust your starting point slightly so both ends have similar-sized cuts rather than one big and one tiny.
If the bath, worktop or floor isn’t level, do not use it as your guide. Use your level line, then cut the bottom row to follow the wonky surface instead. This keeps the top edge dead straight.
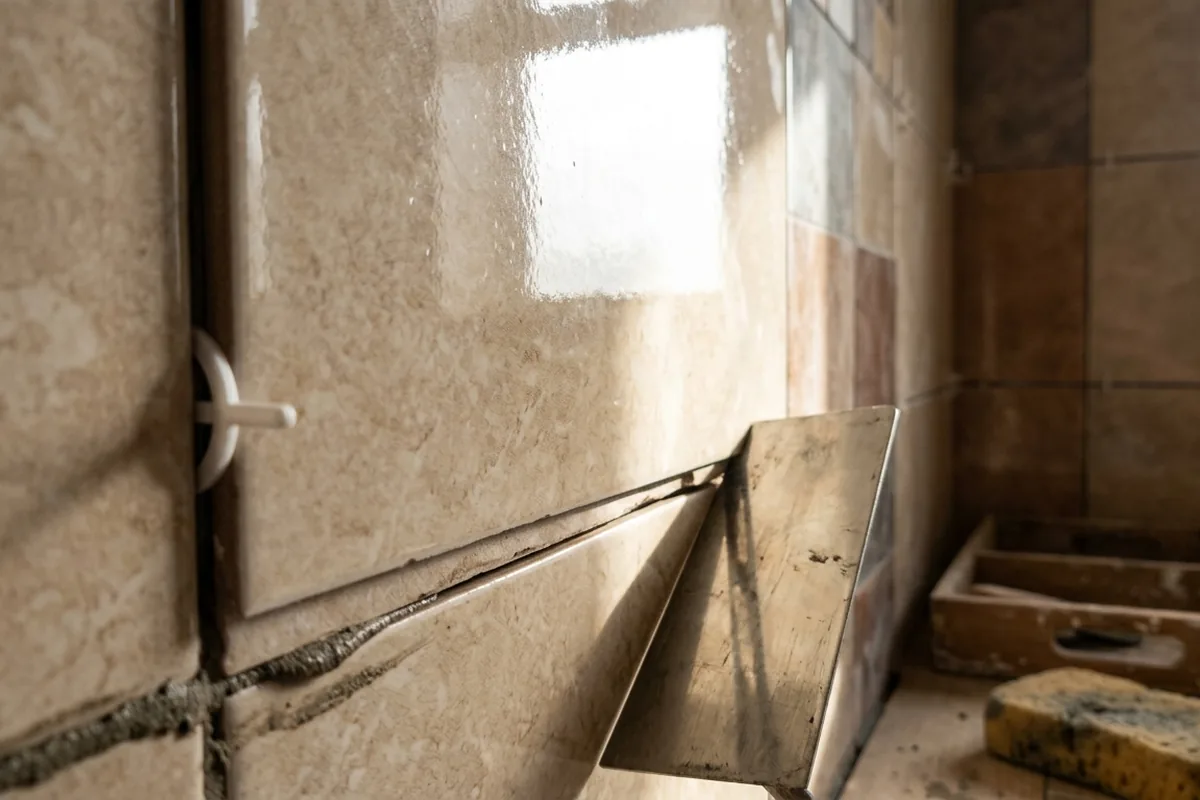
Fixing tiles so they sit flat and flush
Once the layout is sorted, the next battle is “lipping” – where one tile edge sticks out further than its neighbour. This is what makes edges look messy, especially around sockets and along corners.
Use a suitable powdered adhesive for walls (check the bag for tile size and surface). Pre-mixed tub adhesive is fine for small ceramic wall tiles but can struggle with heavier or larger tiles.
1. Key the wall: lightly scratch or prime as per adhesive instructions so it bonds well, especially on old paint or skimmed plaster.
2. Comb adhesive evenly with the notched trowel in one direction, not swirled. This gives a uniform bed.
3. Offer up the tile and slide it slightly side to side to collapse the ridges. Press firmly so it sits fully in the bed, not just on the ridges.
4. Use tile spacers between tiles and along edges to keep joints consistent. Check every couple of tiles with a straightedge across several tiles at once; gently tap high tiles down with a rubber mallet or the heel of your hand.
If your tiles are large-format or slightly bowed, a simple levelling clip system can help keep faces flush, especially on a shower wall in a small bathroom where any unevenness is obvious under the light.
If you’re tiling into corners or around edges
Internal corners and outer edges are where unevenness really shows.
- In internal corners, avoid jamming full tiles into both walls. Let one wall run full, then cut the other so you maintain a straight vertical grout line just off the corner, allowing a small flexible silicone joint in the corner itself.
- On outer edges (end of a splashback, round a window reveal), plan where the tile trim will sit. Fix the trim perfectly straight and level first, using your level, then tile up to it. The trim becomes your neat visible edge, hiding any small cut variations behind it.
If your walls are badly out of plumb, you may have a slightly wider or narrower cut in places, but the visible trim line will still look straight.
Keeping grout lines, corners and finishes looking sharp
Even if the tiles are flat, messy grout and silicone can spoil the effect. This is where patience and cleaning as you go make the difference.
Grout only when the adhesive has fully set. Use a float to pack grout firmly into the joints on a small area at a time. Wipe diagonally across the tiles with a barely damp sponge, rinsed often, so you don’t drag grout back out of the joints or leave thick haze on the tiles.
Pay attention to:
- Joints at worktops, baths and shower trays: these should usually be silicone, not grout, so they can move slightly without cracking. Leave a clean, empty joint here when grouting, then run a neat silicone bead once everything is dry.
- Vertical lines: step back regularly and sight along the grout lines. If a spacer has slipped or a tile has crept, adjust immediately while the adhesive is soft. It is much easier to fix one tile now than to live with a wonky line forever.
If you’re in a rented flat or older terraced house where walls are never quite straight, aim for visually straight grout lines and trims, even if that means the odd cut tile is a few millimetres wider at one end where it tucks under a cupboard or into a corner.
If at any point tiles feel loose, the wall crumbles, or the area is regularly wet (like a shower in a busy family bathroom) and you’re unsure about the backing, it’s safer to pause and get a tiler or builder to look. A neat finish is pointless if tiles won’t stay put.