That first hairline crack snaking down a freshly painted wall, or a hollow-sounding patch when you tap the plasterboard, usually means one thing: a weak join. On ceilings it can show as a long straight line where boards meet, or a sag between joists. To avoid this, you need solid fixing, staggered joints and proper taping, not just “get the boards up and skim it”. The good news is that with a bit of planning, basic tools and the right screws, you can hang plasterboard in a typical UK room without those weak spots that fail later.
Step-by-step: fixing plasterboard so joints stay strong
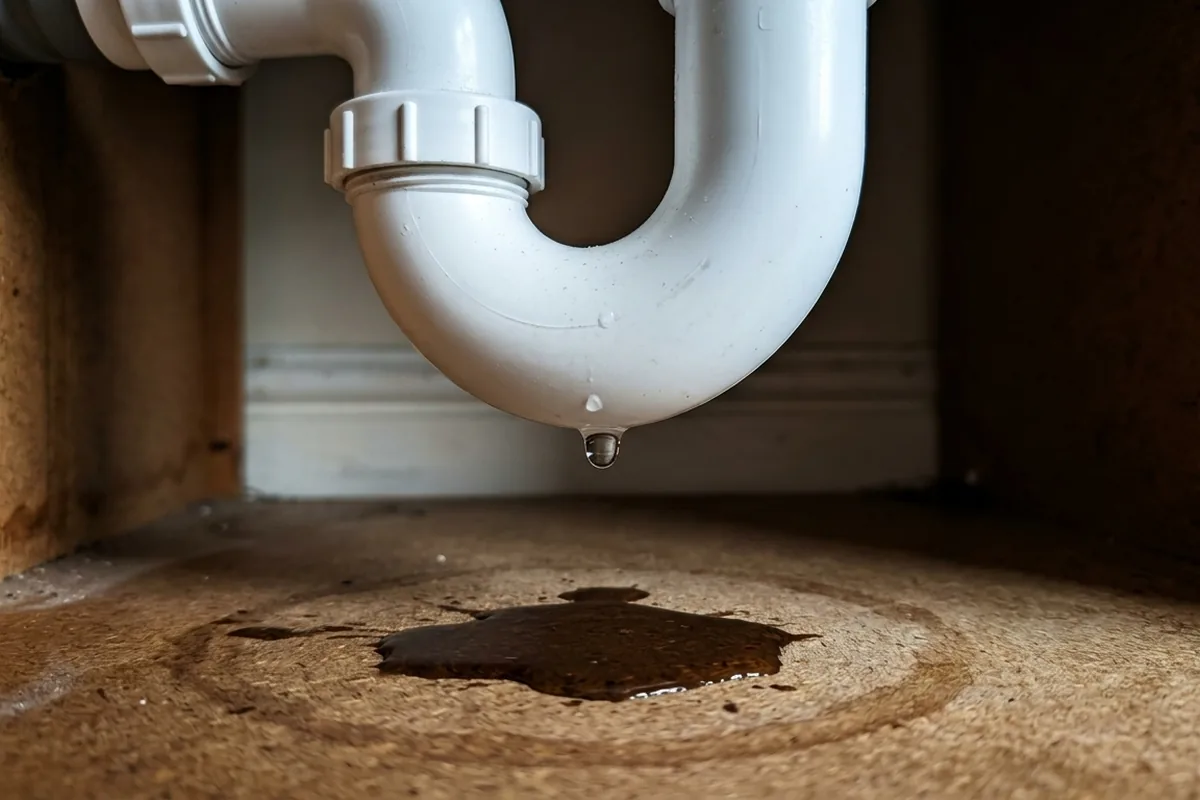
The aim is firm support behind every edge, staggered joints, and screws that don’t pop. Before you start, check for any signs of damp in the wall or ceiling (staining, musty smell, soft plaster). If the background is damp or crumbly, stop and sort that first or your new boards will fail.
1. Plan your board layout
- Work out whether you’re boarding a wall or ceiling and measure the area.
- Use full boards wherever possible and stagger vertical joints so they don’t line up in a straight column.
- Avoid four corners meeting in one place (a “cross joint”) as this is a classic weak point.
- On ceilings, run boards across the joists, not along them, so every edge has support.
2. Check and prepare the framing
- Studs or joists should be straight, dry and securely fixed.
- Standard spacing is usually 400 mm or 600 mm centres; if you have wider gaps, add noggins (short pieces of timber) so board edges land on solid timber.
- Fix extra noggins where two board edges will meet, to avoid unsupported joints.
3. Cut boards cleanly
- Mark the cut with a pencil and straight edge.
- Score the front paper with a sharp knife, snap the board over a straight edge, then cut the back paper.
- Keep the factory-tapered edges for your main joints where possible, as they’re designed to take jointing compound. Use cut edges at corners or against ceilings/skirting where they’ll be less stressed.
4. Offer up and support the board
- On walls, sit the board on small packers (offcuts or spacers) to leave a 5–10 mm gap above the floor; this keeps it away from any minor floor moisture and avoids wicking.
- On ceilings, use a plasterboard lifter or a simple T-prop made from timber to hold the board tight to the joists while you fix it. A board that’s not tight against the frame is far more likely to crack at the joints.
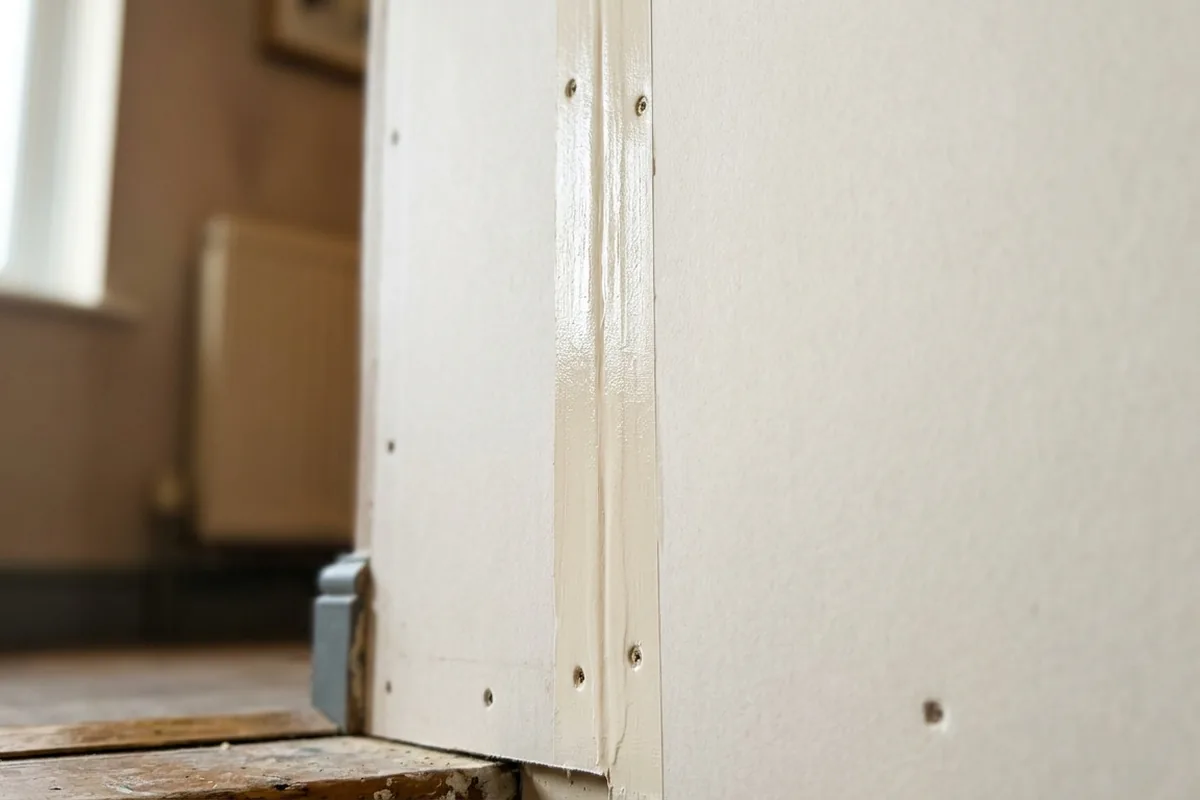
5. Screw fixing: spacing and depth
- Use proper plasterboard screws, not random wood screws.
- On ceilings: screws roughly every 150 mm along joists; on walls: around every 200 mm on studs.
- Keep screws 10–15 mm in from board edges to avoid crumbling.
- Screw heads should be just dimpled below the surface, not breaking the paper. If you tear the paper, add another screw nearby and ignore the damaged one.
6. Stagger and support all joints
- Make sure no long joint runs unbroken from floor to ceiling without a stagger.
- Every joint should land on a stud, joist or noggin. If two cut edges meet in mid-air, that’s a weak join waiting to crack.
- On a stud wall in a terraced house, it’s often worth adding a few extra noggins so every board edge has something solid behind it.
How to tape and fill joins so they don’t crack
Even perfectly fixed boards will crack if the joints aren’t taped and filled properly. The paper surface and jointing compound work together to spread movement; skip this and you get those fine lines back as soon as the heating goes on and off.
1. Choose your joint tape
- Paper tape is standard and very strong when embedded properly.
- Fibreglass mesh tape is easier to place but can be less forgiving if the background moves a lot.
- For tapered edges, either works; for butt joints (two cut edges), paper tape with a slightly wider feather of compound often gives a better finish.
2. First coat: embed the tape
- Mix jointing compound to the recommended consistency or use a ready-mixed product.
- Apply a thin, even bed of compound along the joint, slightly wider than the tape.
- Press the tape into the wet compound, smoothing out air bubbles as you go.
- Scrape back any excess so the tape is just covered and lying flat; air bubbles are weak spots that can show as blisters later.
3. Second and third coats: build and feather
- Once the first coat is fully dry (often overnight), apply a second, slightly wider coat, feathering the edges out further.
- For butt joints, go wider again to disguise the slight hump and spread any movement.
- Lightly sand between coats with a fine sanding block, but don’t over-sand and expose the tape.
4. Corners and edges
- Internal corners (for example where a bedroom wall meets the ceiling) benefit from folded paper tape. Press the crease into the corner and embed in compound on both sides.
- External corners are best protected with angle beads fixed firmly before skimming; this stops knocks creating cracks at the edges.
Common weak-join mistakes to avoid
Once you know what causes weak plasterboard joins, you can avoid the most common problems seen in UK homes, especially in older or slightly uneven properties.
- Joints over movement points
Avoid placing a joint directly over the edge of a door frame, window reveal or where different materials meet (for example, timber to brick). If you can’t avoid it, make sure there’s solid framing and good taping.
- Boarding onto damp or moving backgrounds
If the wall feels cold and damp, or there’s any sign of mould on existing plaster, the background may be moving with moisture. Directly boarding it can lead to blown joints and failed adhesive. In these cases, it’s safer to fix a proper stud frame or get a professional to look at the damp first.
- Using nails instead of screws
Nails can work loose over time with heating cycles and door slams, especially on ceilings. Loose fixings lead to sagging and cracked joints. Modern plasterboard screws into timber or metal studs are far more reliable.
- Skimming too soon or too thick
If jointing compound or adhesive behind the board hasn’t fully dried, a heavy skim can trap moisture and encourage movement and hairline cracks. Let things dry properly, especially in a small bathroom or cold spare room.
- Over-long unsupported spans
On ceilings in particular, if joists are far apart and you don’t add noggins, the board can flex between fixings. That flex shows up as cracked or ridged joints. If in doubt, add more timber rather than fewer screws.
If, after doing all this, you still see cracks reappearing along the same line, it often means something behind the plasterboard is moving: a loose joist, a damp timber or slight structural movement. At that point, it’s worth pausing and getting a joiner or builder to check the underlying frame rather than endlessly filling the same joint.