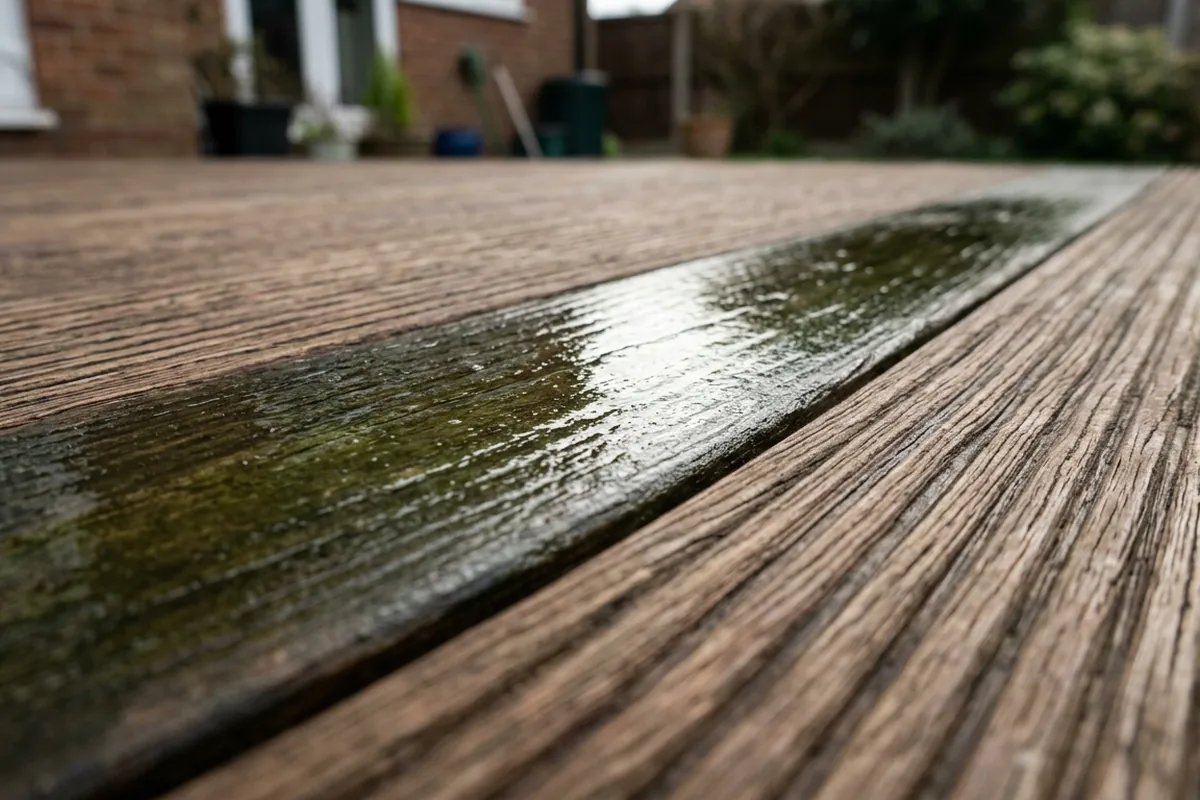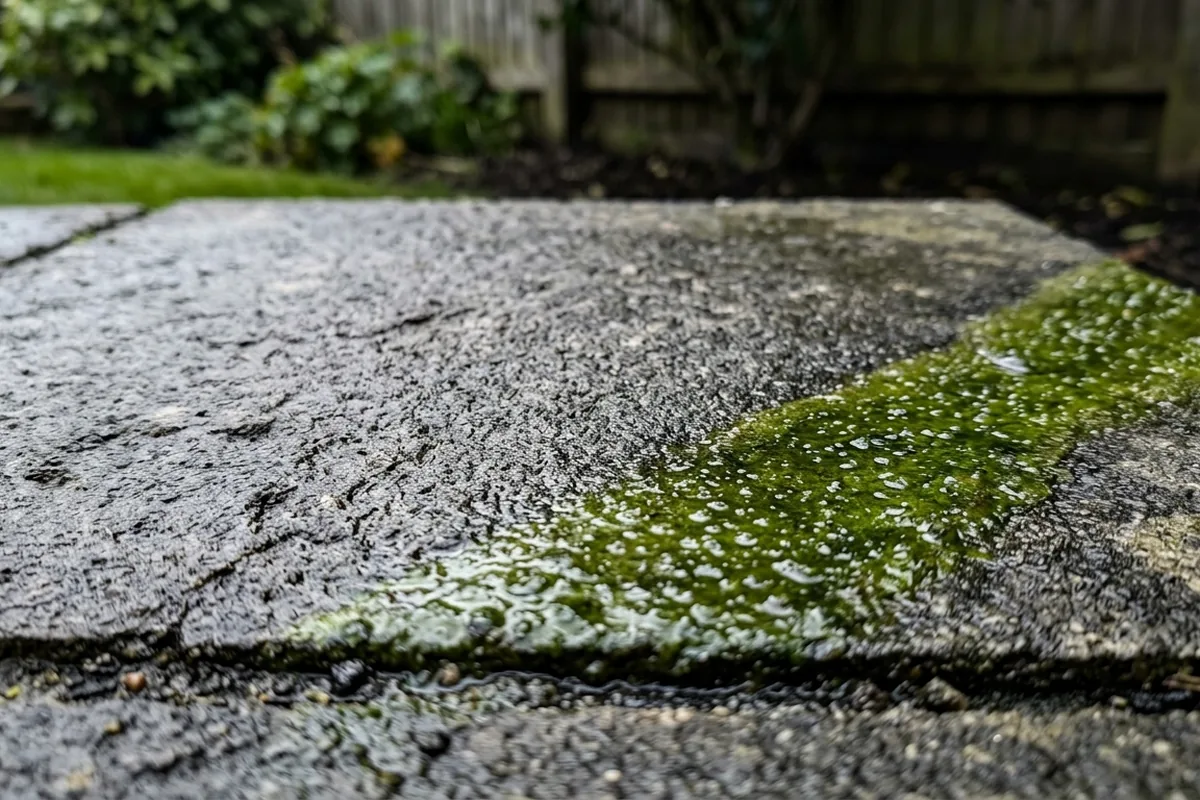
That slippery green patio film that appears after a few wet weeks is usually algae, and it can make paving look tired and feel unsafe underfoot. The safest way to clear it is low-pressure water, a soft brush and a mild cleaner suited to your type of slab. Avoid harsh acids and aggressive jet-washing on softer stone, as these can roughen the surface and actually make algae come back faster.
For most UK patios, the quick answer is: brush off debris, apply a gentle patio or diluted bleach solution, agitate with a stiff broom, then rinse with a hose, letting it dry fully. On natural stone like sandstone or limestone, skip vinegar and strong acids, keep any bleach very dilute and test a small corner first.
The safest way to remove green algae from paving
Most people only notice algae when the slabs go green and slimy, especially in shaded corners near fences or sheds. Before you reach for the pressure washer or a random bottle from under the sink, work out what your slabs are made of.
Concrete slabs and many modern textured pavers are fairly tough. Natural stone (sandstone, limestone, slate) is more porous and easier to mark or etch. If you are renting, it is worth being extra cautious so you do not damage a landlord’s patio.
A simple, gentle method that suits most patios:
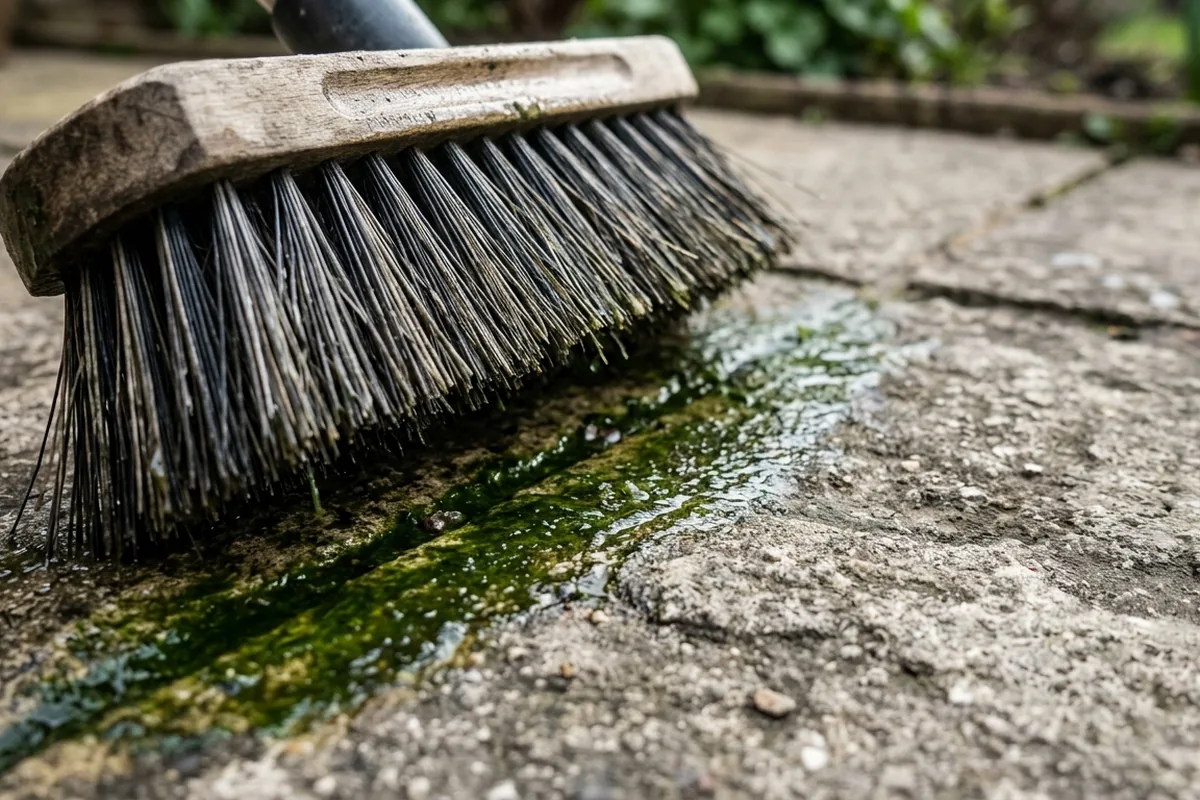
- Dry brush first: Use a stiff outdoor broom to sweep away loose moss, leaves and dirt. This stops you scrubbing grit into the surface.
- Mix a mild cleaning solution: In a bucket, add roughly 1 part thin household bleach to 10 parts cold water, or use a proprietary patio/algae cleaner following the label. Wear gloves and old clothes, and keep pets away.
- Wet the slabs lightly: A quick hose down helps the solution spread more evenly and reduces the risk of staining.
- Apply and scrub: Pour or sprinkle the solution over the green areas and work it in with the broom. You should see the algae lifting and the water going murky.
- Leave briefly, then rinse: Give it 10–15 minutes, not hours, then rinse thoroughly with a hose so no cleaner is left to dry on the surface or run into flowerbeds.
On very stubborn patches, it is usually better to repeat this gentle process than to jump straight to maximum jet-washer power.
When to use (and avoid) pressure washers, bleach and “natural” cleaners
Cleaning products and tools behave very differently on different paving. This is where people often do accidental damage.
The table below gives a quick sense of what is usually safe and where to be cautious:
| Surface or material | Safe first option | Use with caution | Avoid |
|---|---|---|---|
| Concrete slabs | Bleach 1:10, soft broom | Medium-pressure washer | Strong acids |
| Sandstone / limestone | Dedicated stone cleaner | Very dilute bleach, low-pressure hose | Vinegar, strong jet close up |
| Block paving | Patio cleaner, broom | Pressure washer angled gently | Blasting joints, harsh wire brushes |
| Porcelain / ceramic slabs | Washing-up liquid, soft brush | Mild bleach, patio cleaner | Abrasive pads, strong acids |
Pressure washers: These are handy, but on softer stone or old pointing they can strip away the top layer and sand from joints. If you use one, keep the lance moving, hold it at a shallow angle and stay a sensible distance away. You are rinsing, not engraving.
Bleach: Thin household bleach, well diluted, is effective on algae. Do not mix it with vinegar or any other cleaner. Rinse it off hard surfaces and try to keep run-off away from lawns and beds. On coloured or decorative slabs, always test a corner first in case it lightens the surface.
Vinegar and “eco” acids: These can etch natural stone and damage some grouts. They are better kept for kettles and taps than patios unless the product specifically says it is safe for stone.
If you are unsure what your slabs are, treat them as if they are delicate stone and use a proprietary patio or stone cleaner from somewhere like B&Q or Wickes, following the label closely.
Keeping the slabs cleaner for longer and staying safe
Once the slabs are back to their proper colour, a few small changes can slow the algae returning, particularly in a typical British garden that stays damp for days after rain.
Algae thrives where it is shady, damp and slightly dirty. You do not need to turn your garden into a sun trap, but you can usually tweak a few things:
- Trim back overhanging shrubs or a low fence panel that keeps one corner in permanent shade.
- Clear blocked gutters and downpipes so water is not constantly splashing onto one area of patio.
- Sweep the slabs every week or two in wet seasons so soil and leaf mush do not form a film for algae to cling to.
- Lift outdoor mats occasionally so the area beneath can dry out.
If your patio is in deep shade and always green, a long-lasting patio/algae treatment can help. These are usually applied with a watering can or sprayer and left to work with the weather. Follow the instructions, keep children and pets off until dry, and avoid spraying on a windy day.
In winter or after very heavy rain, paving can stay slightly slick even when clean. If you have older relatives or small children using a path to the back door, it is worth checking the worst patches after rain and giving them a quick brush or rinse.
If, after a couple of gentle cleans, the slabs still look patchy, powdery or badly pitted, the issue may be more than algae and you may be seeing surface wear or salt damage. At that point it is safer to stop experimenting with stronger products and, if needed, take a few photos and get local professional advice before doing anything more aggressive.