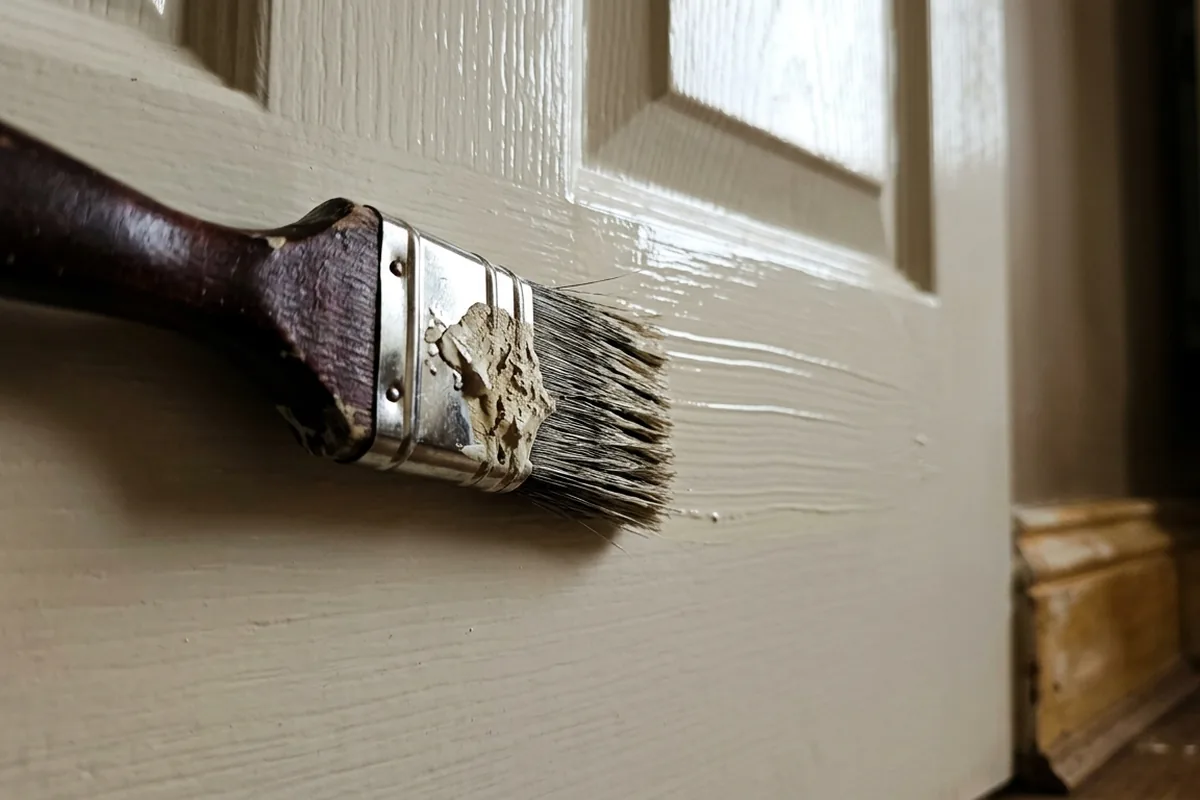
That first drag of paint across a bedroom wall or skirting board should look smooth and even. If instead you get thin, streaky lines and visible brush marks, the brush is usually the problem, not the paint. Old brushes leave streaks when the bristles have stiffened with dried paint, splayed at the ends or worn into flat “tracks”. A quick check is simply to wet, comb and flex the bristles before you dip into paint: if they won’t spring back to a neat point or flat edge, that brush is only fit for rough jobs.
Why old brushes start leaving streaky marks
Old paintbrushes don’t suddenly “go bad”; they slowly lose the qualities that make them lay paint smoothly.
The main reasons are:
- Dried paint up in the ferrule (the metal band) glues bristles together. Instead of a soft fan, you get hard clumps that cut grooves in the paint.
- Splayed or bent bristles from being stored on their bristles in a shed or garage mean the tip is no longer a tidy edge, so it scrapes rather than glides.
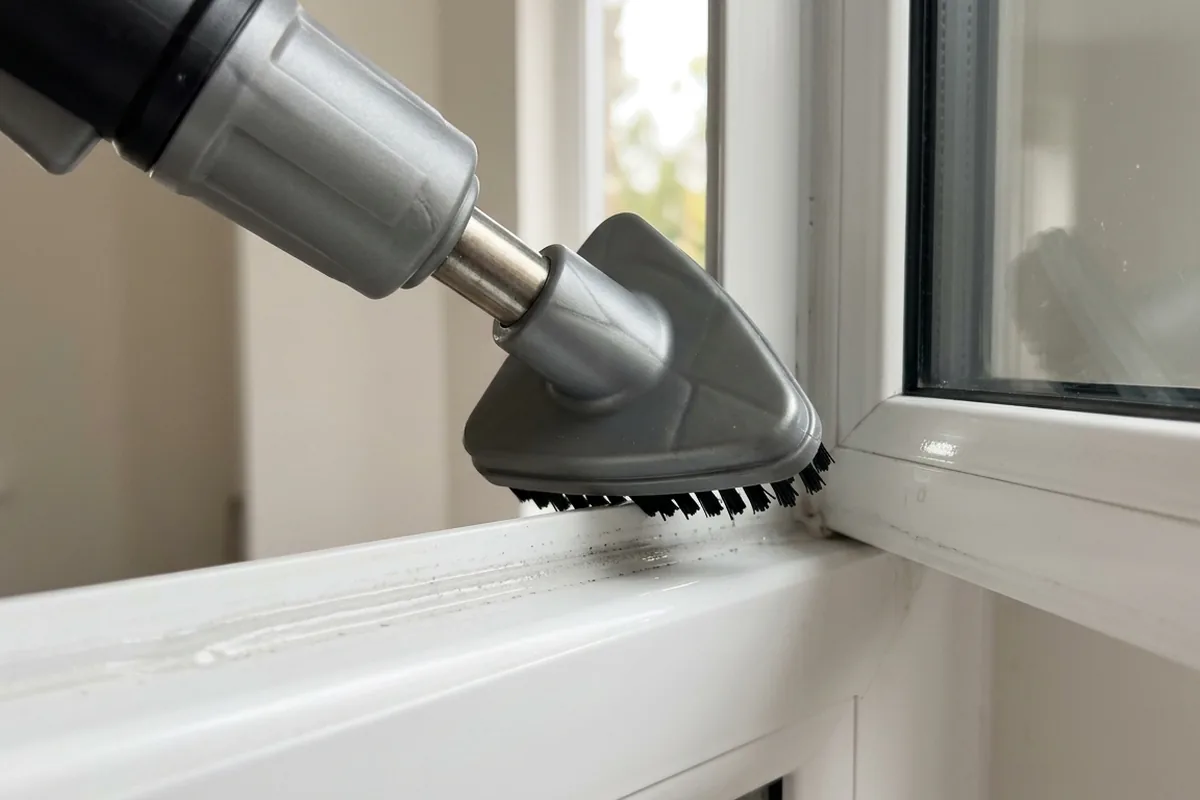
- Worn tips: after years of painting door frames and window boards, the fine ends wear off and the brush behaves more like a stiff broom.
- Wrong bristle for the paint: old natural-bristle brushes that were fine for gloss can go floppy or patchy in modern water-based paints, leaving uneven coverage.
- Stiffness from old cleaner: residue from white spirit or brush cleaner can dry in the base of the bristles, making them feel wiry and scratchy.
The result is familiar: tramlines in the finish, patches where the paint looks thin and a surface that still shows every roller mark or old colour underneath, no matter how many passes you make.
If you spot this on the first stroke, stop. Cleaning and checking the brush takes minutes and will save you a full sand-down later.
The quick check before you use an old brush again
Before you open the tin, do this simple check at the sink or outside with a bucket. It tells you instantly whether the brush is worth using for walls, doors and trim, or only for rough fence panels and primer.
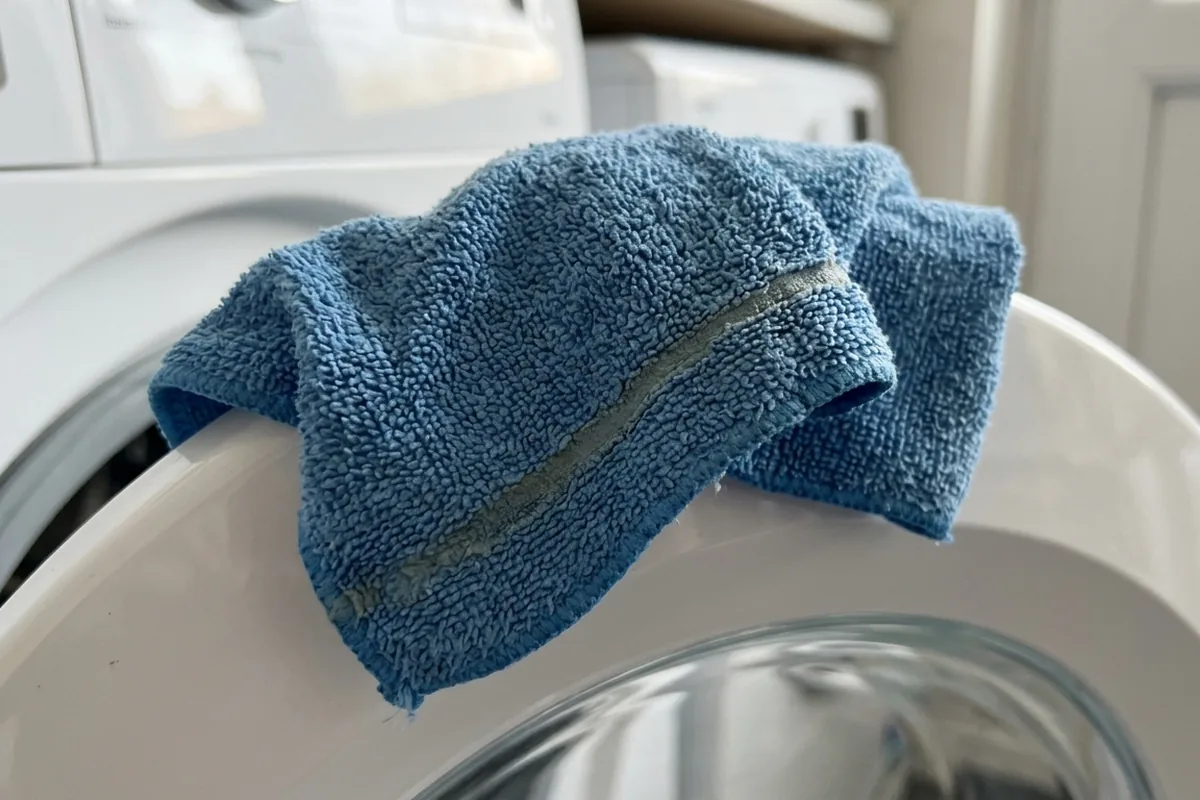
1. Wet and squeeze
Run the brush under warm water (or dip in the right thinner if it’s still got oil-based paint on it) and work the liquid right into the bristles with your fingers. Then squeeze from ferrule to tip.
- If cloudy colour comes out, there is still old paint in there.
- If the bristles feel wiry or crunchy, there is dried paint or cleaner inside.
2. Comb and shape
Use an old fork, a cheap brush comb or even a gloved hand to tease the bristles straight. Shake off excess water and pat dry with a bit of kitchen roll. Now look at the tip:
- For a wall brush, you want a fairly even, straight edge.
- For a sash or cutting-in brush, you want a clear angled point.
3. Flex test
Gently press the brush against your palm or a clean tile:
- A good brush will fan out smoothly and then spring back to its original shape.
- A tired brush will bend in odd directions, keep kinks, or split into obvious clumps.
4. Dry run on a smooth surface
Before touching your wall, make a few strokes with just clean water on a bit of scrap board or the back of an old tile.
- If you can see clear lines where clumps of bristles have dragged, that brush will leave streaks in paint too.
- If the “wet” line looks even and soft, it’s safe for decent finishes.
If the brush fails any of these, keep it for fence stain, primer on bare timber or rough masonry. For a living room wall, fresh gloss on a door or neat cutting in around a radiator, it is usually quicker and cheaper in the long run to buy a new mid-range brush from somewhere like Screwfix or B&Q.
When you can rescue an old brush – and when to give up
Sometimes a streaky brush can be brought back to life enough for one more decent job, especially if you catch the problem early.
You may be able to rescue it if:
- The bristles are mostly straight but feel stiff near the base.
- There’s obvious dried paint only at the outer edge.
- It’s a decent-quality brush that used to give a good finish.
In that case:
- Soak the bristles in warm, soapy water (for water-based paints) or the correct brush cleaner (for old oil-based paint), only up to the ferrule, not over the handle.
- Work the cleaner in with a stiff plastic brush or an old toothbrush, combing from ferrule to tip.
- Rinse, comb straight and hang or lay flat to dry, then repeat the quick check above.
It’s time to retire the brush if:
- The bristles are permanently splayed in all directions.
- There are hard lumps you can’t break up, even after soaking.
- The brush sheds bristles when you tug them lightly.
- The tip has worn into a flat, square block with no fine ends.
You can still keep it in the shed for creosote, bitumen, PVA on plasterboard or painting the back of a garden gate, where streaks don’t matter.
For any job where you’ll be looking at the finish every day – the bathroom door, the bannister, the wall behind your sofa under normal daylight – a clean, springy brush is as important as decent paint and a dust-free surface.
Next time you reach for that old favourite from the garage shelf, run through the quick wet–comb–flex check first. If it passes, you’ll know your streaks are more likely to be technique or paint choice. If it fails, spending a few pounds on a new brush is far cheaper than sanding back a whole room of drag lines.