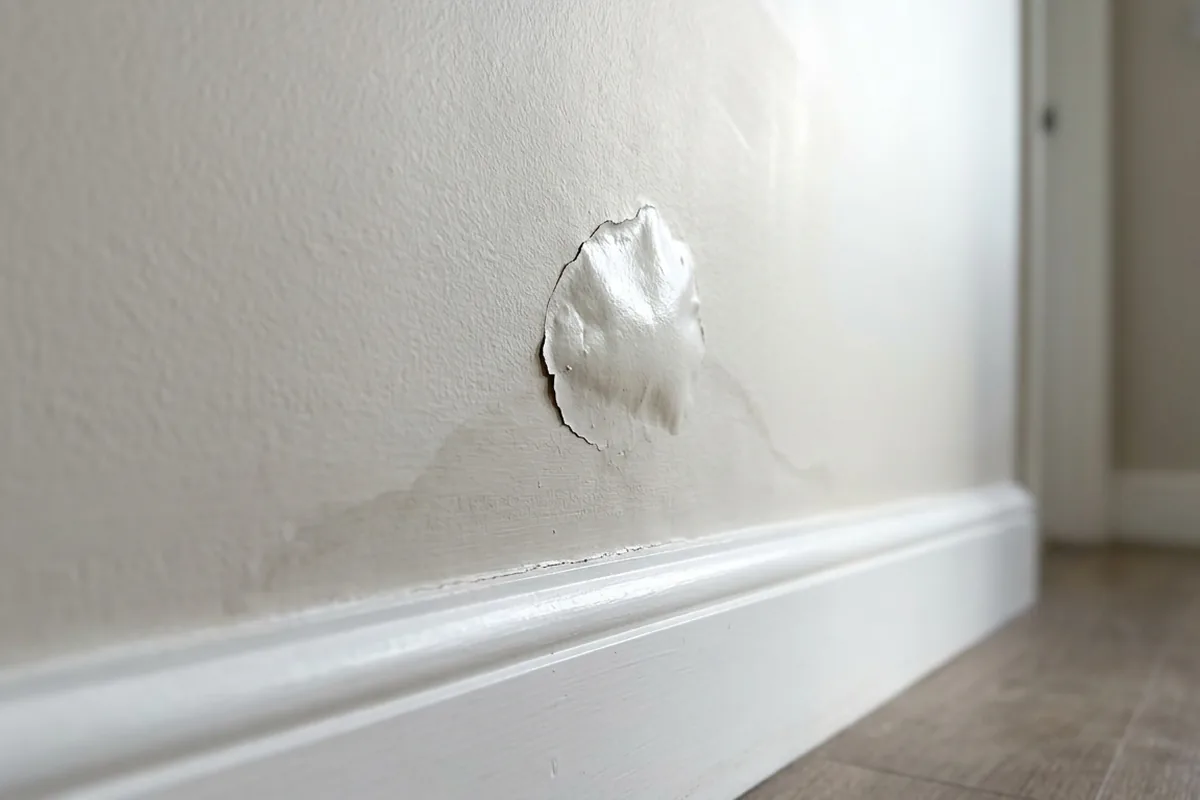
That brown tide mark creeping back through fresh paint is almost always a sign that the wall was still damp or the stain wasn’t sealed properly. To stop it returning, you need two things: a dry wall and a stain block that suits the type of damp. Painting straight over with normal emulsion, even “mould-resistant” paint, will not hold back active moisture or heavy nicotine, rust or water stains for long.
The quick route is: find and fix the source of damp, let the wall dry fully, clean any mould, then seal the stain with a proper primer-sealer before repainting. If the wall still feels cold and clammy, or new patches keep appearing, no paint system will cure it and you’re into proper damp investigation rather than decorating.
How to prepare a damp-stained wall so paint actually lasts
The aim here is to turn a stained, previously damp wall into a clean, dry, stable surface that paint can stick to without the marks bleeding back.
1. Deal with the moisture source first
Before touching a brush, look for why the wall got damp:
- Leaking gutter or downpipe outside the patch
- Dripping radiator valve or pipework
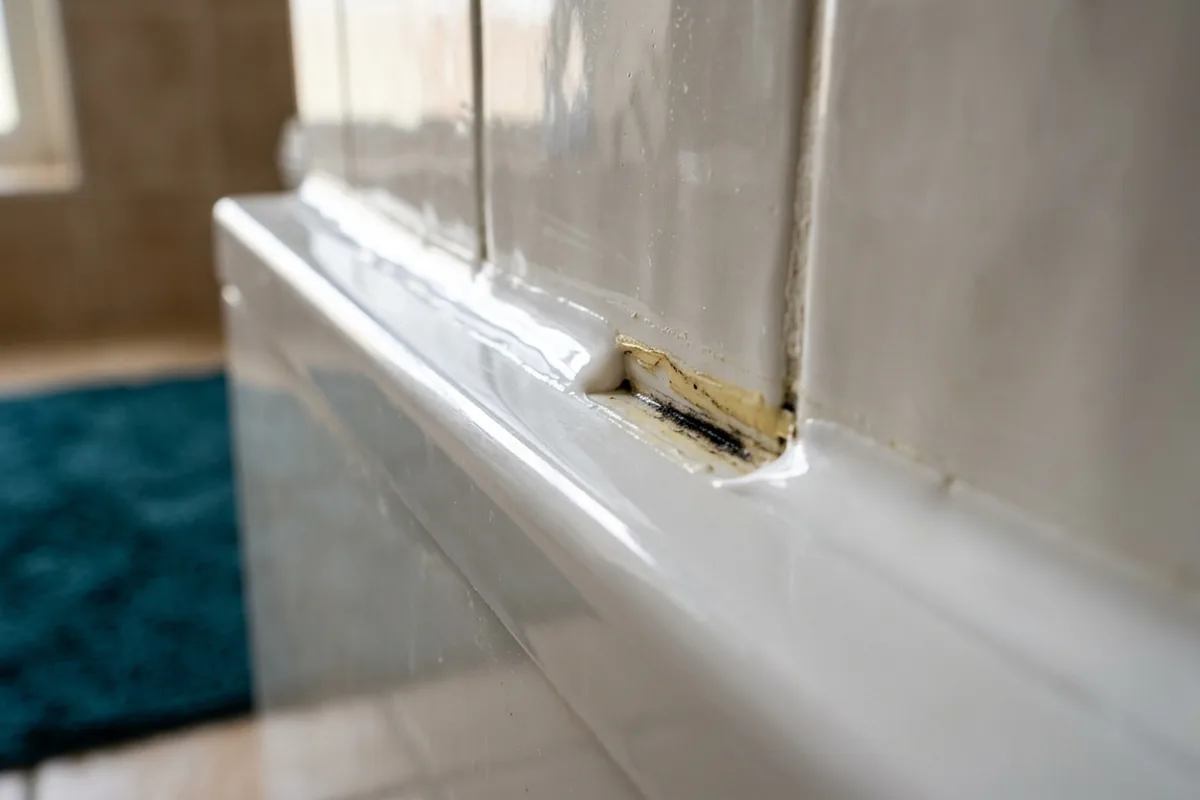
- Failed sealant around a bath or shower on the other side of the wall
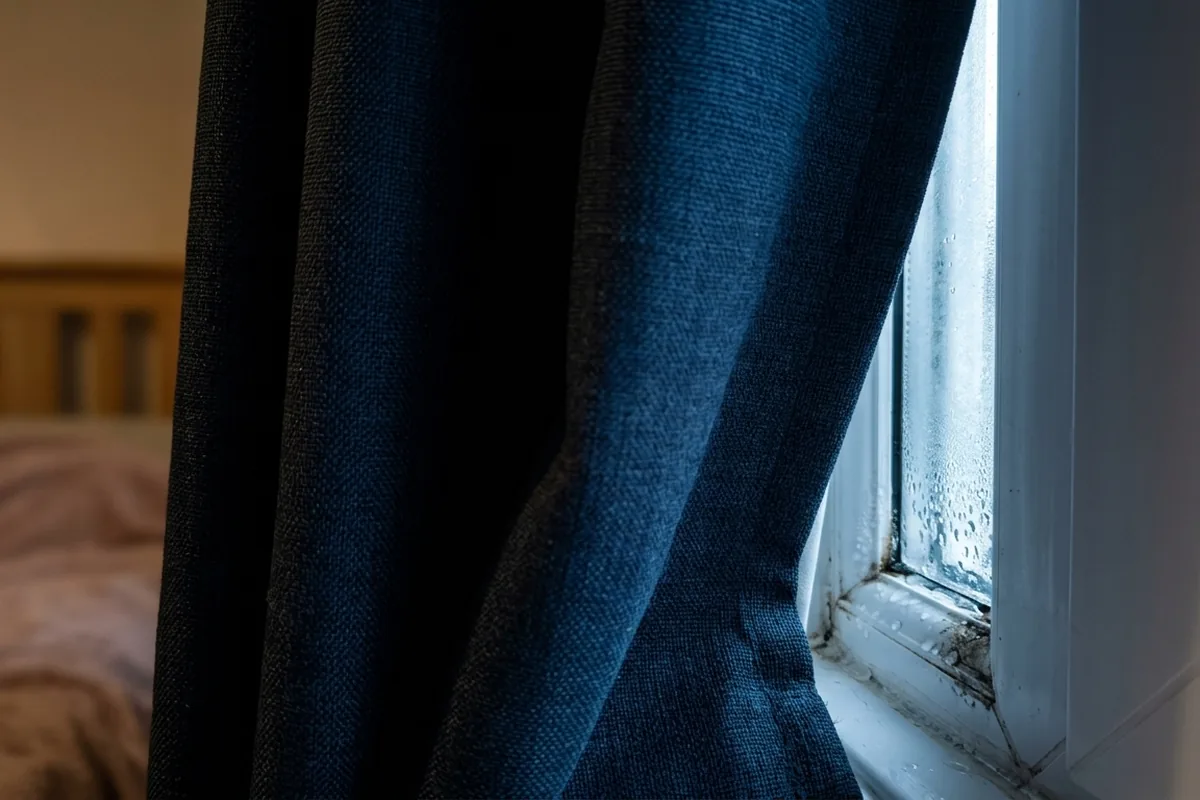
- Condensation on a cold external wall in a small bedroom or bathroom
Fix what you can safely (like clearing a blocked gutter from stable access, or resealing around a bath). If the wall is constantly wet, plaster is crumbling or skirting boards are rotten, this is beyond paint and you should speak to a qualified damp specialist or builder.
2. Let the wall dry properly
This is the part most people rush. Once the cause is sorted:
- Open windows and use the bathroom or kitchen extractor fans.
- Run heating gently rather than blasting one hot day.
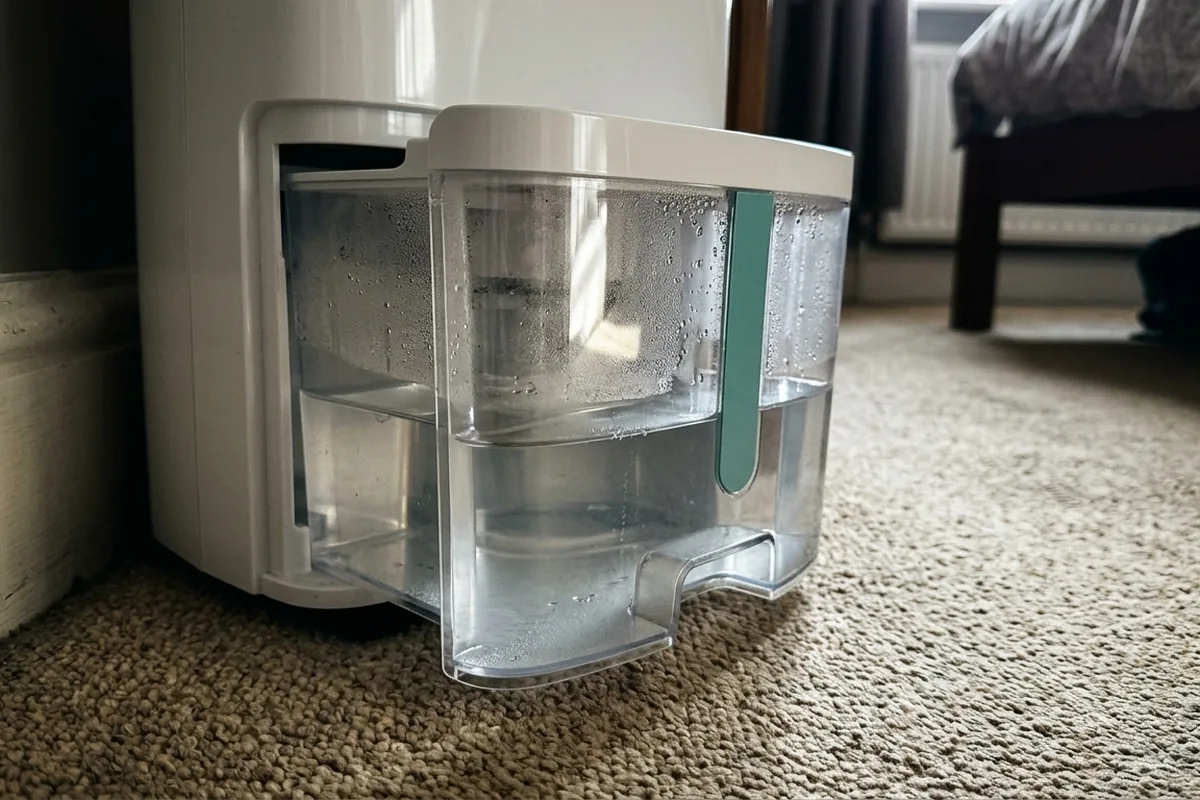
- A dehumidifier in the room can speed things up.
The wall should feel dry to the touch, not chilly and clammy. For a previously soaked wall, drying can take several weeks, especially in a solid brick terraced house in winter.
3. Clean off mould and loose paint
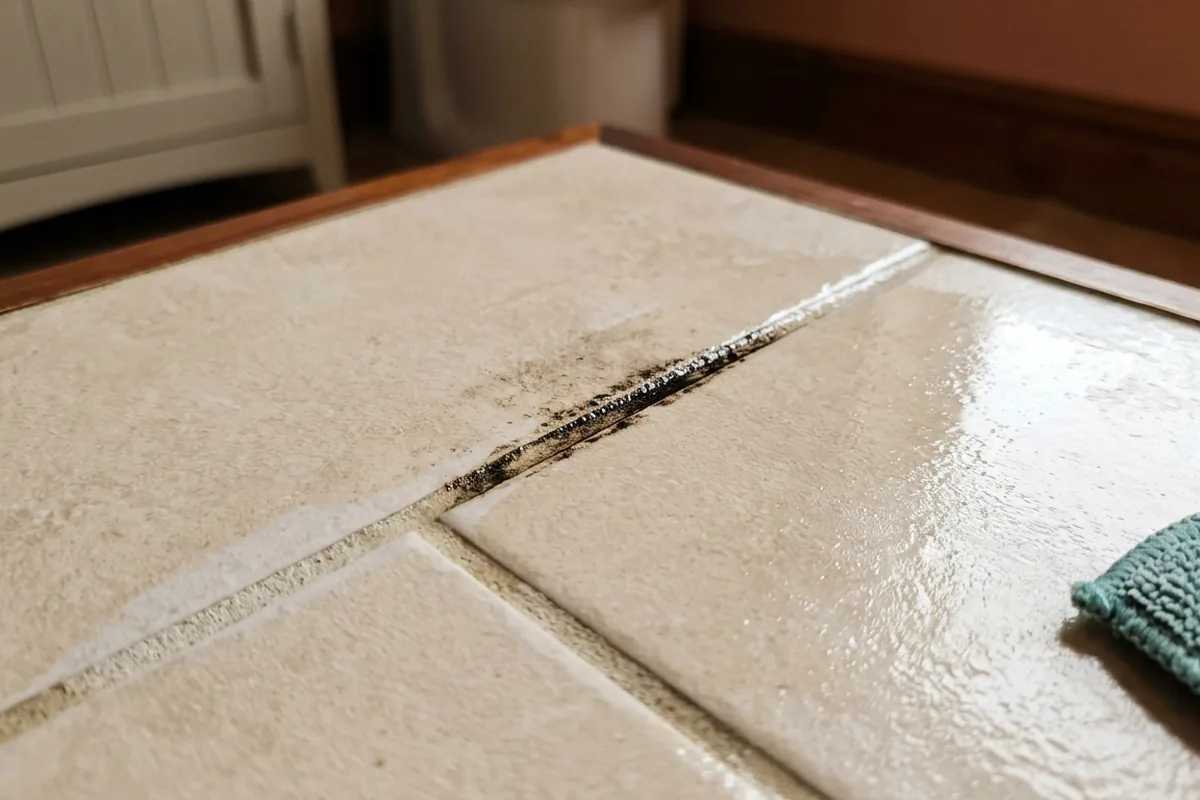
Any black or green mould must be removed before painting.
- Wear gloves and ventilate the room.
- Use a mould remover or diluted household bleach on hard, wipeable paint, following the label.
- Never mix bleach with vinegar or other cleaners.
- Wipe with a damp cloth, then with clean water, and let it dry.
Scrape off any flaking paint or blistered plaster with a scraper, then lightly sand the edges so they feather into the sound paint. Vacuum or wipe away dust with a slightly damp microfibre cloth.
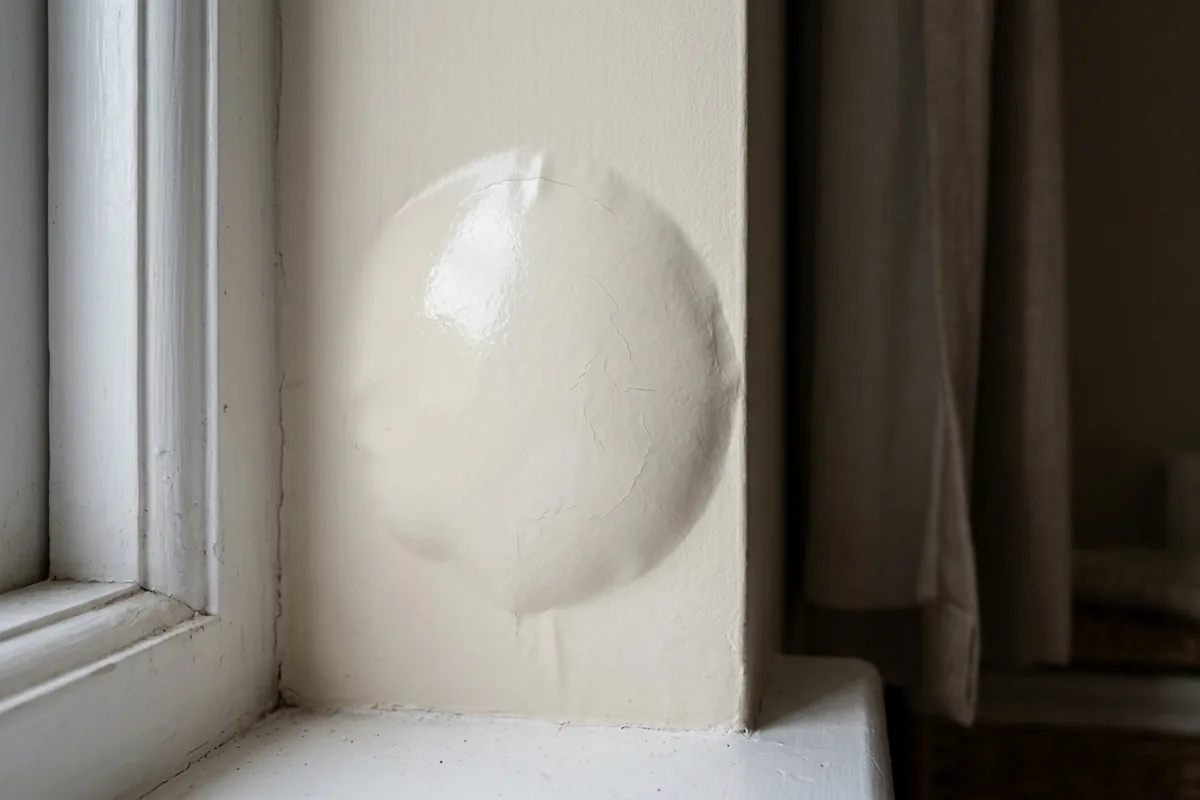
4. Repair the surface if needed
Small blown areas can be filled:
- Use a ready-mixed interior filler for shallow areas.
- For deeper holes, build up in layers, letting each one dry.
- Sand smooth once dry and dust off.
If large areas of plaster are soft or hollow when tapped, that’s usually a job for a plasterer, not just a DIY fill.
5. Seal the stain before painting
This is the crucial step to stop stains showing through:
- Use a stain-blocking primer (often labelled “stain block”, “sealer” or “problem-solving primer”).
- Apply over the stained area and slightly beyond, following the tin for drying time.
- For heavy nicotine or water marks, a second coat of stain block is often worth it.
Ordinary white emulsion will almost always let old water marks or yellowing creep back through.
6. Repaint with a suitable topcoat
Once the stain block is fully dry:
- Paint with your chosen emulsion.
- Two thin coats are better than one thick one.
- In bathrooms or kitchens, a moisture-resistant or “bathroom” paint can help with future condensation.
If the stain reappears within days, assume the wall is still damp or the source isn’t fixed, not that the paint was poor.
Choosing the right approach for different damp problems
Not all damp stains are equal. Matching the treatment to the cause helps avoid wasting time and paint.
| Situation | Likely cause | Best first approach |
|---|---|---|
| Brown tide mark, crisp edge, near ceiling or window | Past leak from roof or window | Check leak is fixed, dry fully, stain block, repaint |
| Patchy grey/black spots on cold outside wall | Condensation and mould | Improve ventilation, clean mould, consider anti-condensation or bathroom paint |
| Yellowish streaks from a radiator bracket | Rust or old water run | Sand rust, prime metal, stain block wall, repaint |
| Musty smell, crumbling plaster at skirting | Ongoing rising or penetrating damp | Seek professional damp advice before decorating |
If the wall still feels cold and slightly damp
If, even after weeks, the surface feels noticeably colder and slightly clammy compared with other walls:
- You may be dealing with ongoing penetrating or rising damp, not just an old leak.
- Painting and stain block will only ever mask it briefly.
- In a ground-floor room with damp skirting boards, get proper damp investigation before spending on paint.
If condensation is the main issue
For rooms where damp patches appear in winter on an outside wall:
- Use the extractor fan every time you bathe or shower, and leave it running on after.
- Keep a small gap behind furniture on cold walls so air can move.
- Consider a dehumidifier in a very steamy flat.
Once you’ve improved ventilation, you can still follow the same clean–dry–stain-block–paint routine, but you’ll have a better chance of it staying clean.
Mistakes that make damp stains return faster
Once you know the basics, avoiding a few common errors will give your paintwork a much better chance.
- Painting while the wall is still damp
If you can feel any cool dampness with the back of your hand, it’s too soon. Moisture trapped behind fresh paint often leads to bubbling or yellow marks.
- Skipping the stain block
Even if the wall looks clean after drying, old water marks and nicotine can bleed through fresh emulsion in weeks.
- Using the wrong product on mould
Just wiping mould with a bit of washing-up liquid usually leaves spores behind. Use a proper mould remover or bleach solution on suitable surfaces, and ventilate well.
- Ignoring musty smells and soft plaster
If the wall smells musty, the plaster is powdery, or skirting boards are swollen, that’s a sign of active damp, not just a stain. Painting here is only cosmetic and won’t last.
- Blocking airflow after decorating
Pushing a wardrobe tight against a cold external wall or piling boxes in an under-stairs cupboard can bring condensation and mould straight back, even on freshly painted walls.
Once you’ve gone through the effort of drying, cleaning, sealing and repainting, keep an eye on that area for a few weeks, especially after heavy rain or on cold mornings. If the patch stays the same colour and touch-dry, your prep has worked; if it darkens or feels damp again, the wall is still trying to tell you something.