That faint cold line you feel around the living-room window on a windy evening is usually a tired seal, not “just an old house”. For small draughts and misty double glazing, you can often improve things yourself with simple checks and a tube of the right sealant or new draught strip. What you cannot do at home is magically “re-gas” a failed double-glazed unit: if there’s condensation trapped between the panes, the sealed unit itself normally needs replacing, not just re-siliconing around the edges.
Quick checks that tell you what kind of window seal problem you have
Before reaching for any tools, work out where the air or moisture is actually getting in, otherwise you can seal in the wrong place and make opening or draining harder.
Use this simple set of checks:
| Problem you see or feel | Most likely issue | First safe check |
|---|---|---|
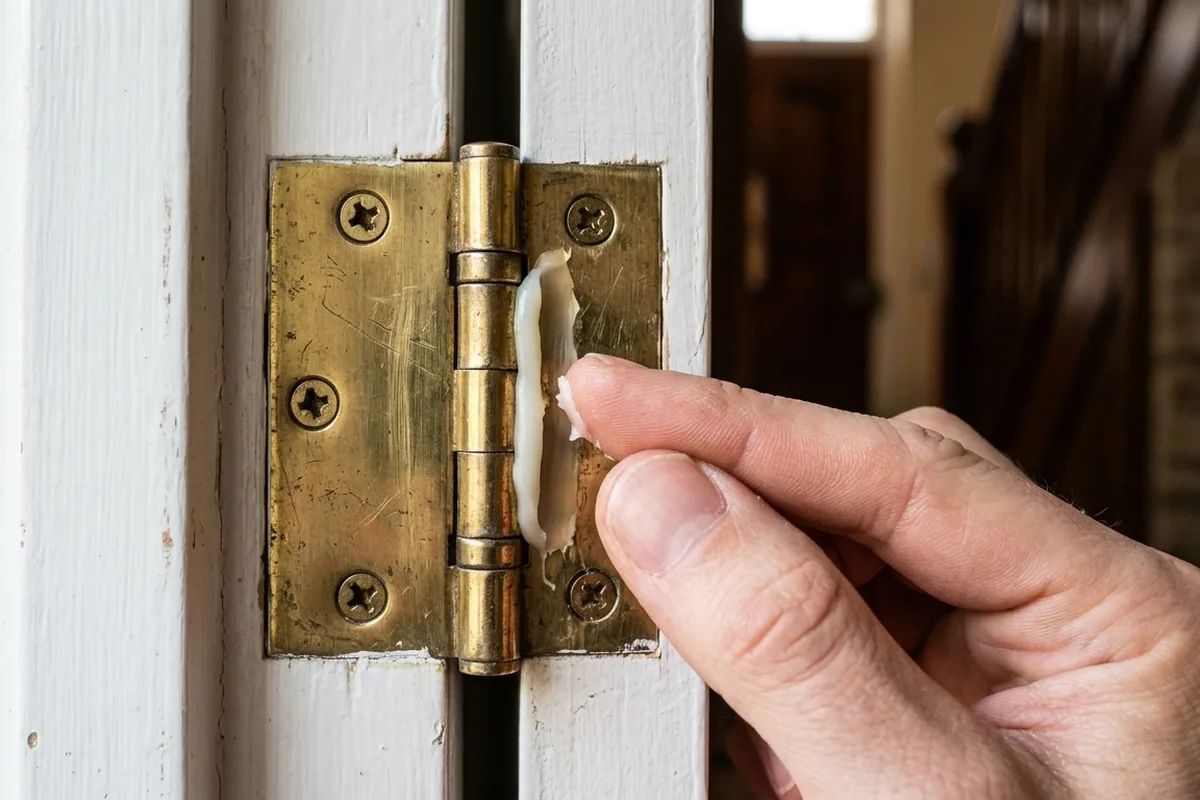
| Cold draught around frame or hinges | Worn or flattened rubber gasket / poor closing | Close a strip of paper in the window and tug it |
| Cold air between frame and wall | Cracked or missing silicone / frame not sealed to wall | Run a hand around the edge and look for gaps |
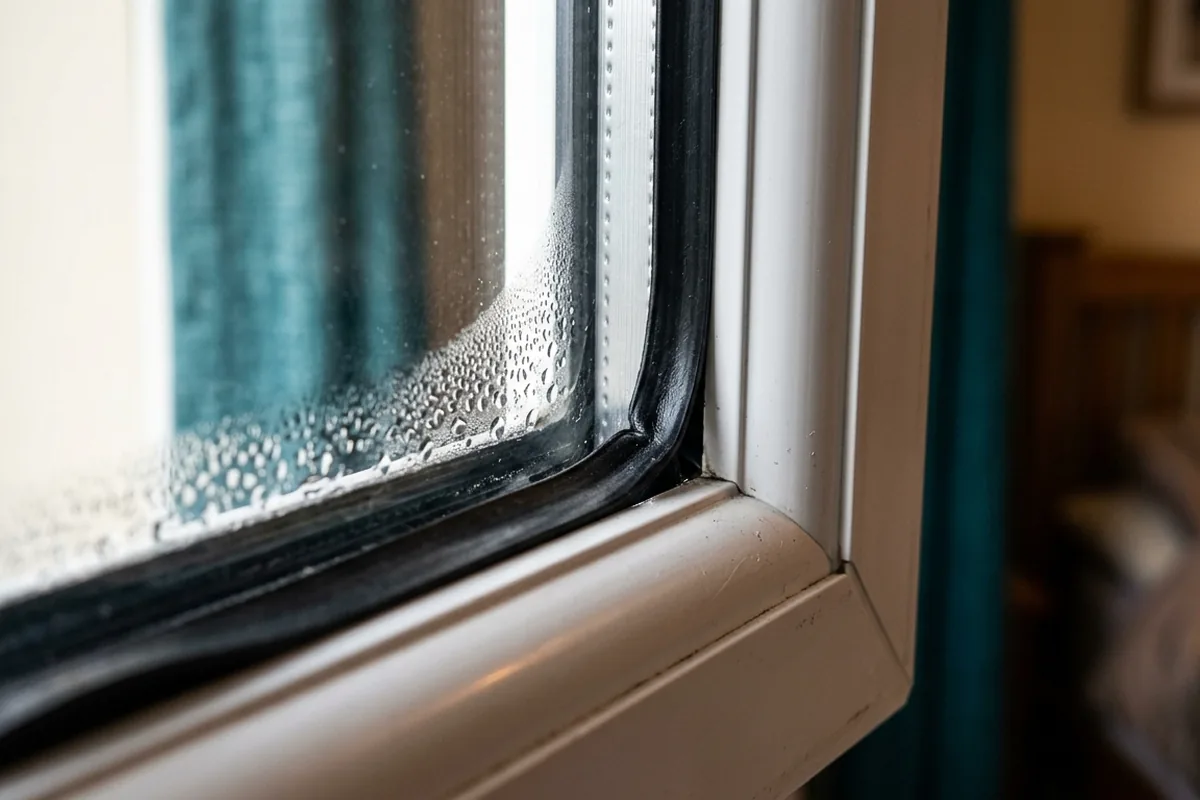
| Mist or droplets between glass panes | Blown double-glazed unit (failed internal seal) | Check if moisture is inside the sandwich, not on the surface |
| Condensation only on room-side glass | Indoor humidity and cold surface, not failed unit | Check bathroom/kitchen moisture and ventilation |
If the paper test (standard A4 or kitchen roll) pulls out easily when trapped in the closed sash, the compression seal there is weak.
If you can feel cold air where the frame meets the plaster in a bedroom or a bay window, the problem is usually the external or internal silicone bead rather than the rubber on the opening part.
Where you see misting between panes, no amount of external sealant will fix the failed internal bond. You can tidy up draughts around that unit, but the only real cure is a new sealed unit from a glazier.
How to tackle small draughts around window frames and openings
For uPVC and timber windows with light draughts, you’re mainly dealing with two things: rubber/compression seals on the moving parts and sealant between the frame and wall. Both are manageable DIY jobs if you are steady with a knife and sealant gun.
If the draught is around the opening sash
1. Clean the contact surfaces
Wipe the frame and the existing rubber gasket with a damp microfibre cloth and a drop of washing-up liquid. Dirt stops seals compressing properly.
2. Check the rubber gasket
Look for flattened, split or shrunken rubber around the edge. On many uPVC windows this gasket pushes into a groove and can be pulled out gently at a corner.
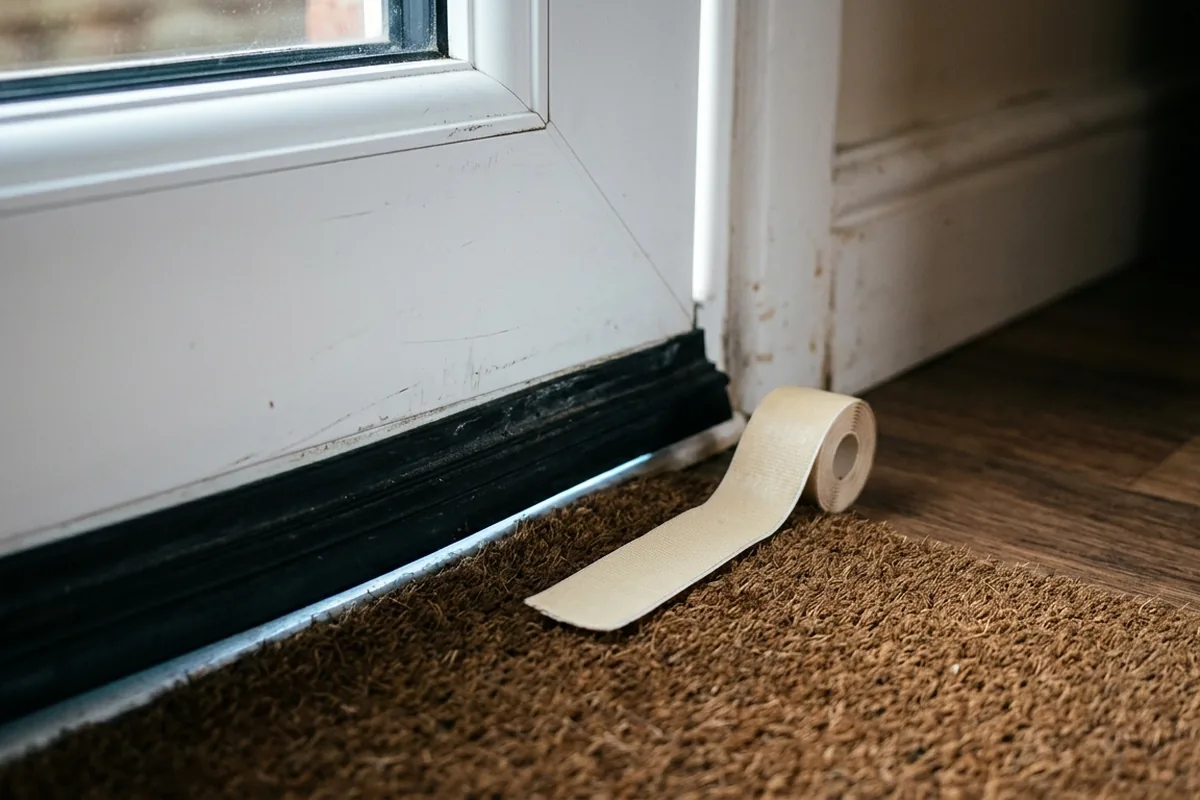
3. Replace or add draught strip
If the original gasket is shot and removable, you can buy new window gasket or self-adhesive foam draught strip from a DIY shop like B&Q.
- Measure the groove or gap first.
- Cut the new strip slightly long so it joins snugly at the corners.
- Press it in firmly or stick it on with the window open, then close the window to test the seal.
4. Avoid over-thick strips
If you choose foam that is too chunky, the window may be hard to close or not latch properly, which is a security and safety issue. If that happens, remove and choose a thinner profile.
If the draught is between frame and wall
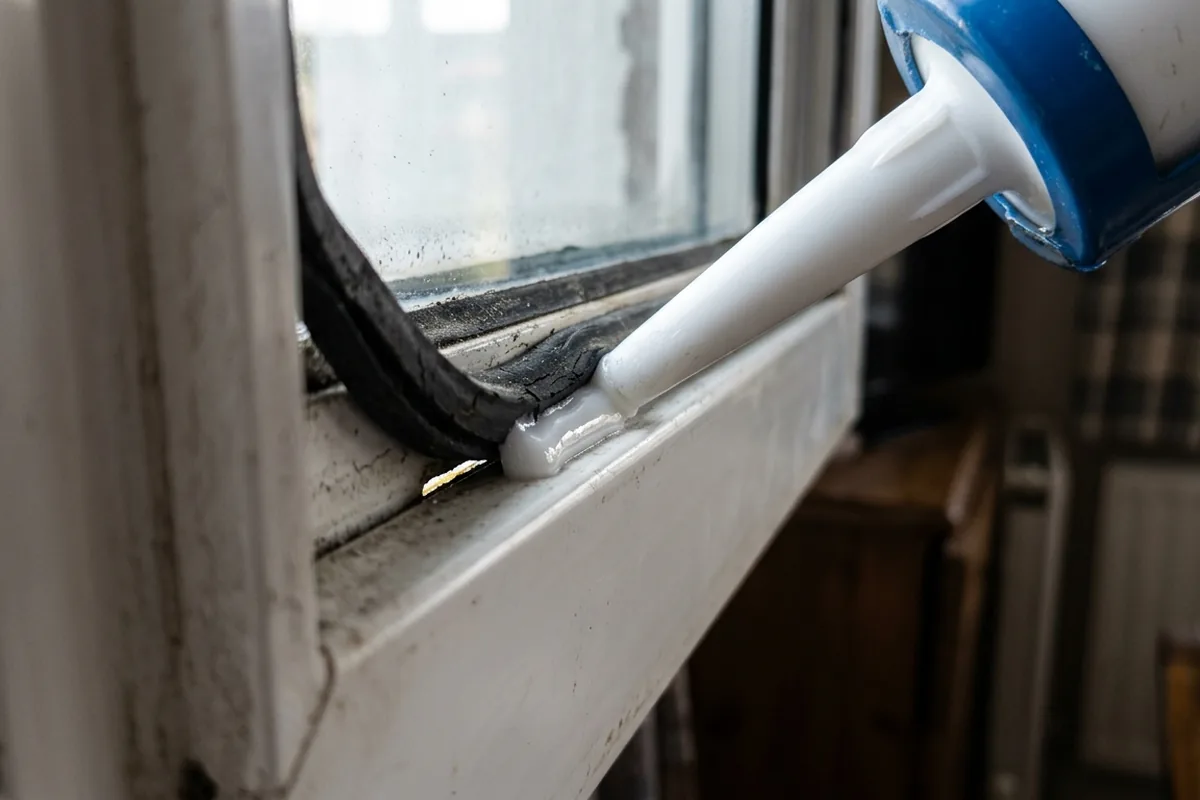
This is where silicone sealant does the work.
1. Inspect the bead
Look along the inside and outside edges where the frame meets the plaster, brick or sill. Cracked, loose or missing silicone is a typical draught path.
2. Prepare the gap
- Use a sharp knife or sealant remover tool to carefully cut away loose silicone.
- Vacuum or brush out dust so the new bead can stick properly.
- Make sure the area is dry.
3. Choose the right sealant
For uPVC frames, use a low-modulus neutral-cure exterior silicone labelled for windows and doors. For painted timber, an acrylic frame sealant can also work, but it may need repainting.
4. Apply a smooth bead
Run a steady bead along the gap, then smooth it with a damp finger or finishing tool. Try not to block any drainage slots at the bottom of the frame: these are small cut-outs that let water escape.
5. Let it cure
Follow the tube instructions for skin and full cure times. Avoid heavy rain on freshly applied exterior sealant if you can.
If the gap is very large or you can move the frame relative to the wall, that’s beyond light DIY; get a window fitter or builder to look, as the frame may not be fixed correctly.
Dealing with failed double-glazed units and when to stop DIY
When the seal between the panes fails, the window turns cloudy inside, often with little droplets or a permanent misty patch that doesn’t wipe away. This looks like a “sealant problem” from the outside, but it’s actually the hidden edge seal of the glass unit itself.
What you can do yourself:
- Improve draught-proofing around the frame, as above, so you’re not losing extra heat.
- Wipe room-side condensation daily in winter with a microfibre cloth or window squeegee, especially in small bedrooms and bathrooms.
- Use extractor fans and a bit of background ventilation to reduce moisture, so the issue doesn’t look worse than it is.
What you generally cannot fix at home:
- You cannot re-seal or re-fill the air or gas gap between panes. Drilling, venting or “drying out” units is rarely successful long term and can damage the glass.
- You cannot safely take apart factory-sealed units and expect them to be clear and insulated again.
If the window is otherwise sound, a common route is to have just the glass unit replaced, not the whole frame. Local glaziers will often measure and supply a new sealed unit to fit your existing uPVC or timber frame, which is cheaper than a full new window.
When to call a professional instead
Stop the DIY and get a qualified person in if:
- The frame is rotting, warped or cracked, especially on upper floors.
- The window is stiff or won’t lock properly after your draught-proofing attempts.
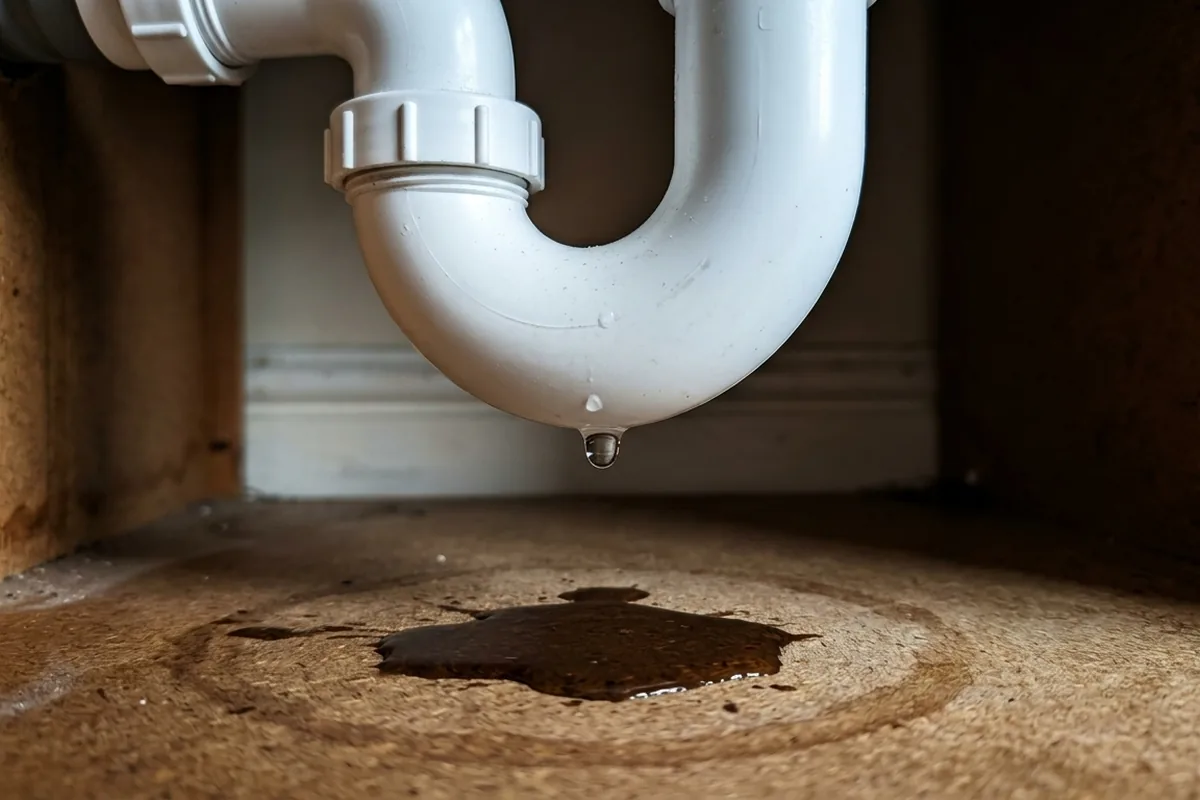
- You see damp patches on the wall or skirting board below the window that stay wet, suggesting a wider water ingress or damp issue.
- You’re unsure about safe access for outside sealing, for example on a top-floor flat.
A light draught around a lounge window or a chilly patch by the sill often gives up its secrets with these small checks and a careful line of new sealant or draught strip. If the glass itself is blown, treat your DIY work as a way to make things more comfortable while you plan a proper replacement, not as a permanent cure.